Elements works the same from a terminal and an editor as it does through an agent. Many people do both: the agent builds, and they read and edit the code alongside it.
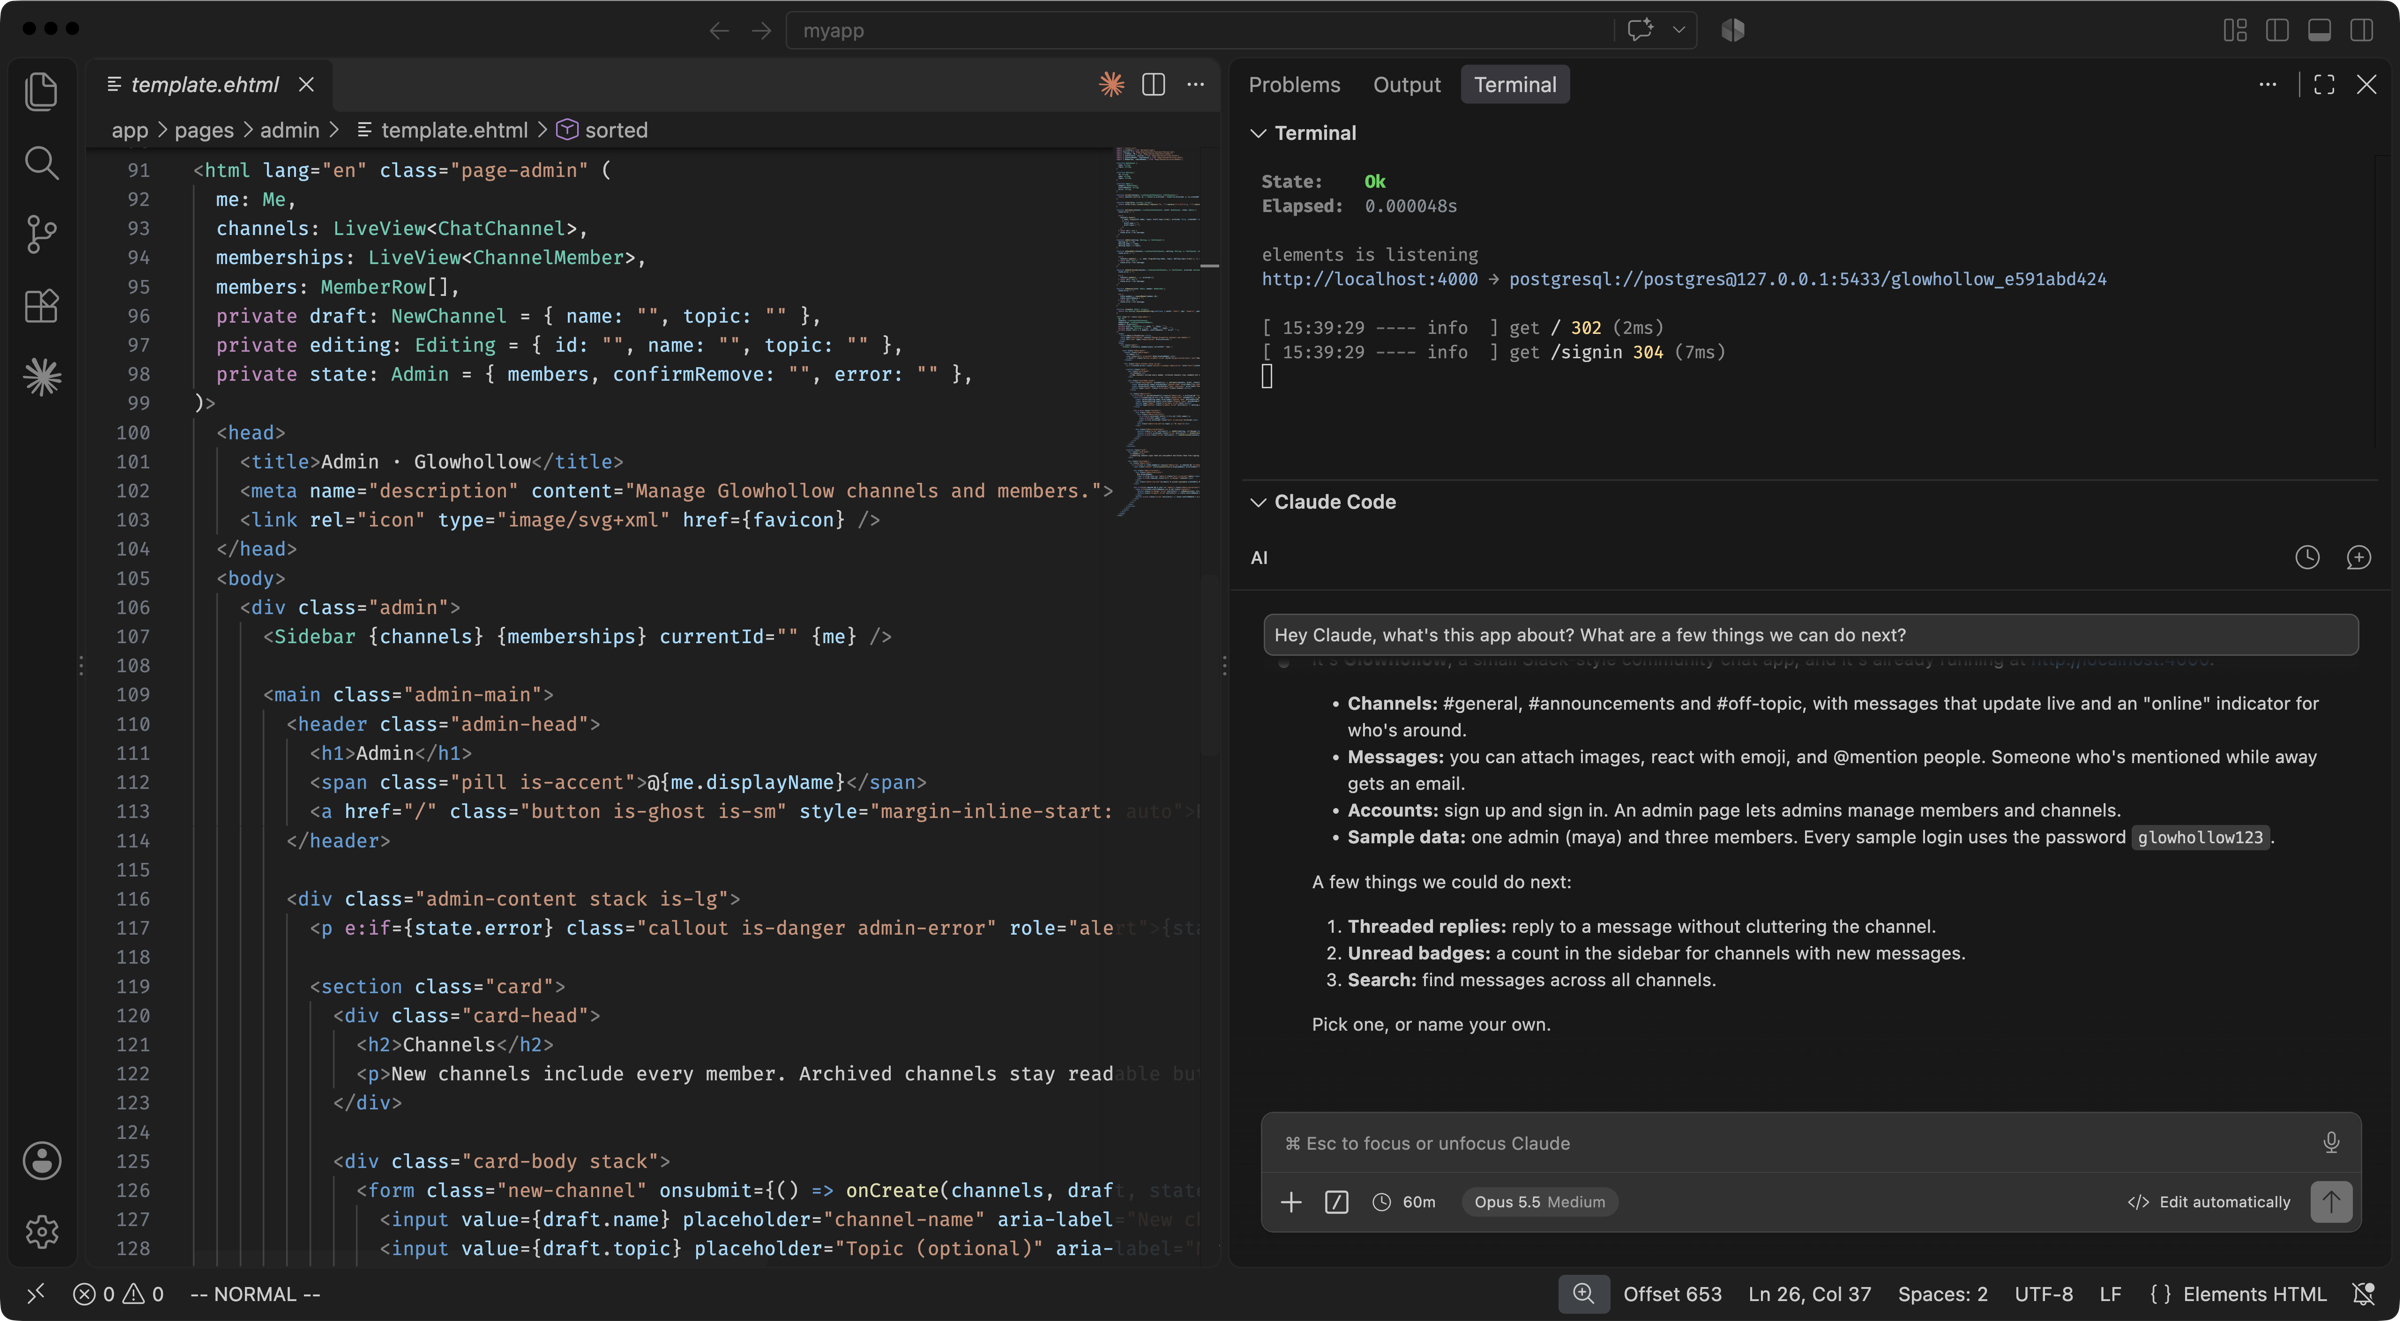
VS Code with the code, the terminal and Claude side by side:
Install, create and start
1. Install Elements
Paste this into a terminal on the machine you build on:
curl -fsSL 'https://install.elements.dev?os=darwin' | sh && export PATH=~/elements/bin:$PATH
The installer adds Elements to your shell profile, so every new terminal finds
the elements command. It also installs the Elements extension for VS Code,
Cursor, Vim and Neovim, whichever you have.
2. Create an app
Every app here is named myapp. The only difference is where it starts.
An empty app
cd ~/elements/projects
elements create myapp
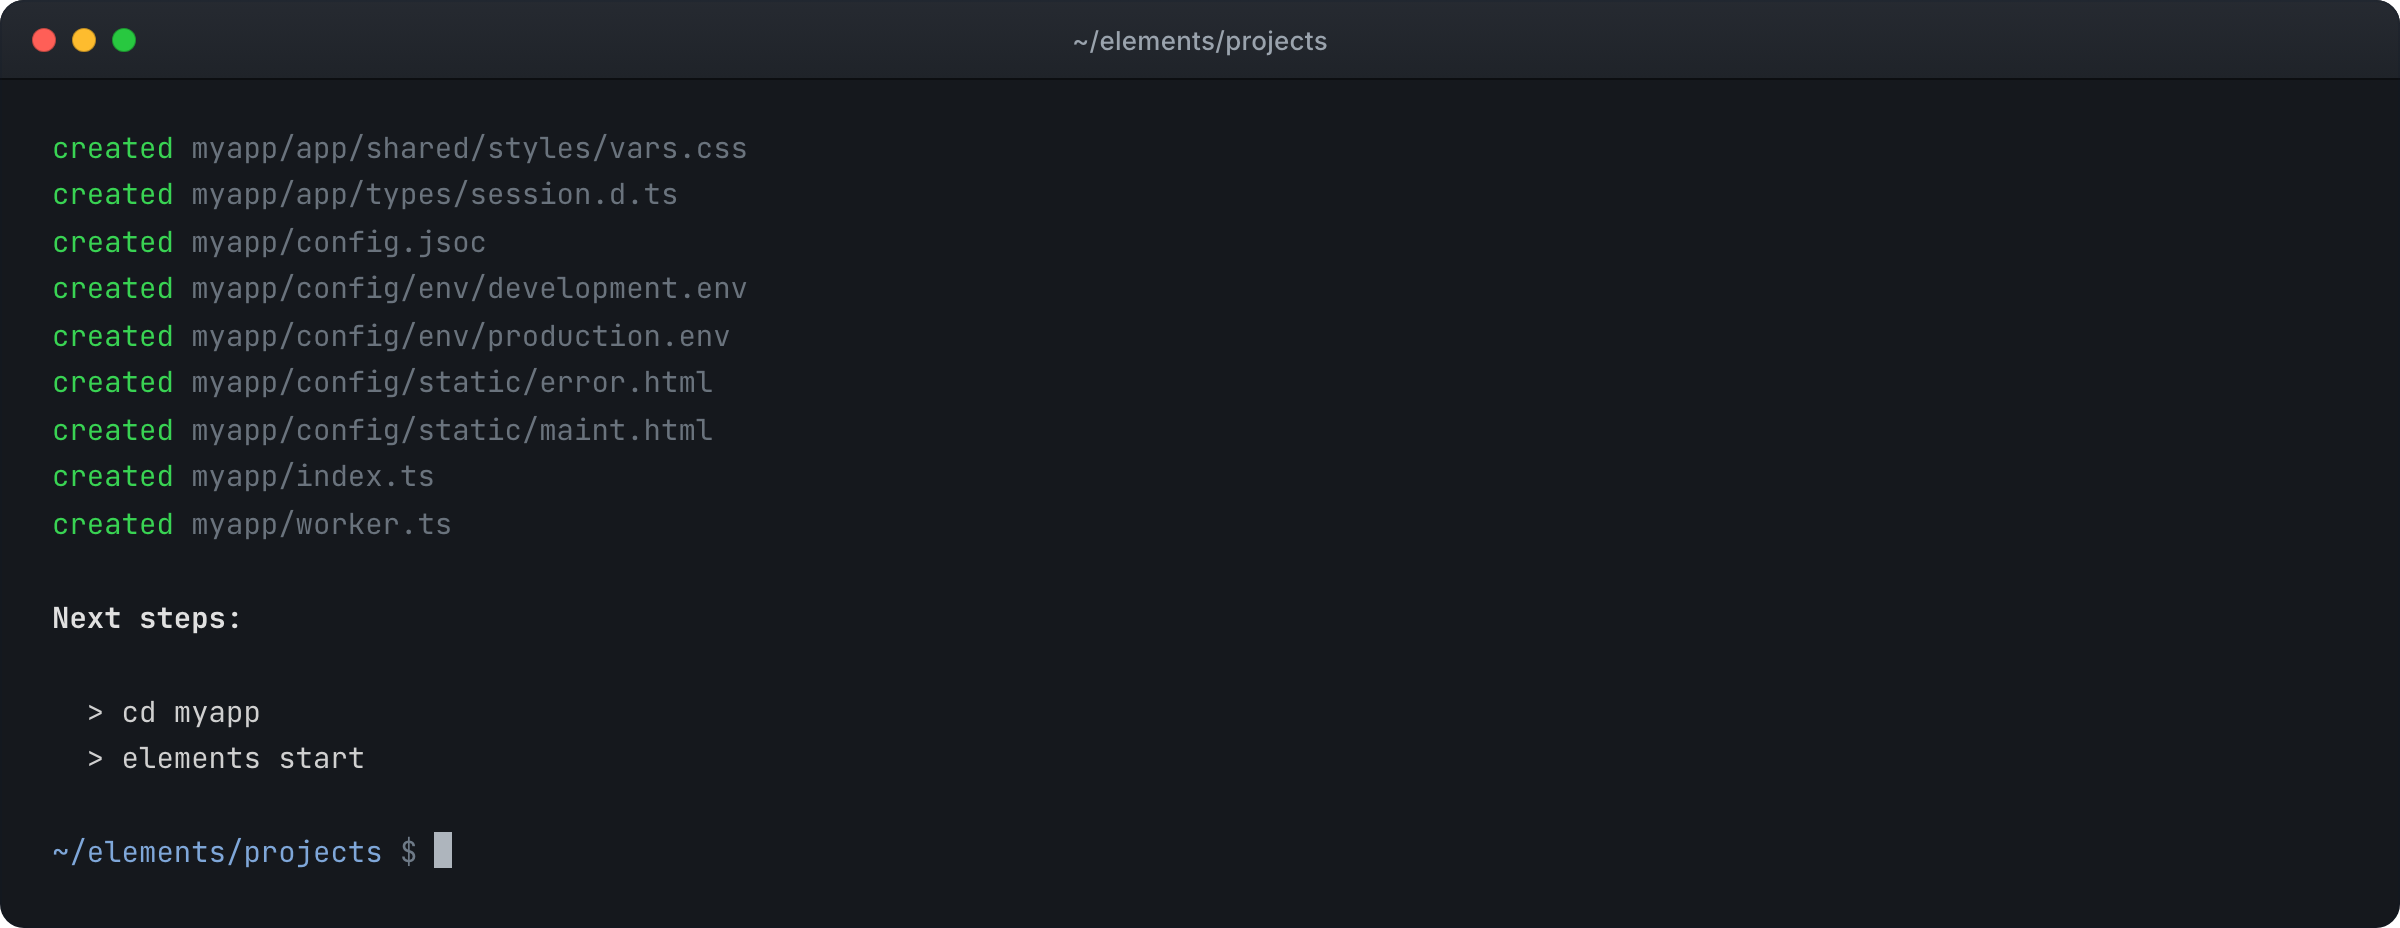
elements create writes the app's files and ends with the next two commands:
From a scaffold
Add -scaffold with a repository to start from a published app instead, such
as one of the demos:
cd ~/elements/projects
elements create myapp -scaffold=elementscode/demo-glowhollow
3. Start your app
cd myapp
elements start
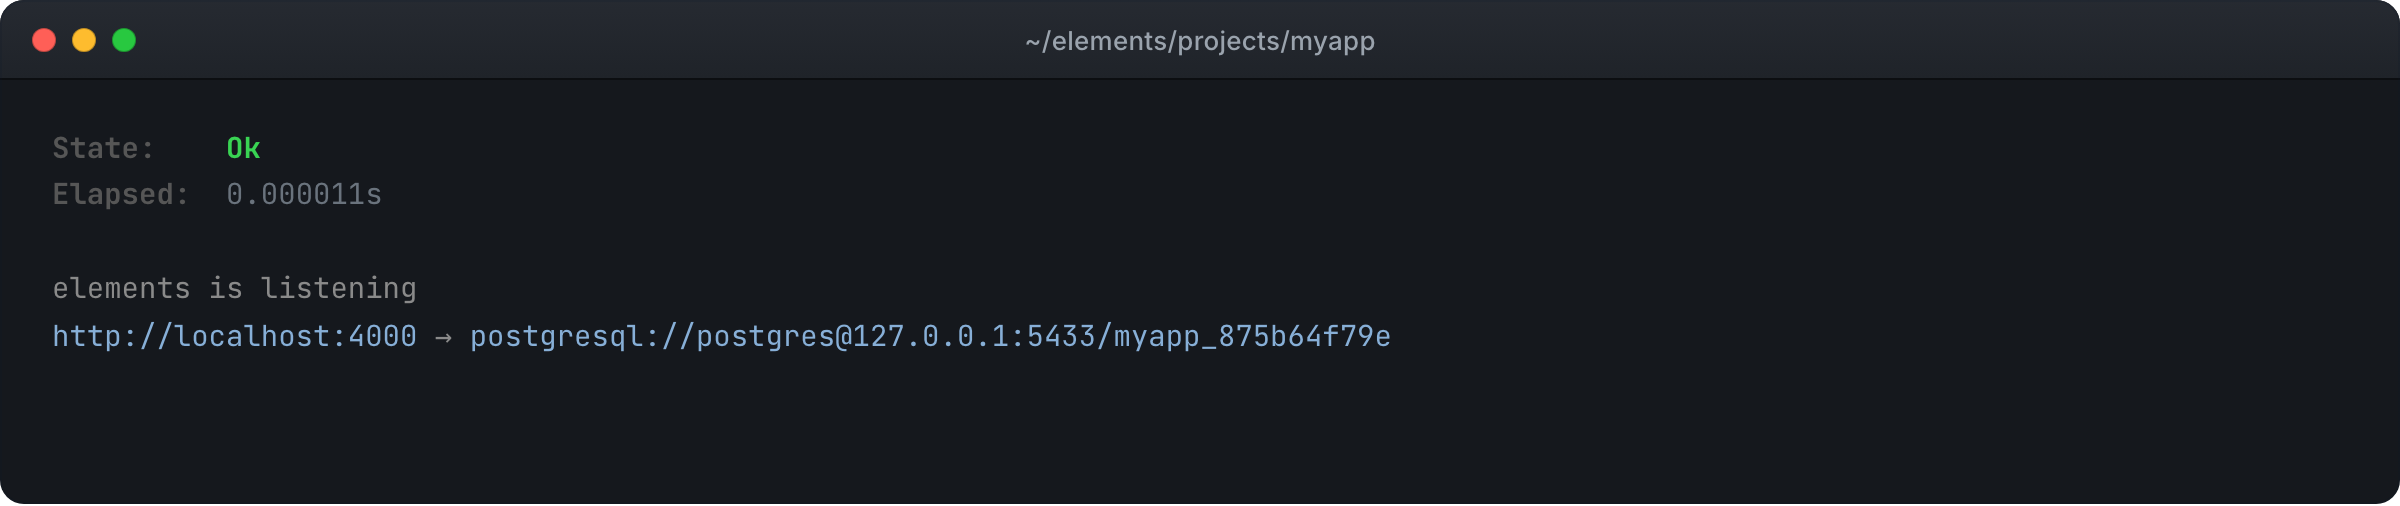
elements start makes sure the project server is running, then runs your
program with hot reload, so each code change takes effect without a restart.
It runs any program; in a new project that program is your app. Build errors
appear in the same view. Below the build state is your program's own output,
here the address your app is listening on:
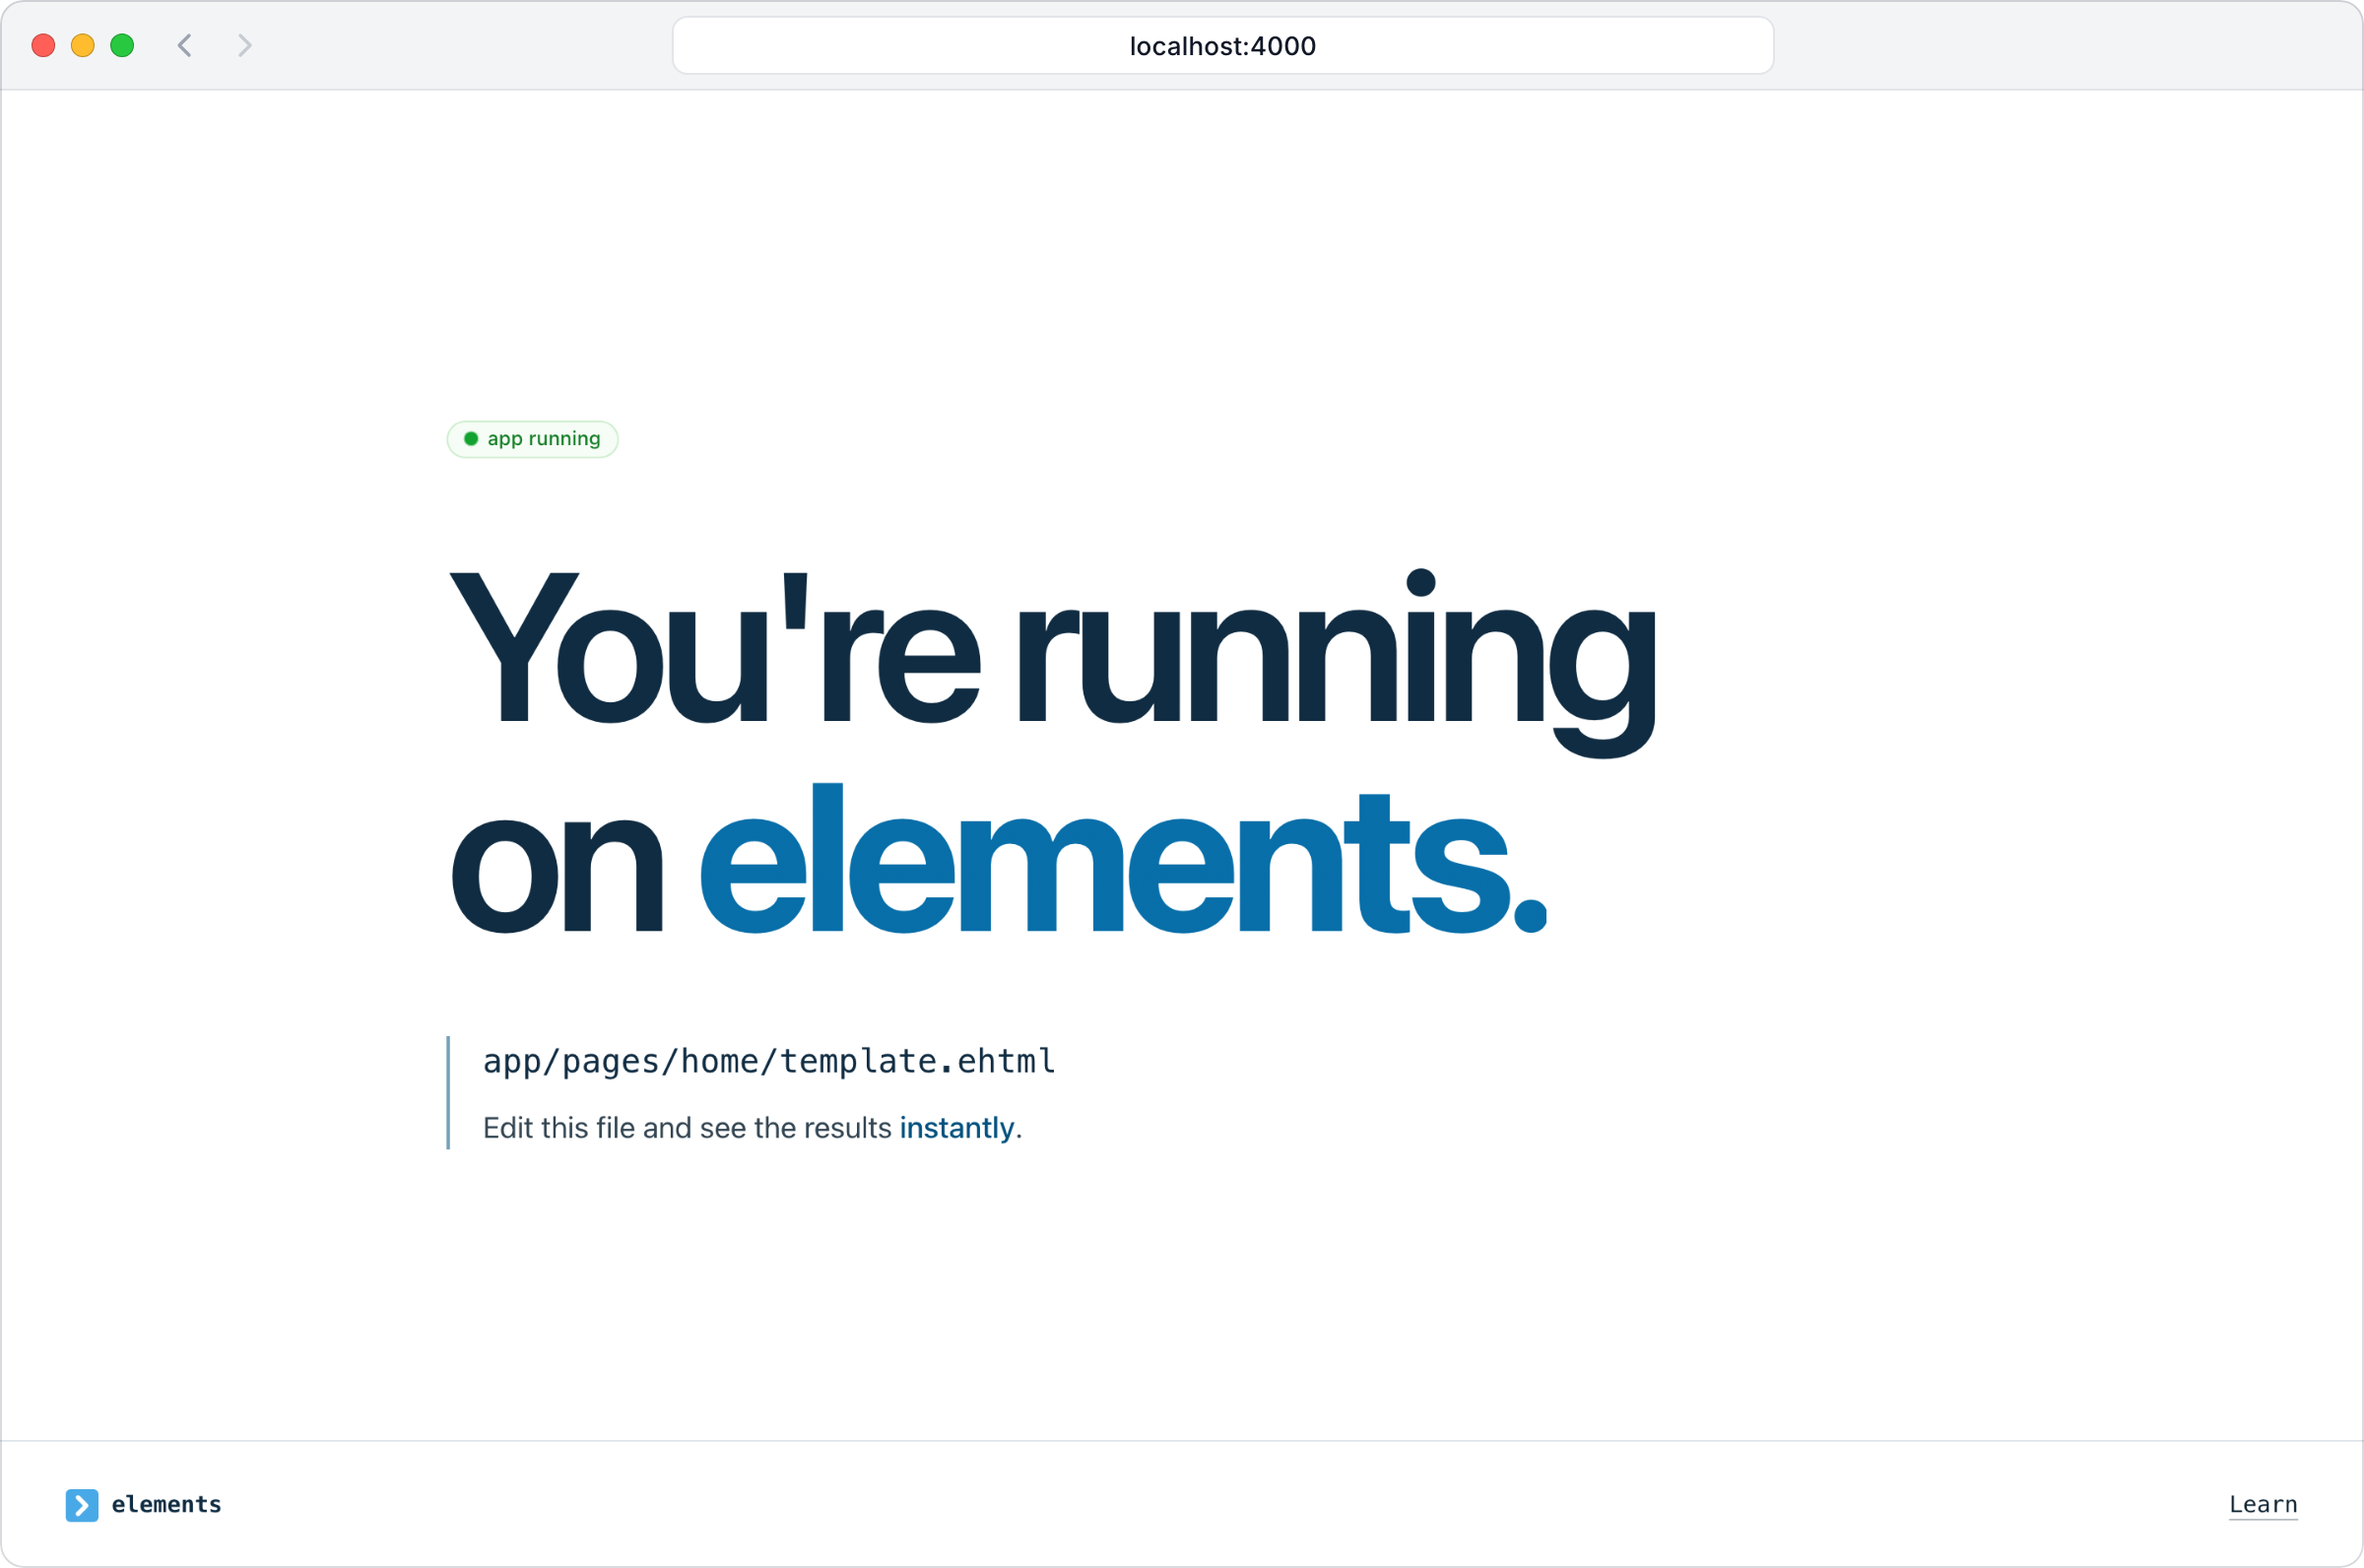
It opens the app in your browser at http://localhost:4000. The page shows the
app is running and names the file to edit:
Behind that page, Elements is already running the services your app needs:
- Postgres. Your app has its own database, running and connected, with no
connection string to set up. Open a SQL prompt on it with
elements db. - Test workers. A pool of them runs the tests your change touched.
- Job workers. They run your app's background jobs and schedules.
Open your project in your editor
Run these in your project folder.
In a new window
code .
In the window you have open
To add the project to the VS Code or Cursor window you already have open,
use -a:
code -a .
The project server also speaks the language server protocol (LSP), and the Elements extension connects your editor to it. In most setups the editor runs a checker of its own beside the build, and the two can disagree. Here your editor, the build in your terminal and your agent all connect to the same project server, so they see the same errors at the same moment.
Errors appear as you work, in TypeScript, HTML templates and config files, along with completion, hover and go to definition. The installer added the extension to each editor it found, so there is nothing to configure.
Make a page
Generators write the files for you, with imports that resolve:
Terminalelements create page pricing
It prints the one line to add to index.ts to route the page. Save, and the
page is live in your browser. elements create -h lists every generator: pages,
templates, migrations, jobs, emails and tests.
Look things up
The manual comes with Elements, so it matches the version you have:
Terminalelements man              # the topics
elements man livetable    # one topic
elements man -s upload    # search
The same manual is on the web at elements.dev/learn/man (opens in a new tab).
The manual: cli (opens in a new tab), build (opens in a new tab), database (opens in a new tab), editors (opens in a new tab), typescript (opens in a new tab), html (opens in a new tab), router (opens in a new tab).