Time off requests, approvals and balances, built by Claude Code on Elements
Request time off, approve it with a comment, track balances by type, and see who is out on a live team calendar with .ics feeds.
How it's built
Awaywell needed two kinds of accounts, emails on both sides of a request, a calendar feed per person, and a live team calendar. Each of those is a part of Elements, so the agent spent its 14 minutes on the time off rules themselves.
- A live team calendar. Every request, cancellation and decision notifies a channel. A manager's calendar and approvals page, and an employee's own page, each listen for their team or person and re-read, so a new request or approval shows up on an open calendar right away.
- Requests and approvals as function calls. Requesting, cancelling, approving and denying are
@rpcfunctions called from the page. The server counts working days, checks the balance and overlapping dates, and returns messages such as "those dates are all weekend" to the form. - Emails from a job. A background job emails the manager when a request comes in and the employee when it is decided, using two email templates. It is scheduled in the same transaction as the request, so mail follows committed changes.
- A calendar feed per person. One route serves each person's approved time off as an .ics feed at a private url, and a manager's feed includes their team, so it subscribes in any calendar app.
- Sessions and roles. Employees and managers each land on their own pages, and manager-only server calls share one guard.
- Data from SQL files. Migrations define the schema, a working-days function used by both the app and the seed, and two managers with ten reports, balances and about forty requests in every status. The project server applied each one as soon as it was saved.
Why Elements
Elements is the integrated stack for web apps: a build server and tooling, an app framework, a Postgres database and deployment, engineered as one system. Your editor, tools and one or many agents all connect to the same always-on build server, which runs type checking, program analysis, migrations and tests as the agent builds. Built-in guardrails keep the app structured correctly and secure as it grows from prototype to production.
Run it yourself
Install Elements
Copy the install command.
curl -fsSL https://elements.dev/install | shOpen a terminal in VS Code: choose Terminal › New Terminal from the menu bar at the top of your screen.
Copy and paste the command into the terminal and press Enter.
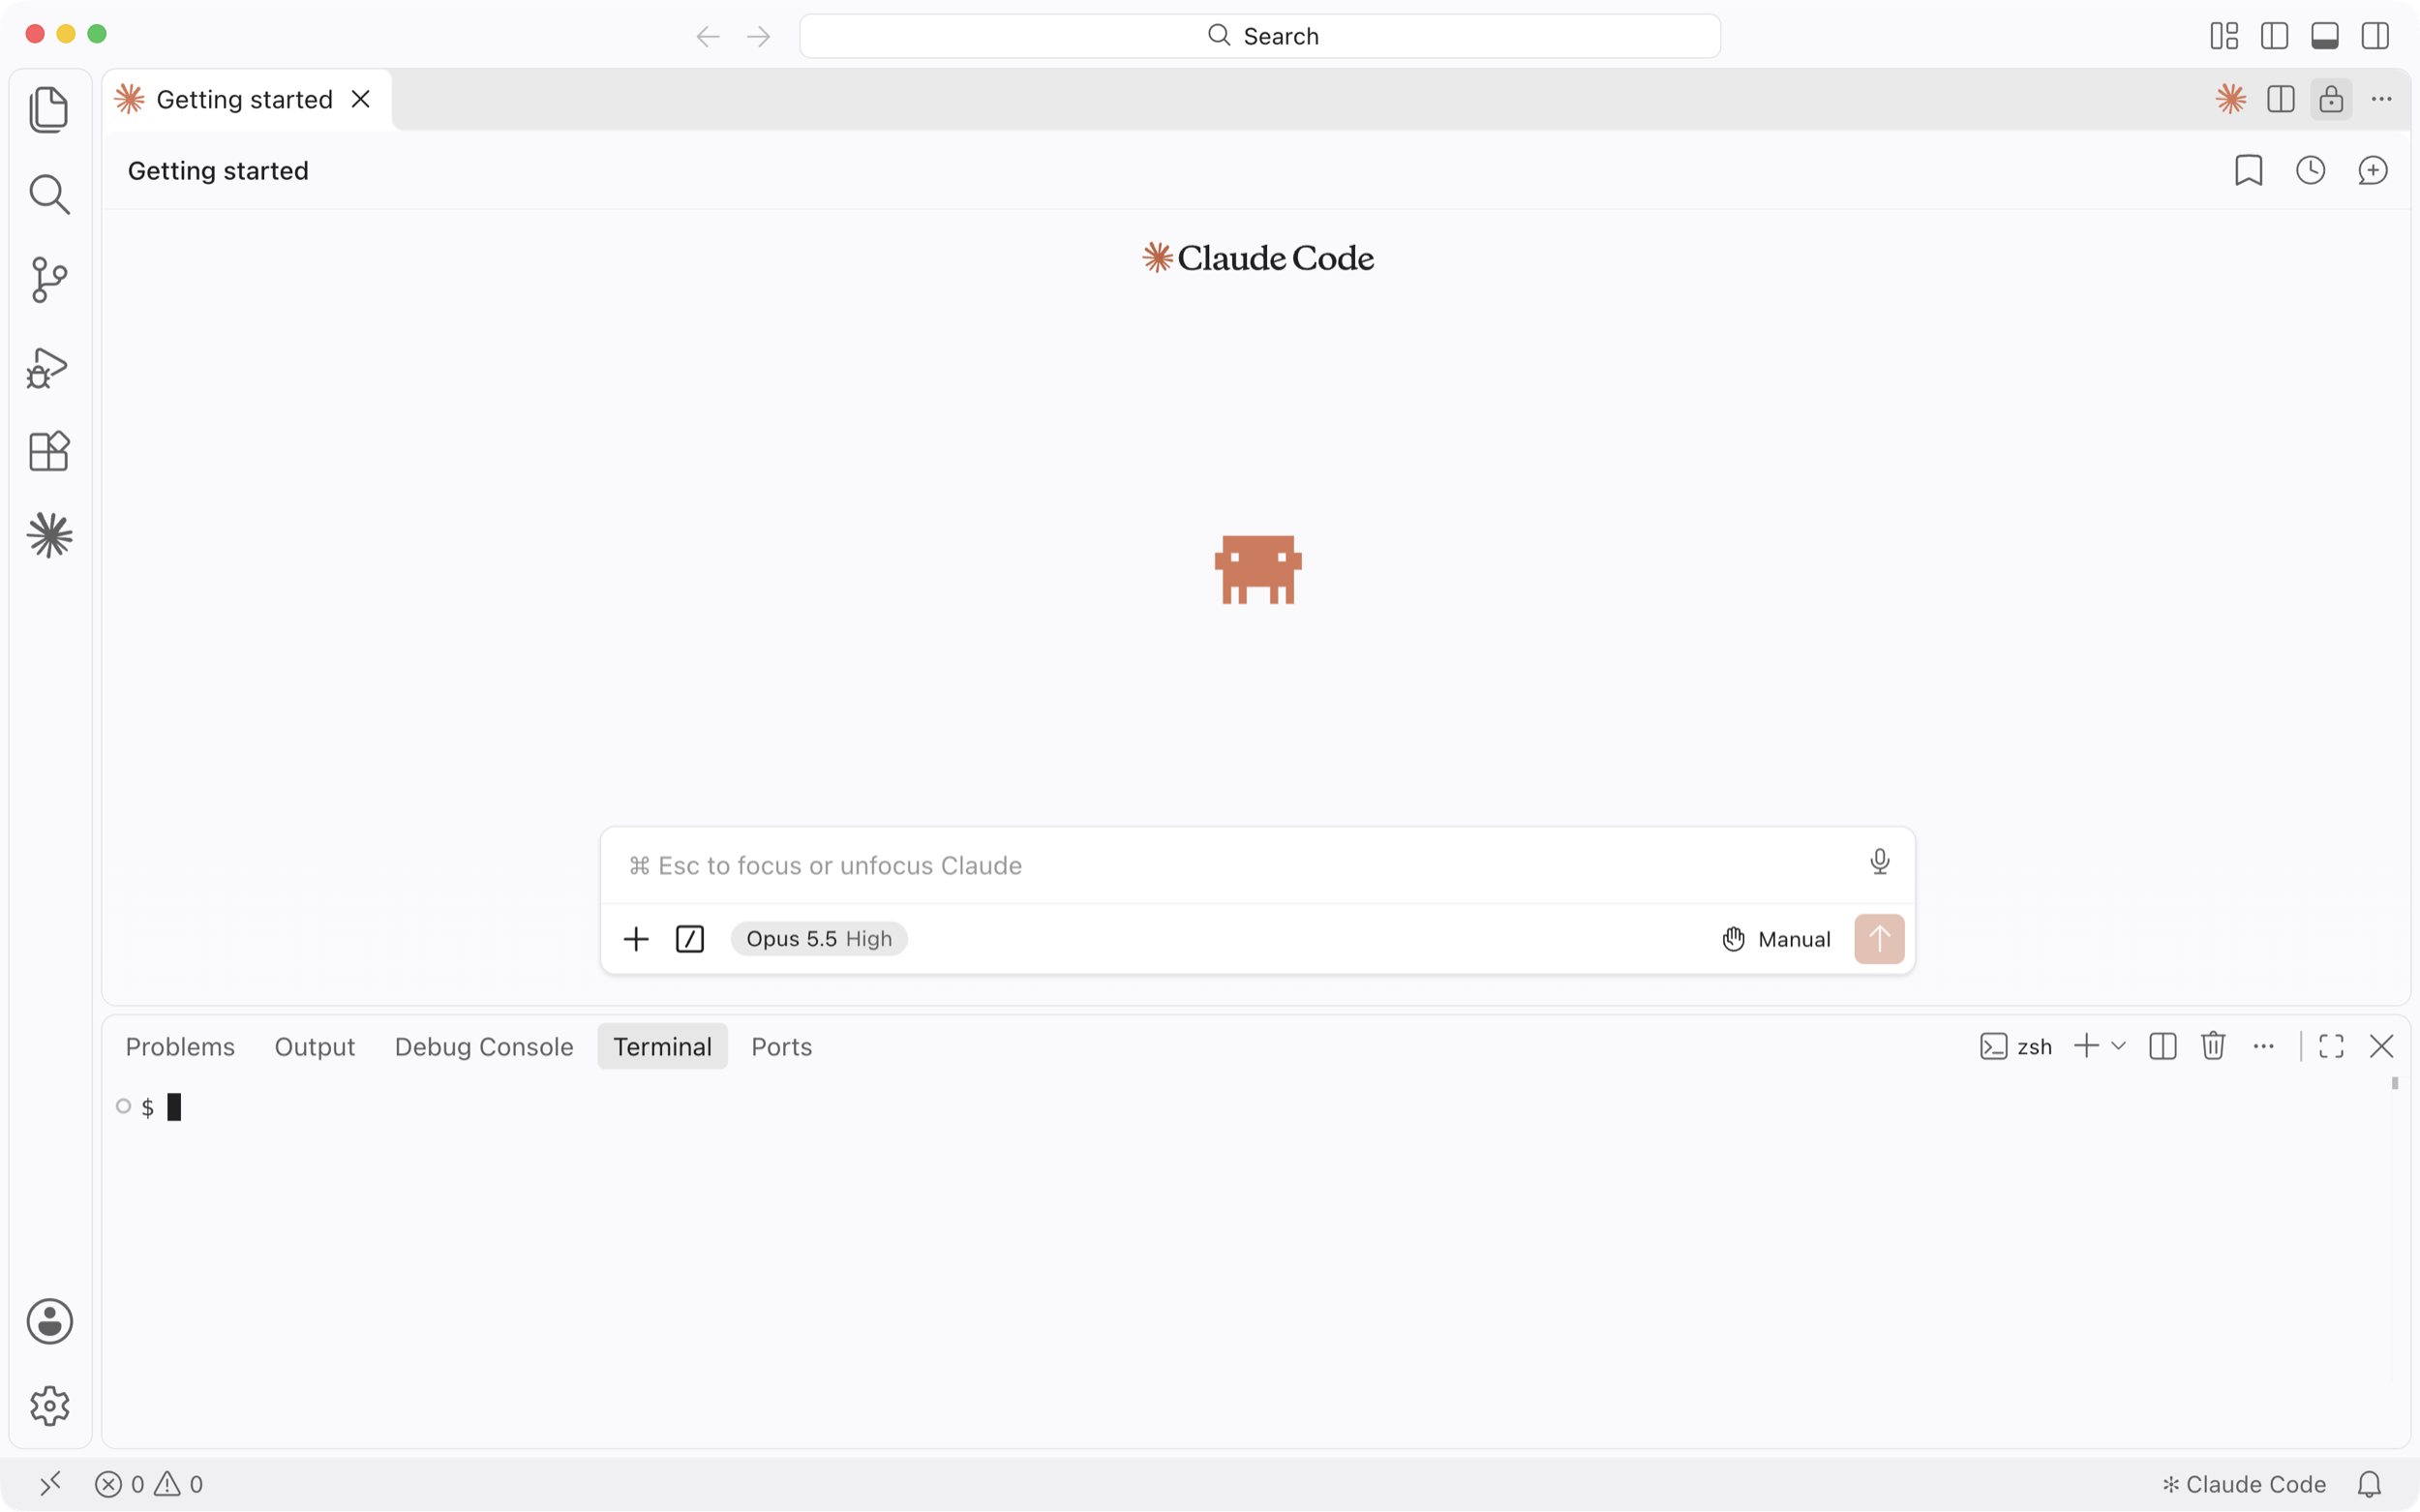
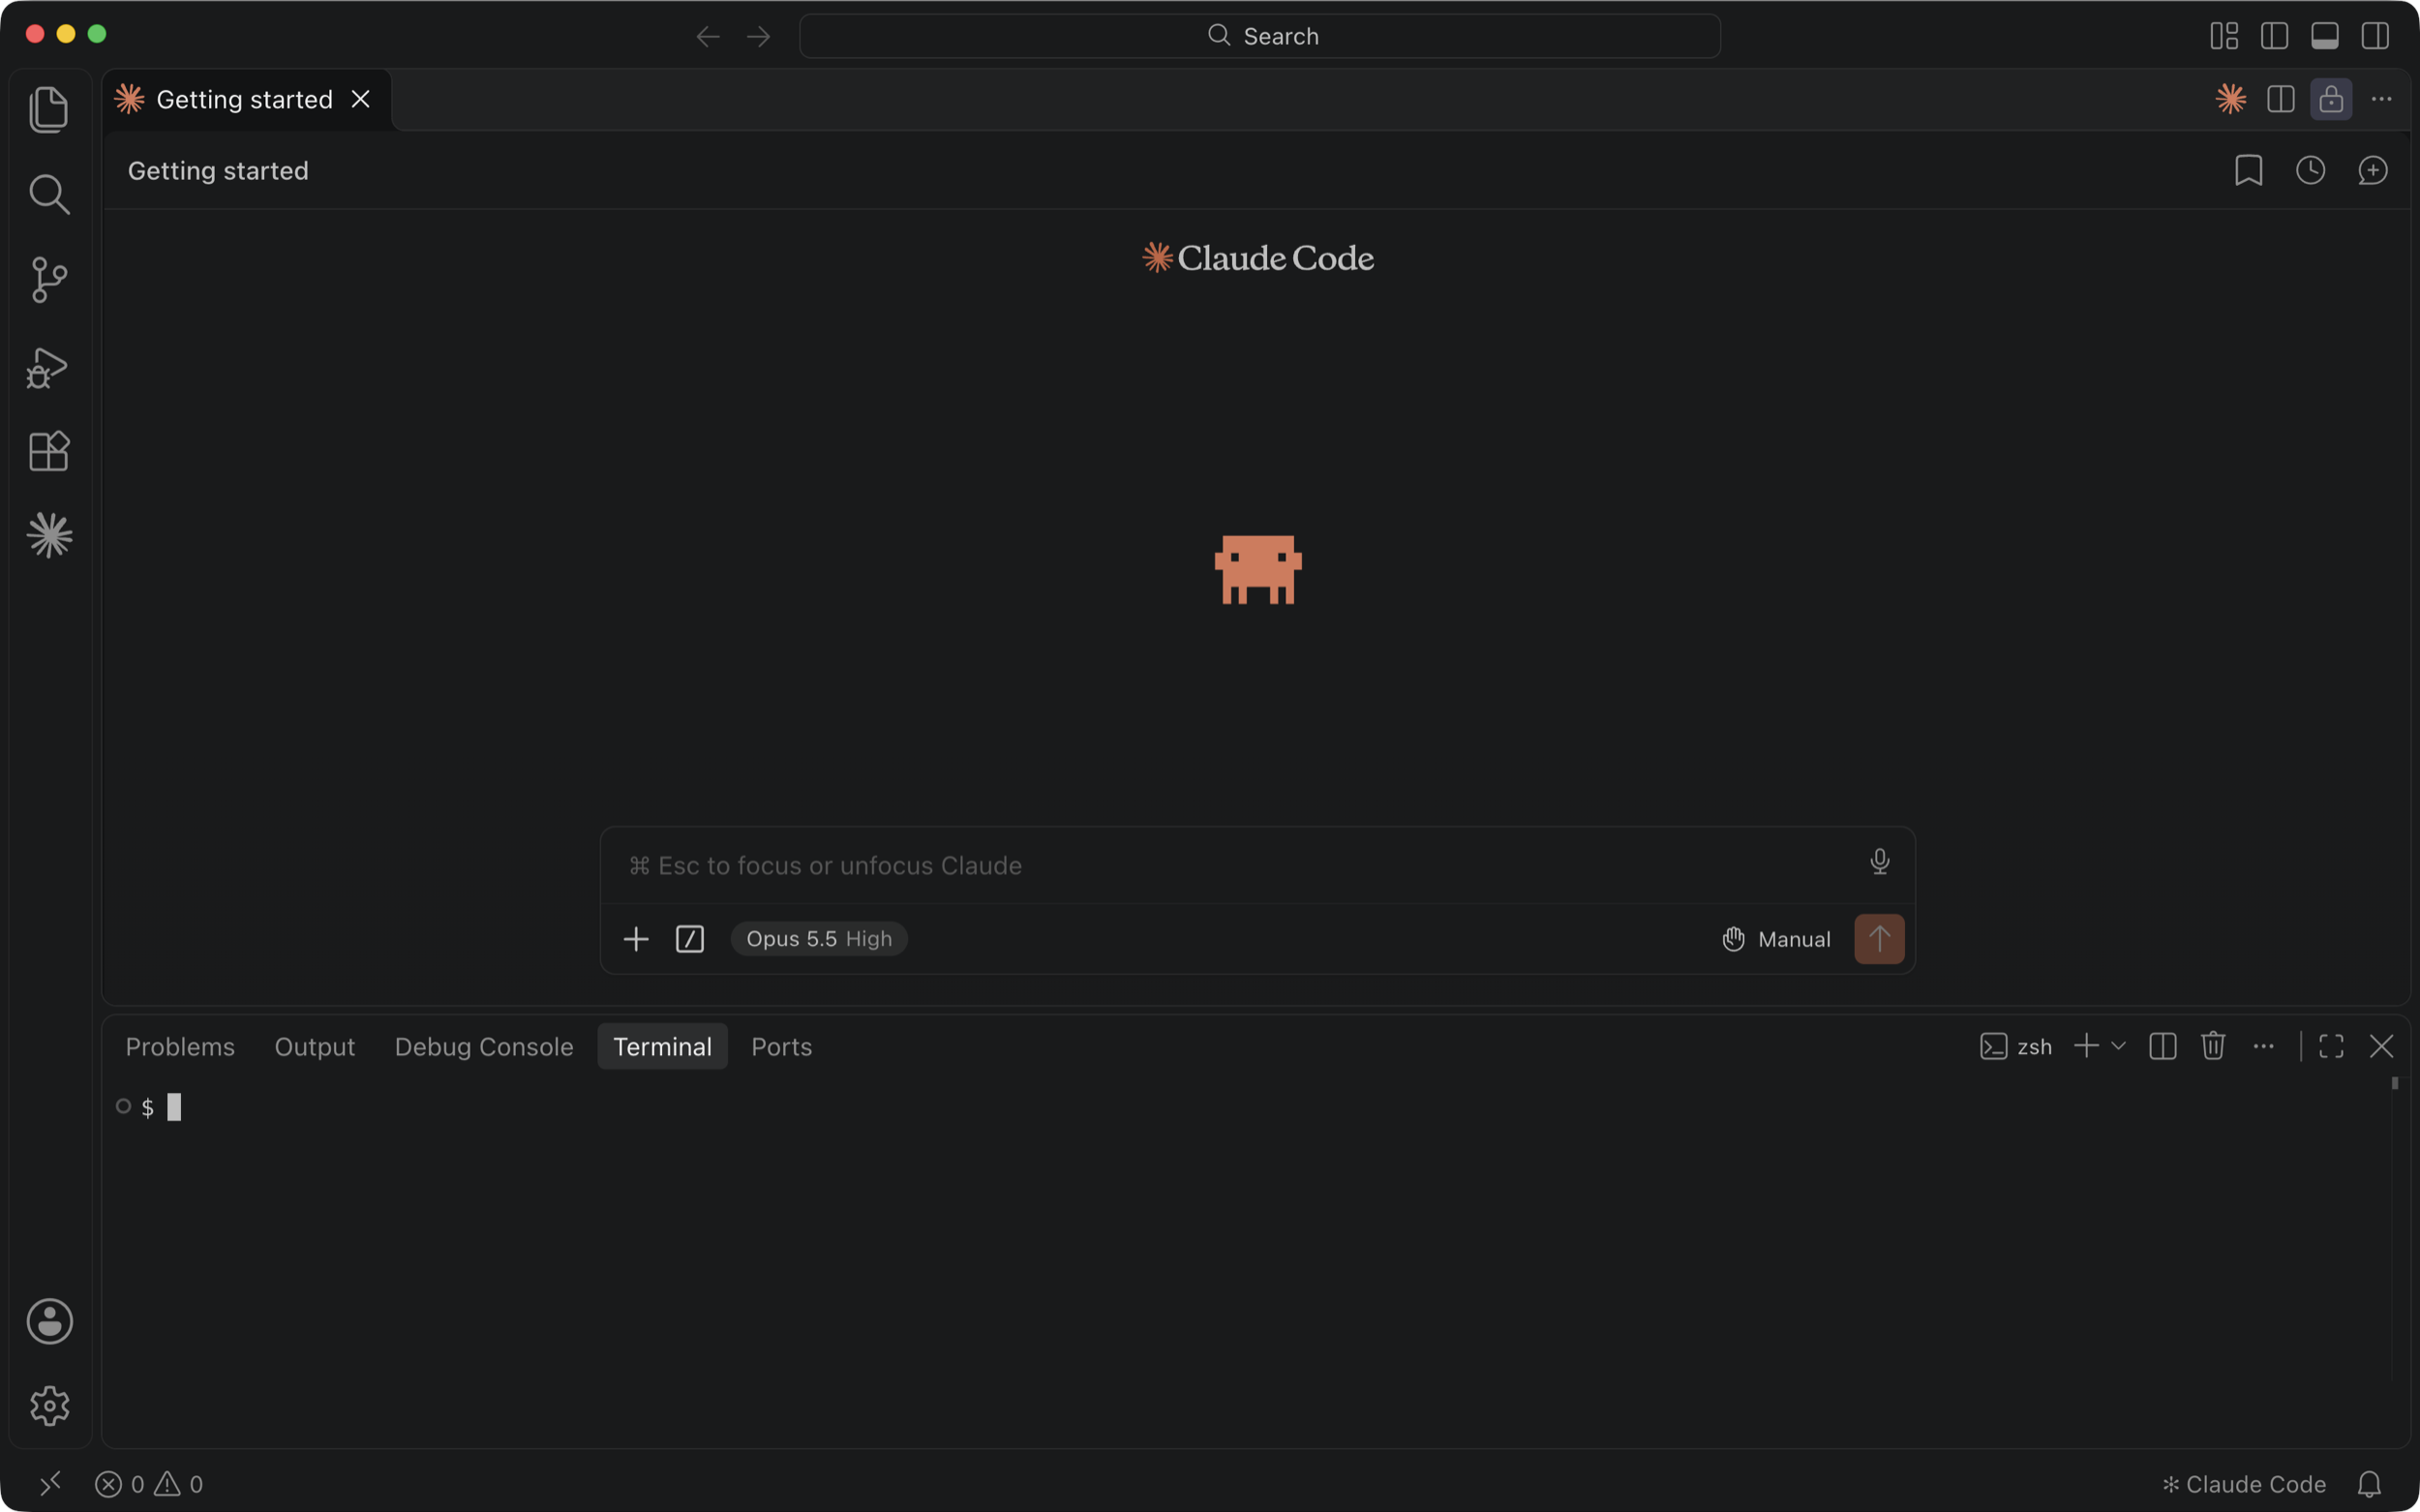 curl -fsSL https://elements.dev/install | sh
Create your copy of this app
When the install finishes, press Shift + Command + P to open the command palette.
Type new app, select Elements: New App in the list and press Enter.
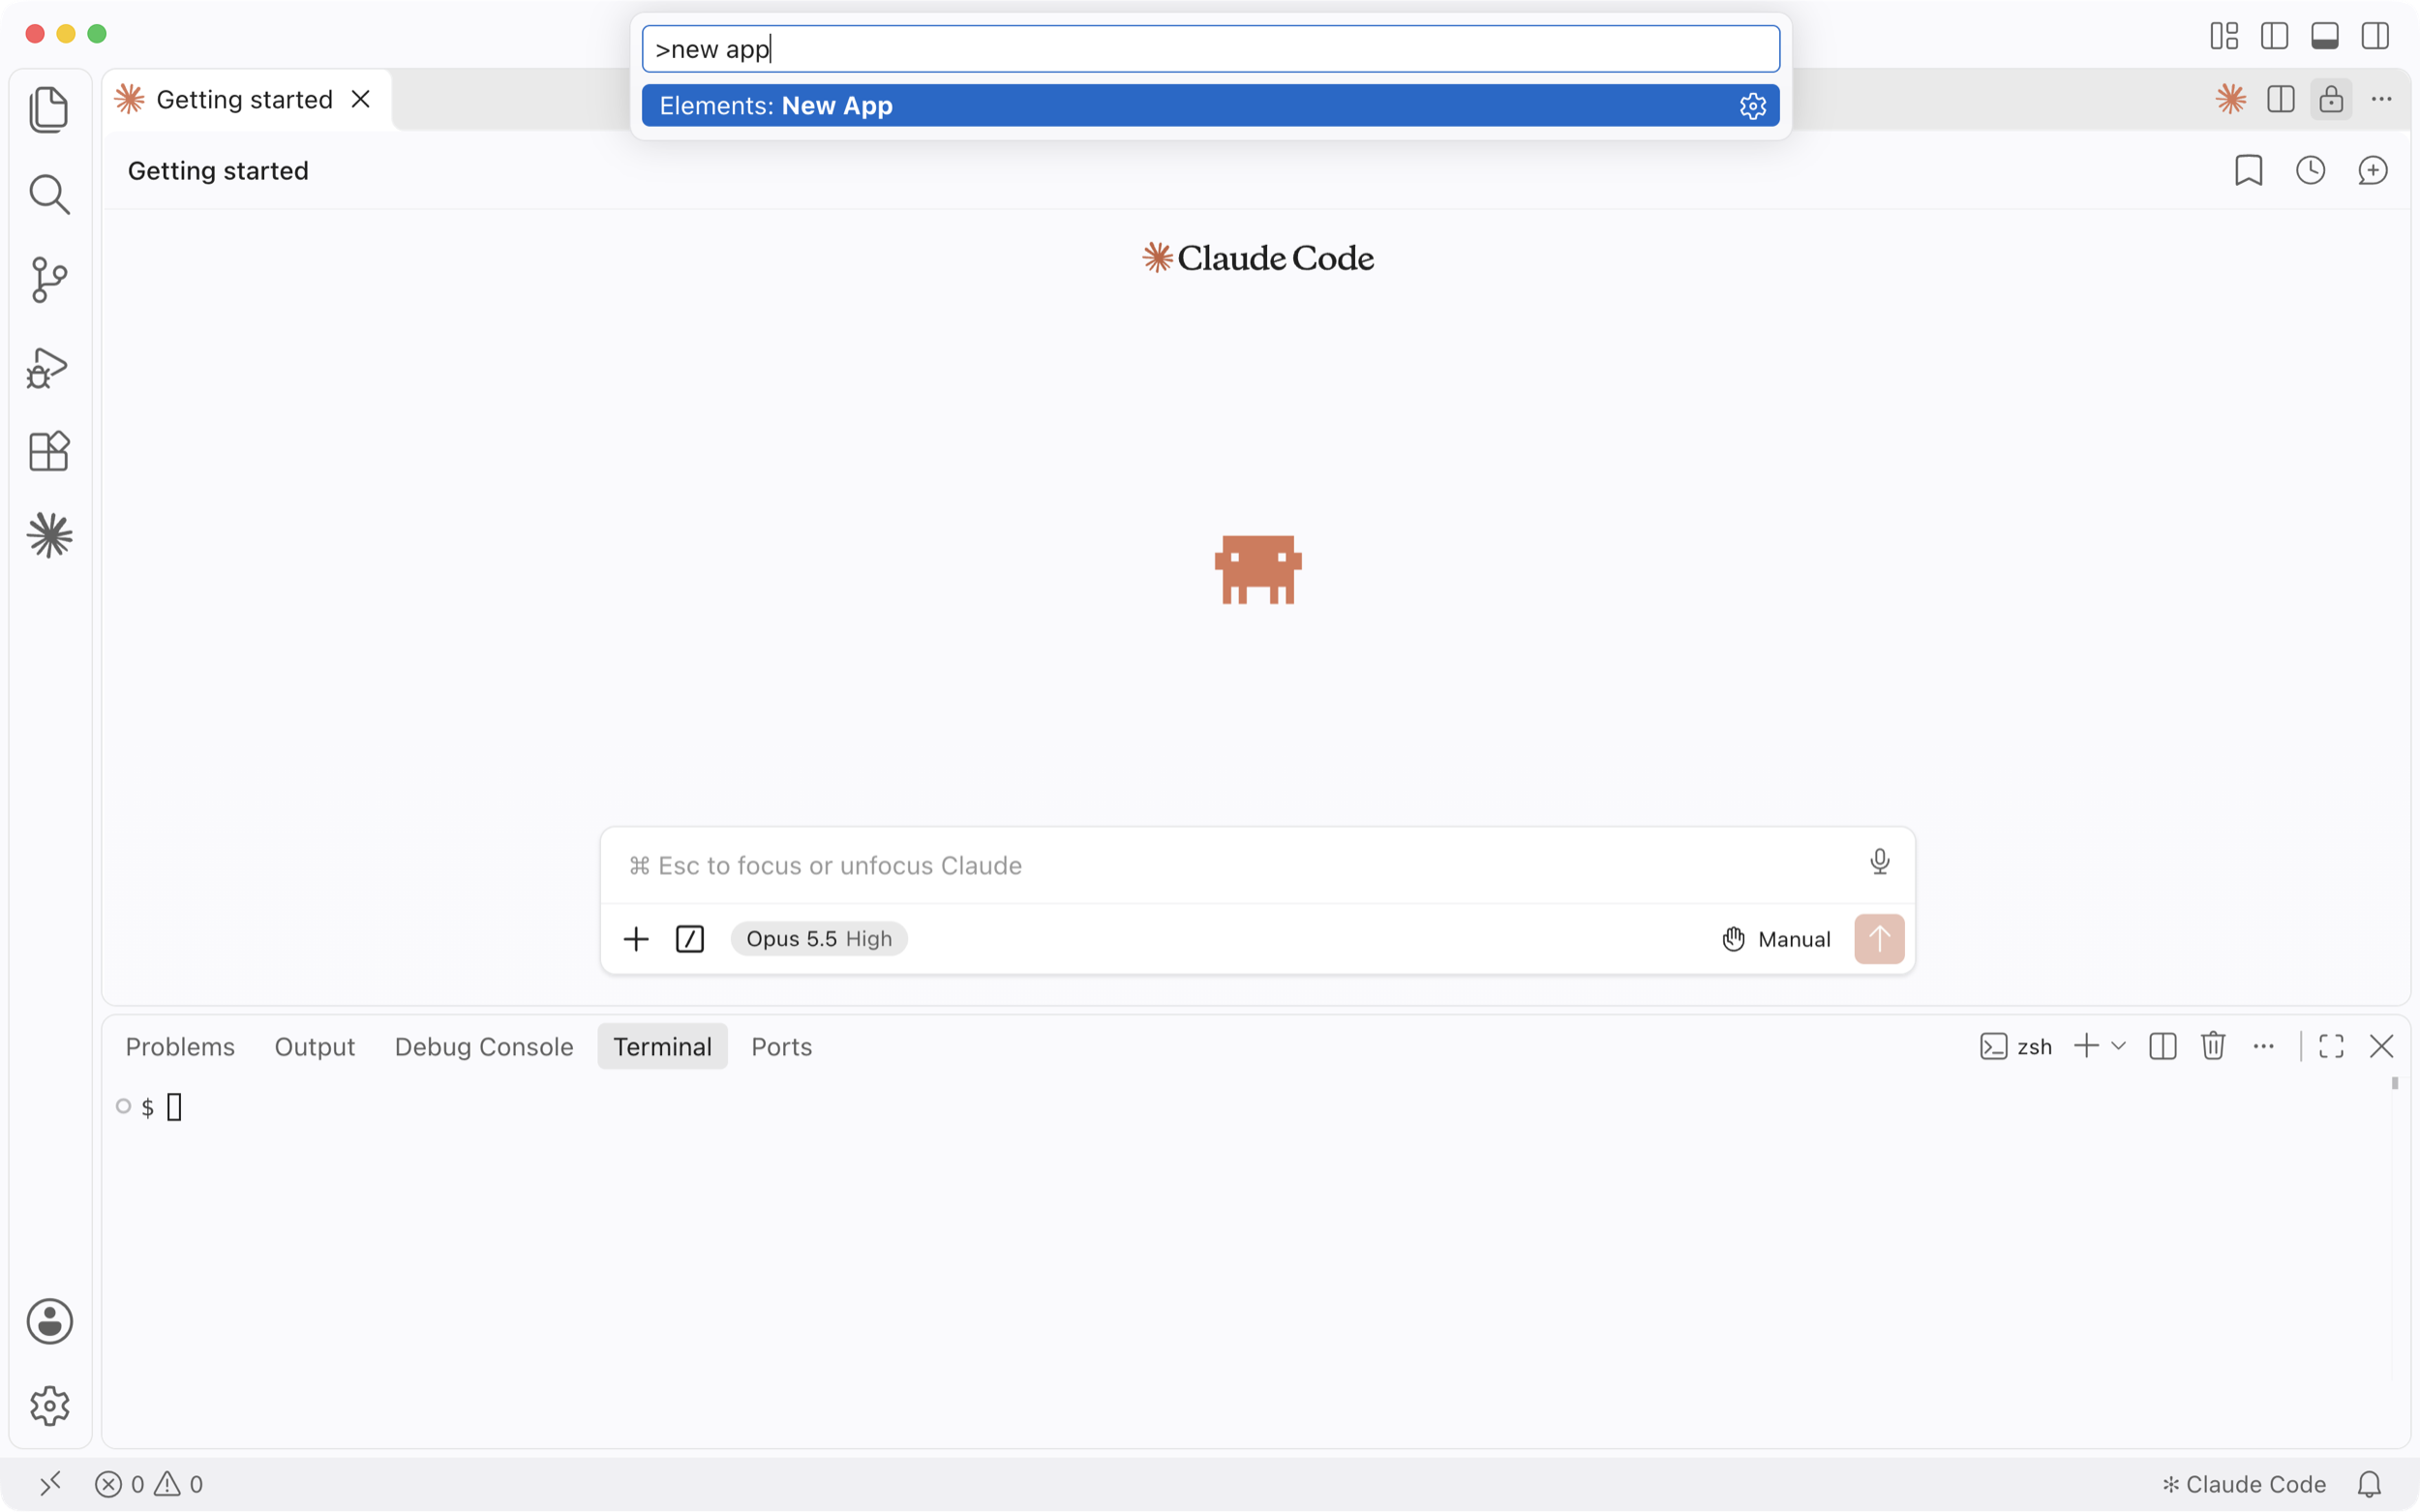
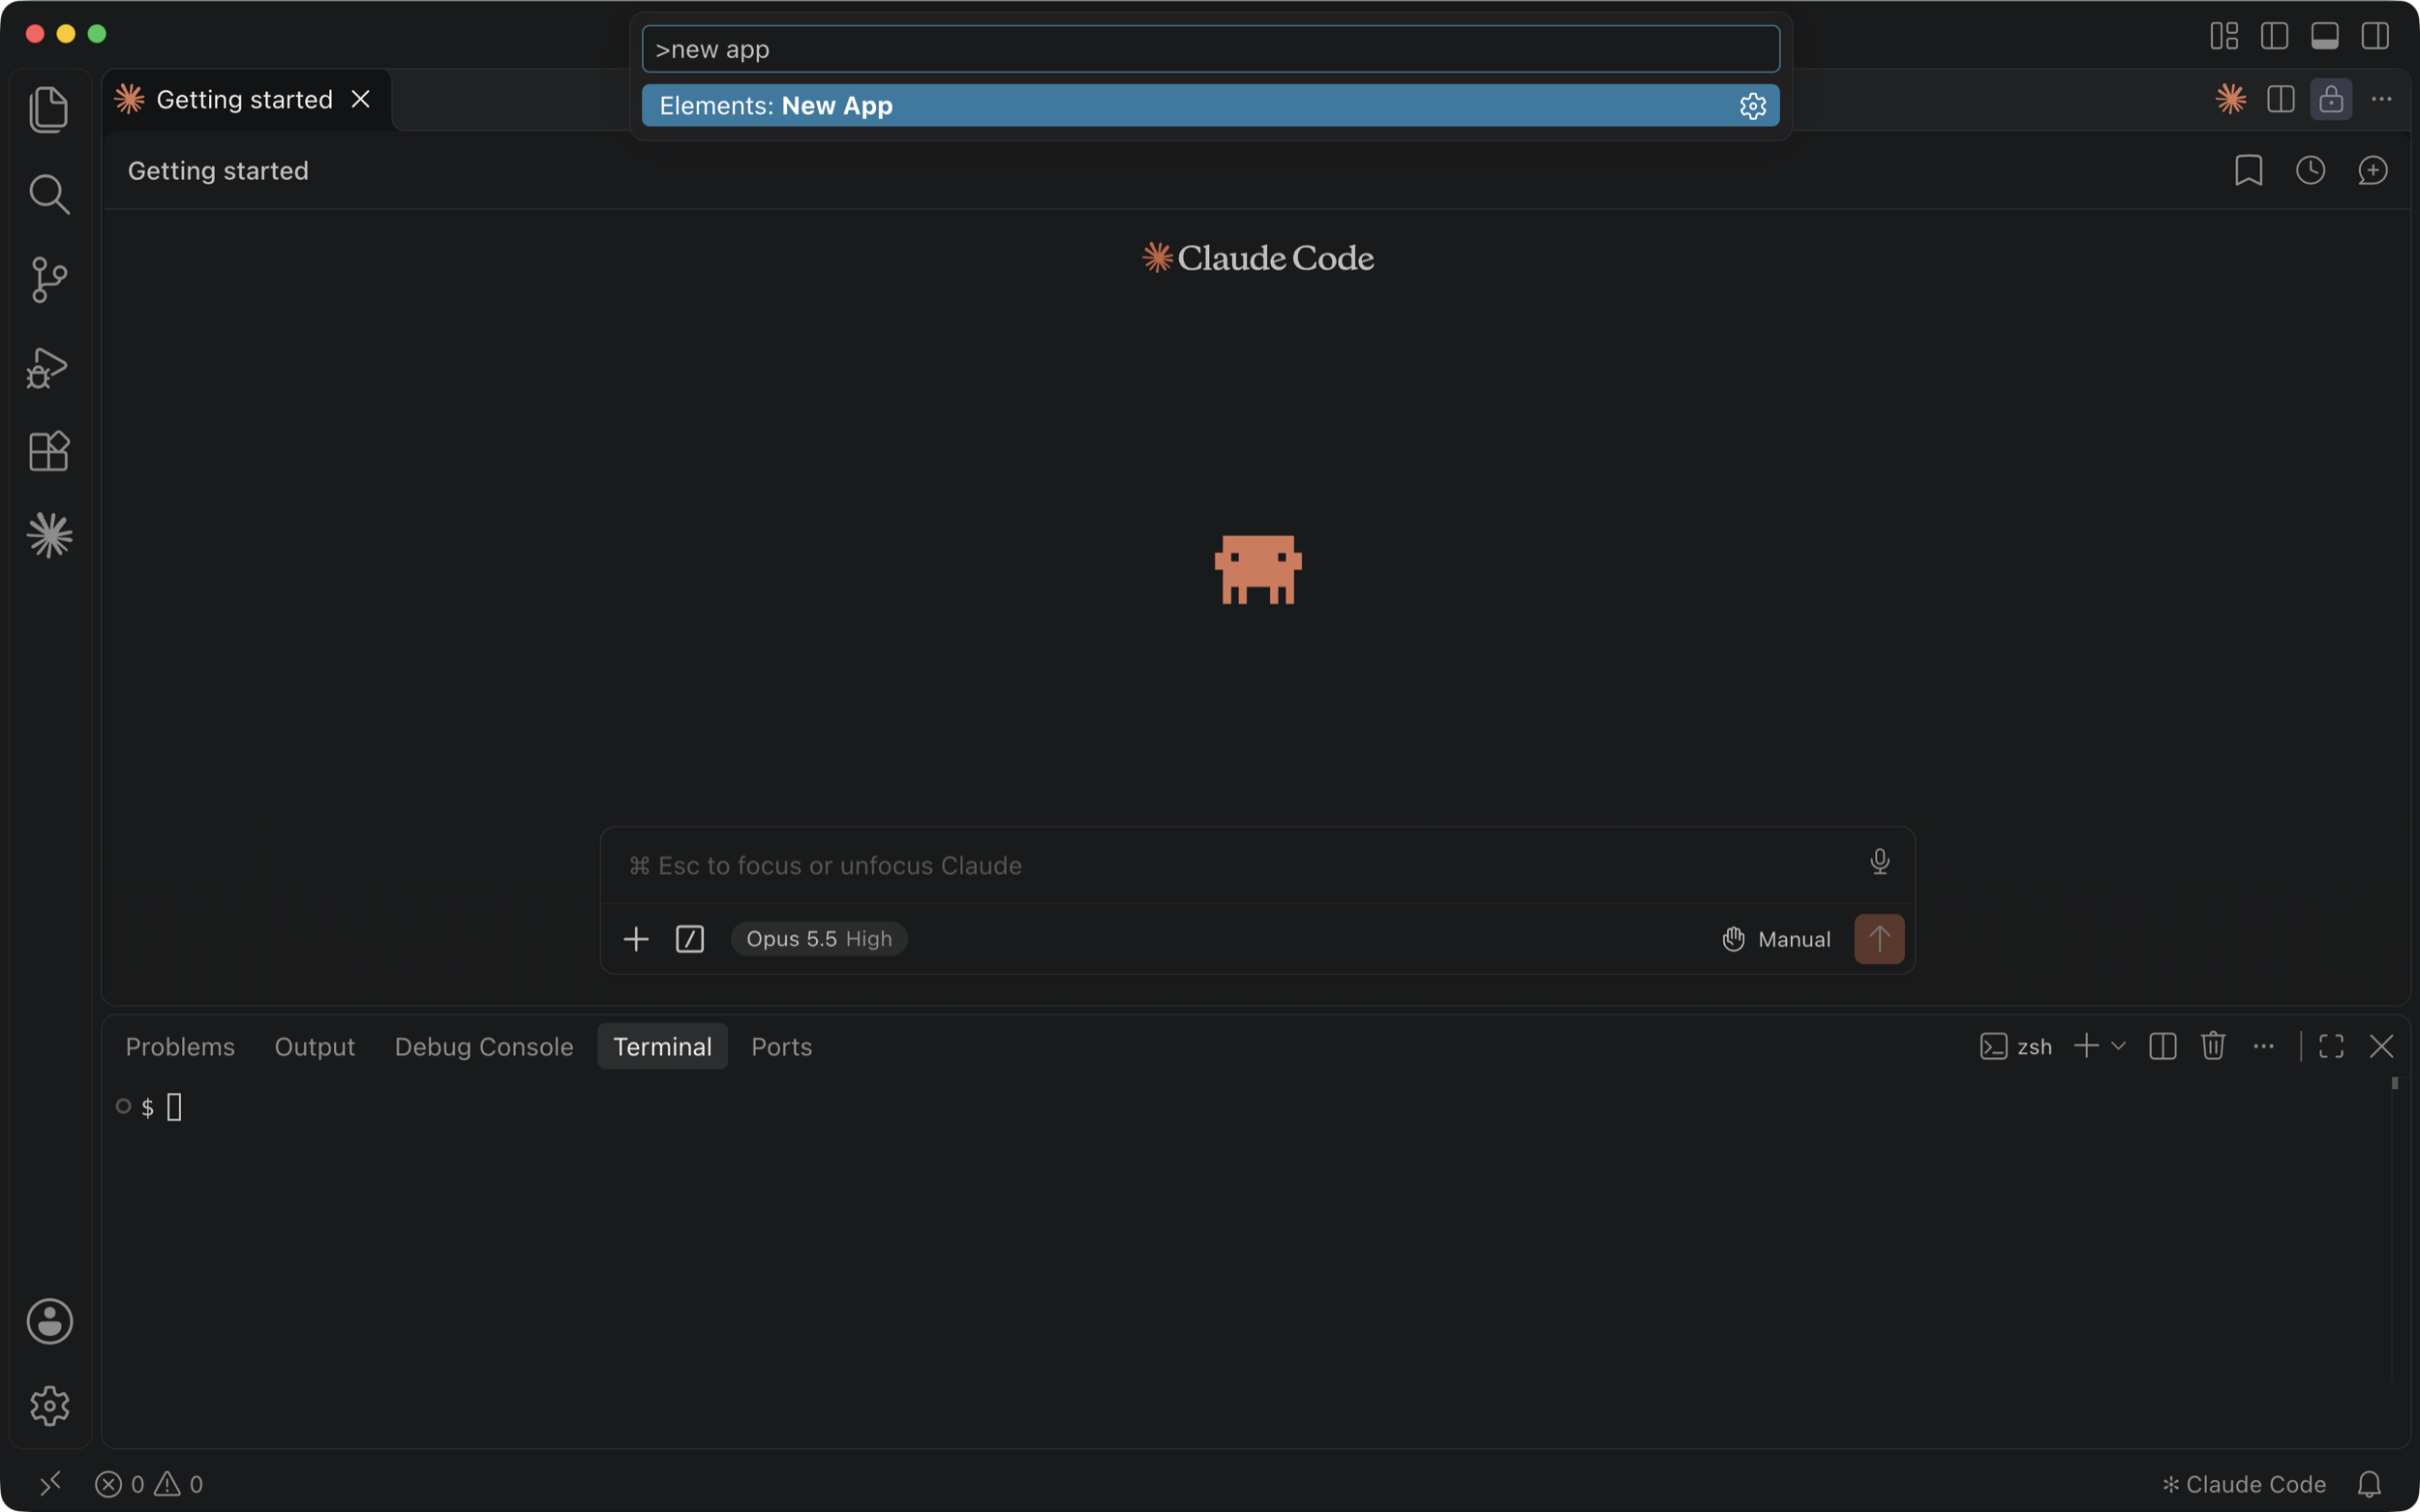
Copy the text.
awaywell -scaffold=elementscode/demo-awaywell
Paste the text into the Elements: New App name box and press Enter.
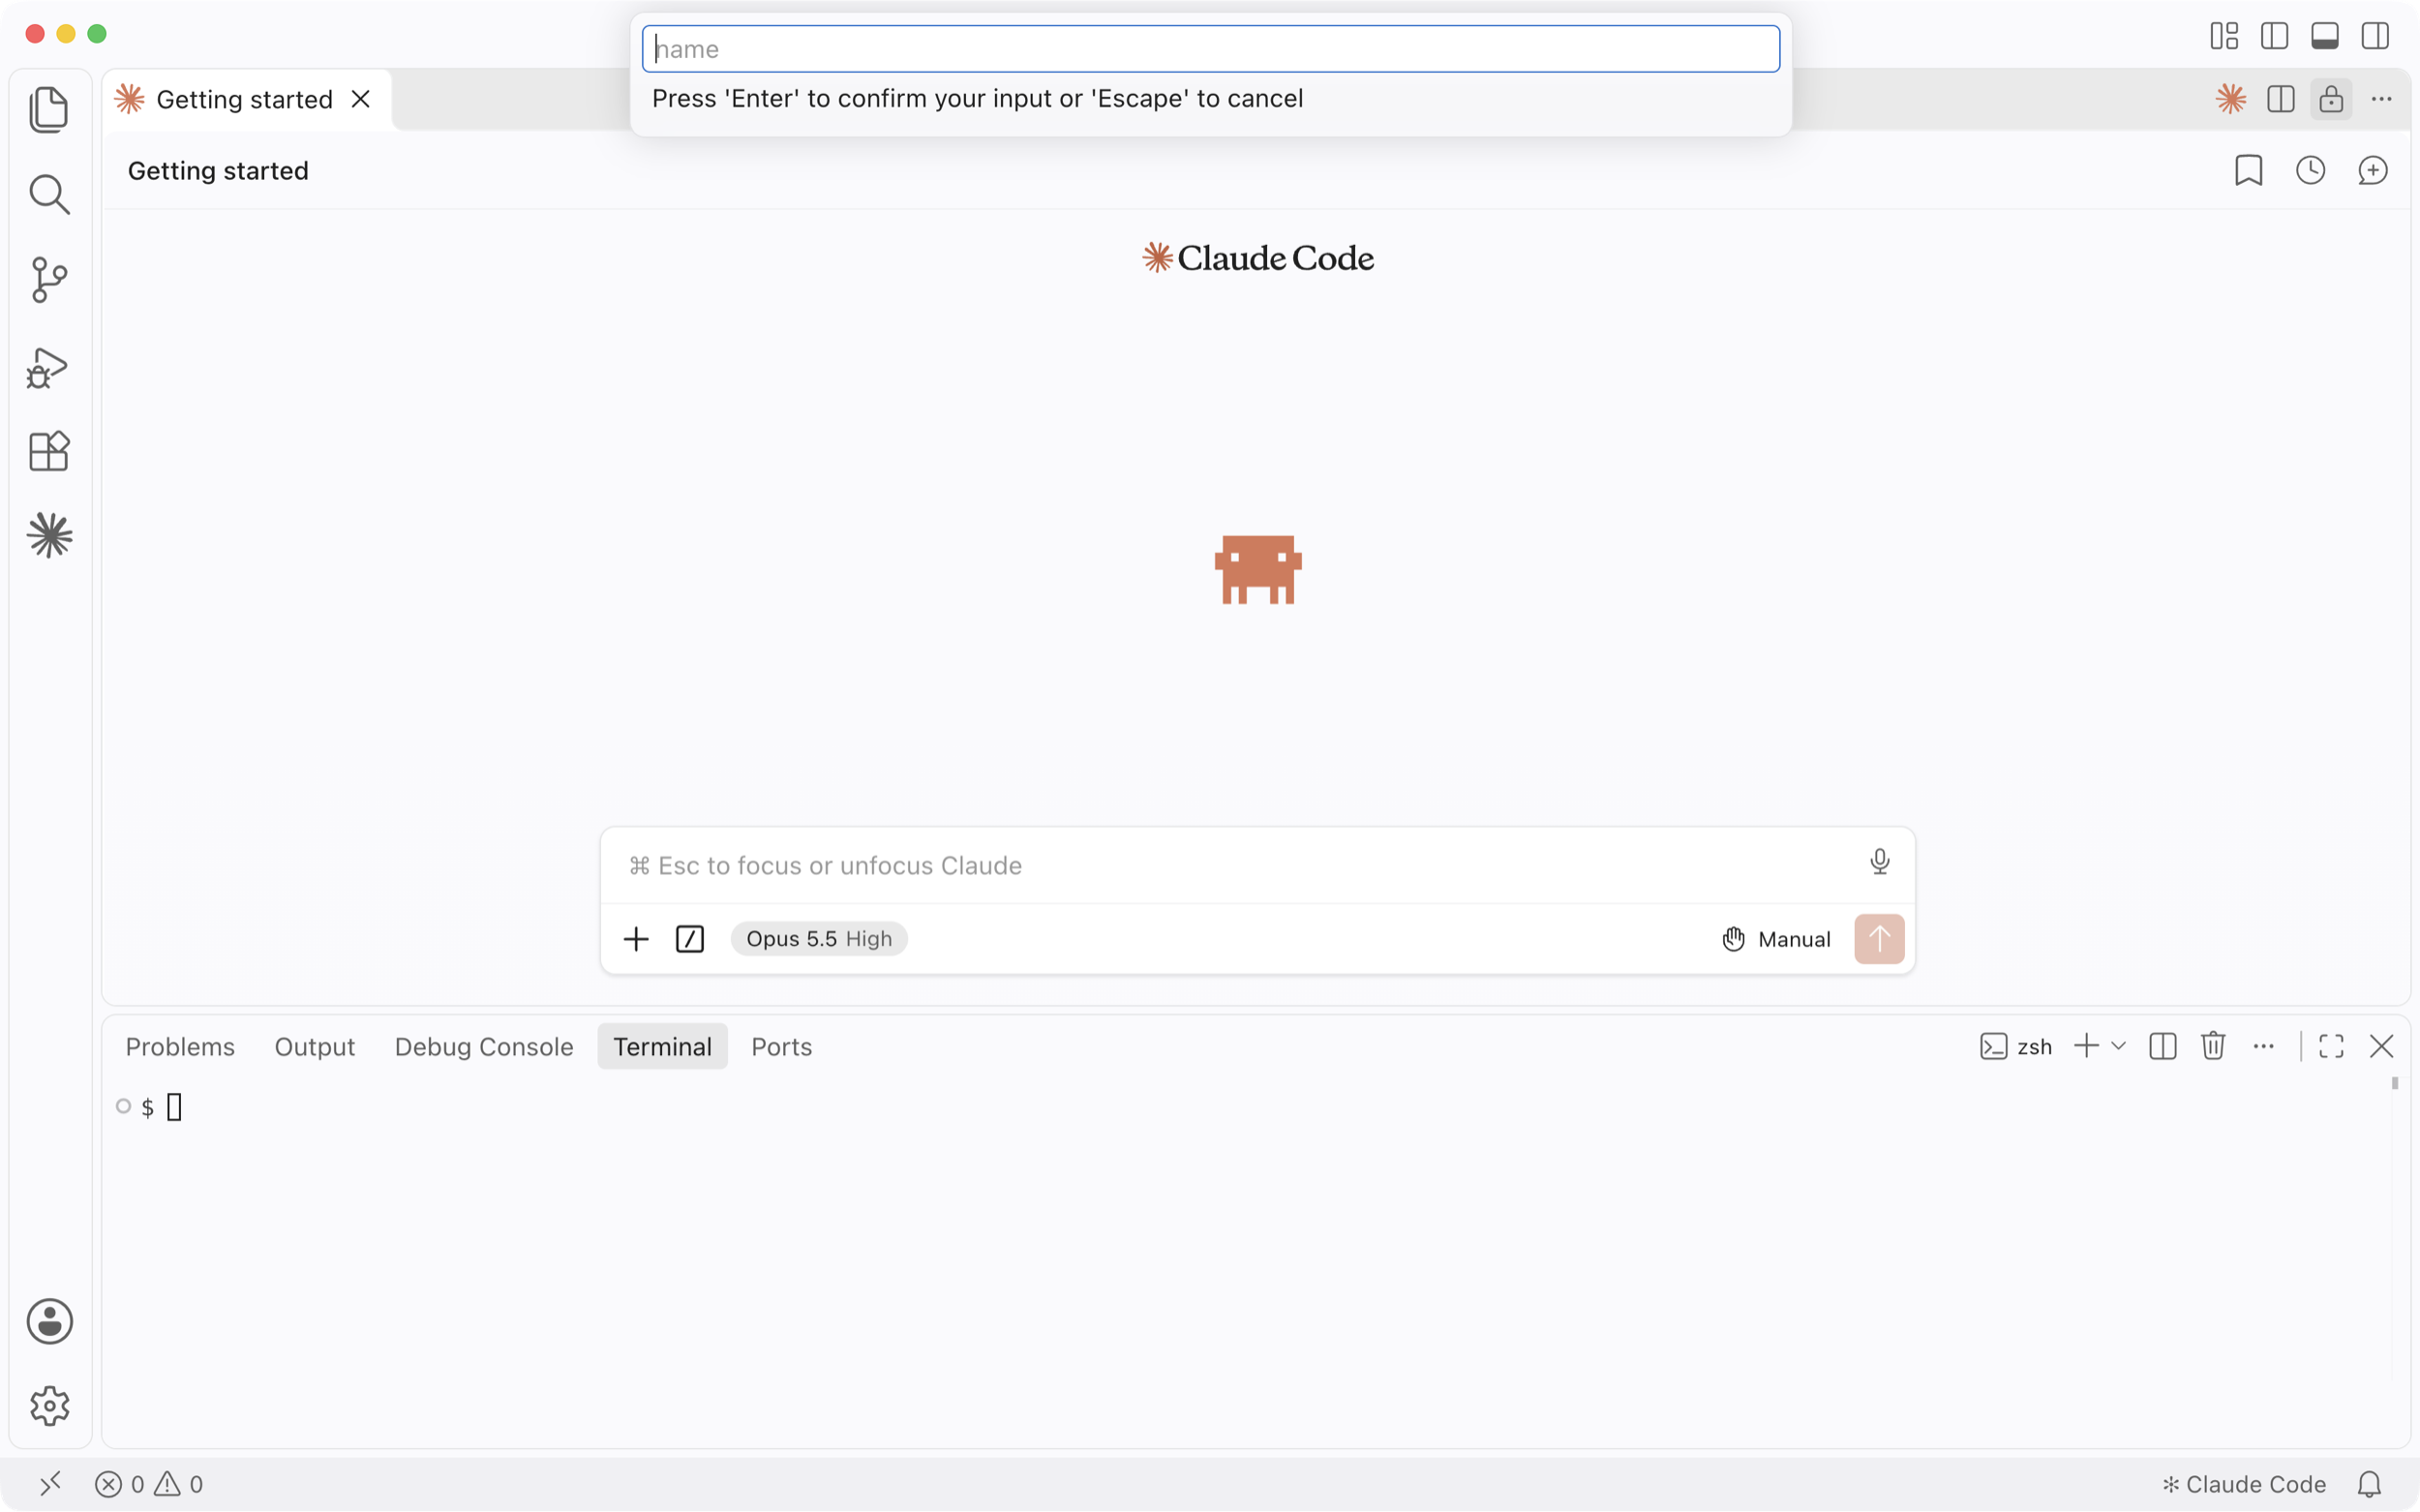
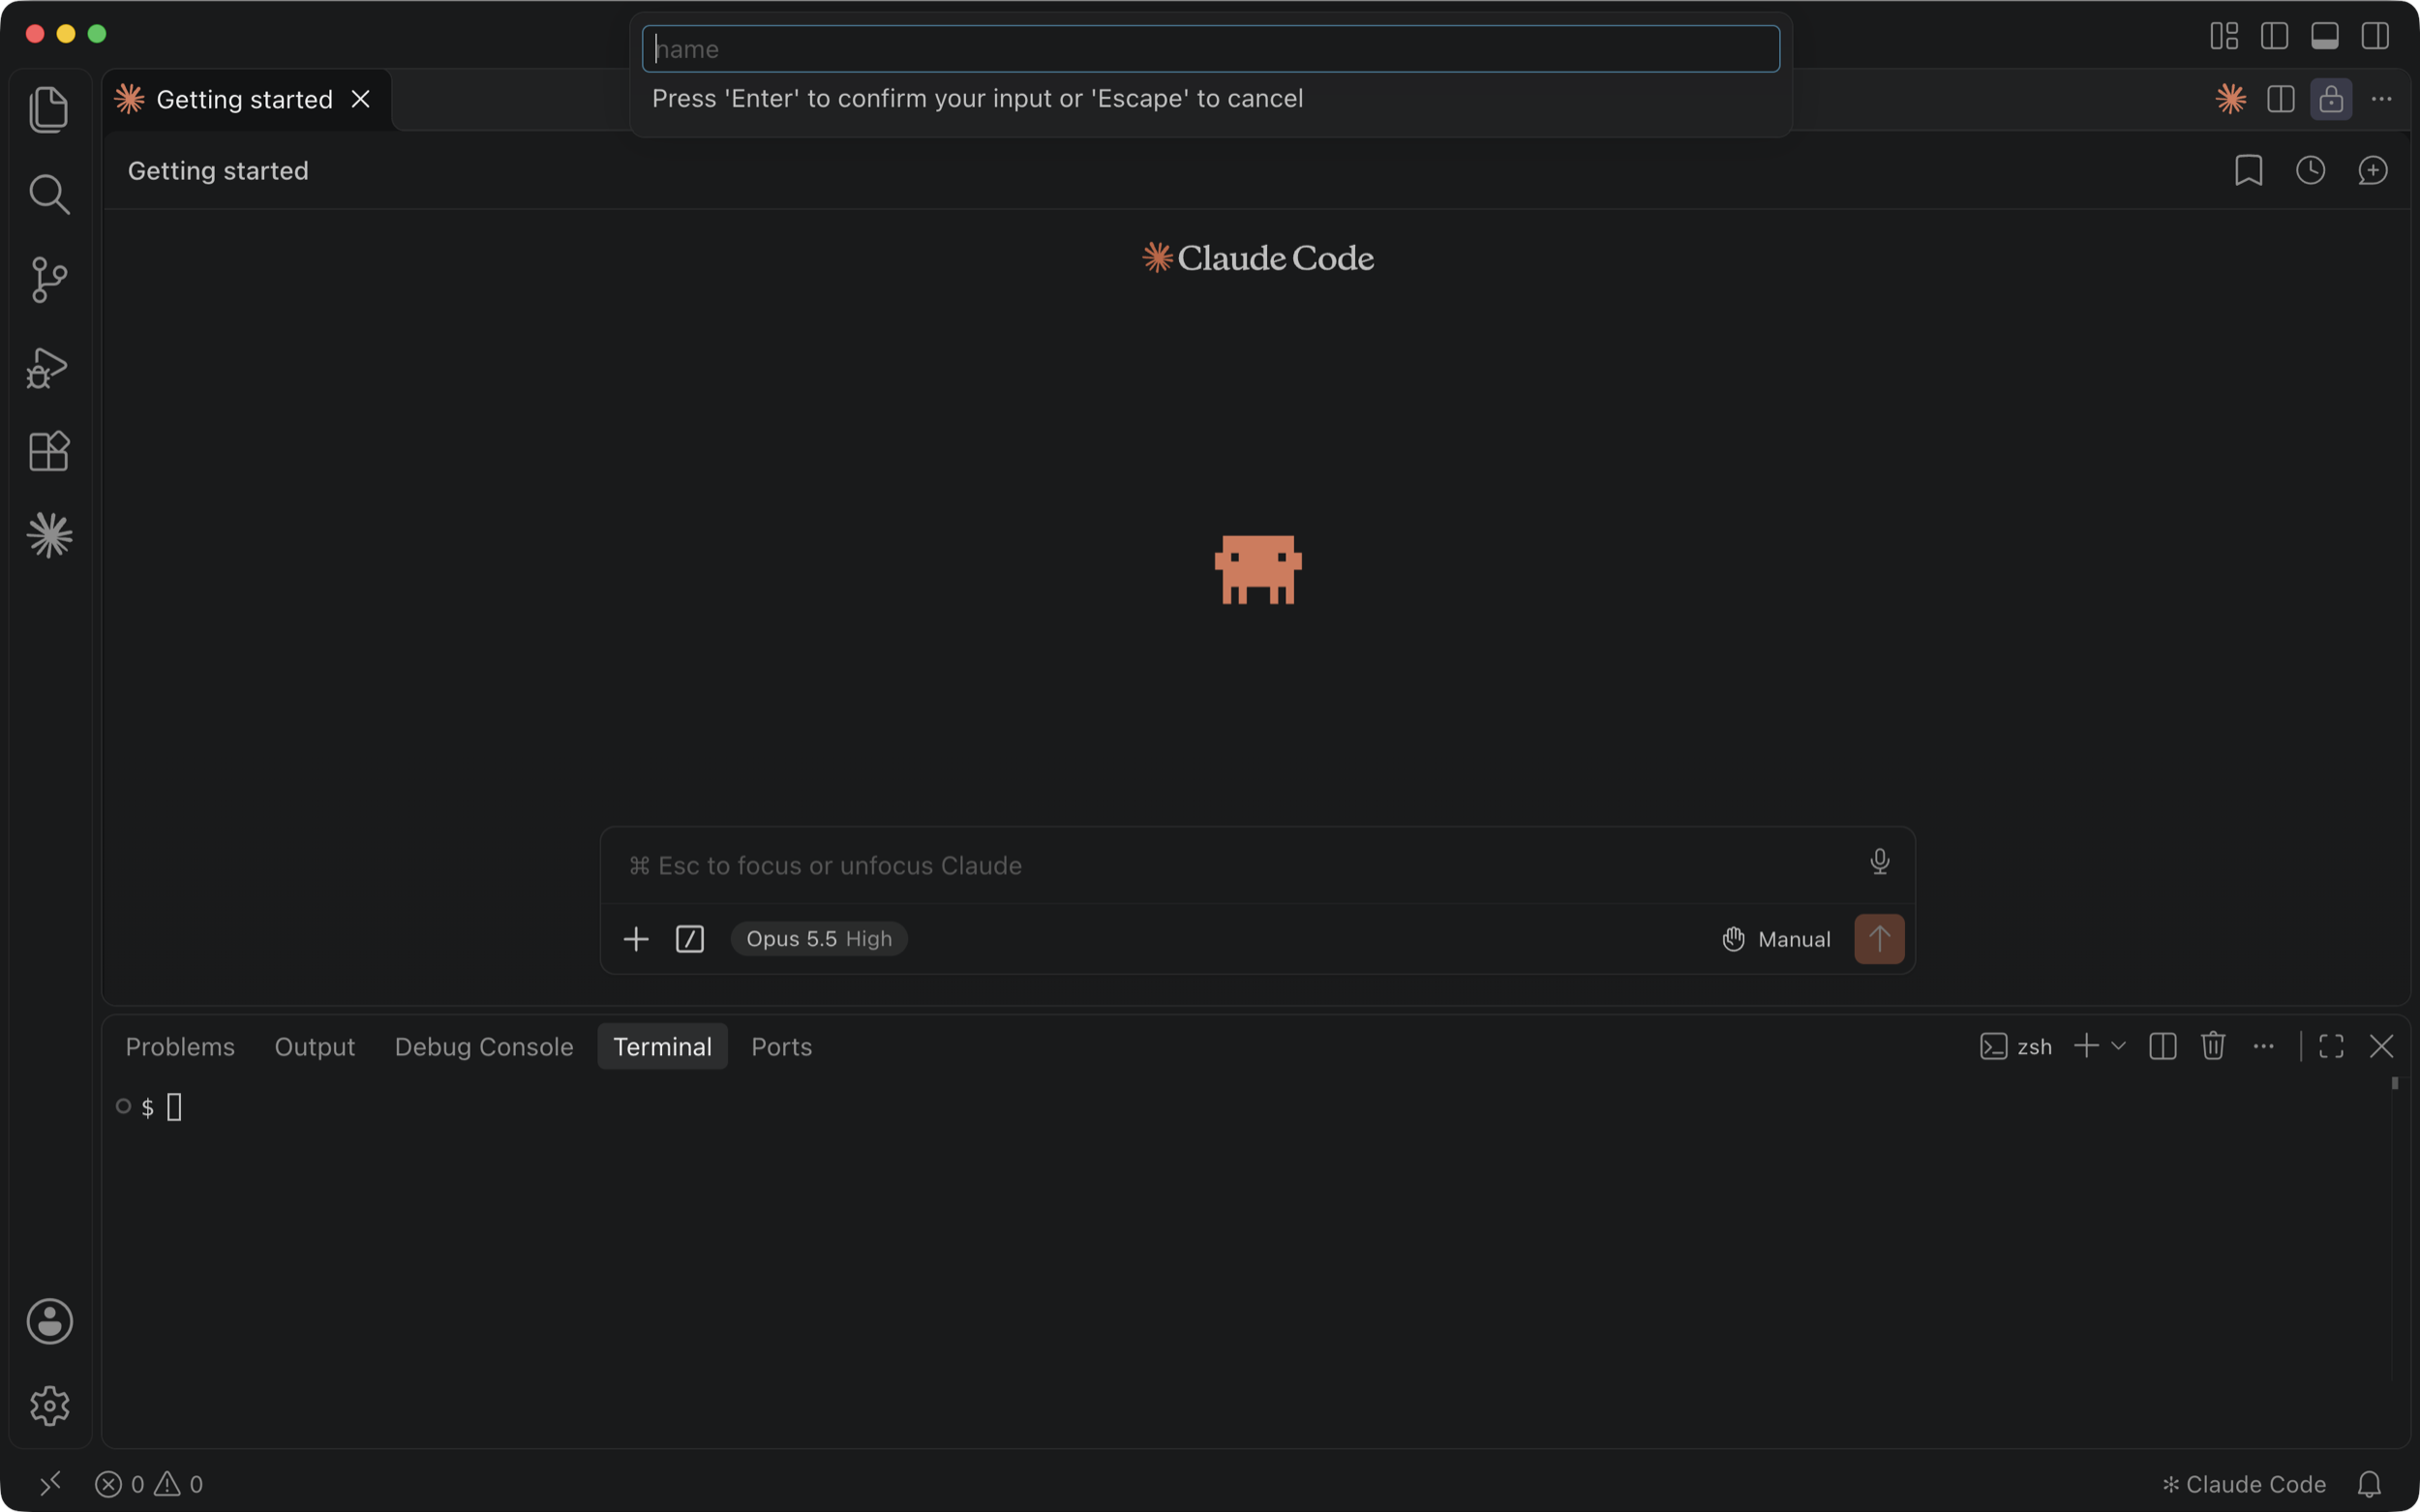 awaywell -scaffold=elementscode/demo-awaywell
Your copy of this app opens in VS Code with a terminal and Claude Code on the left.
Start your app
Copy the command.
elements startPaste the command into the terminal and press Enter.
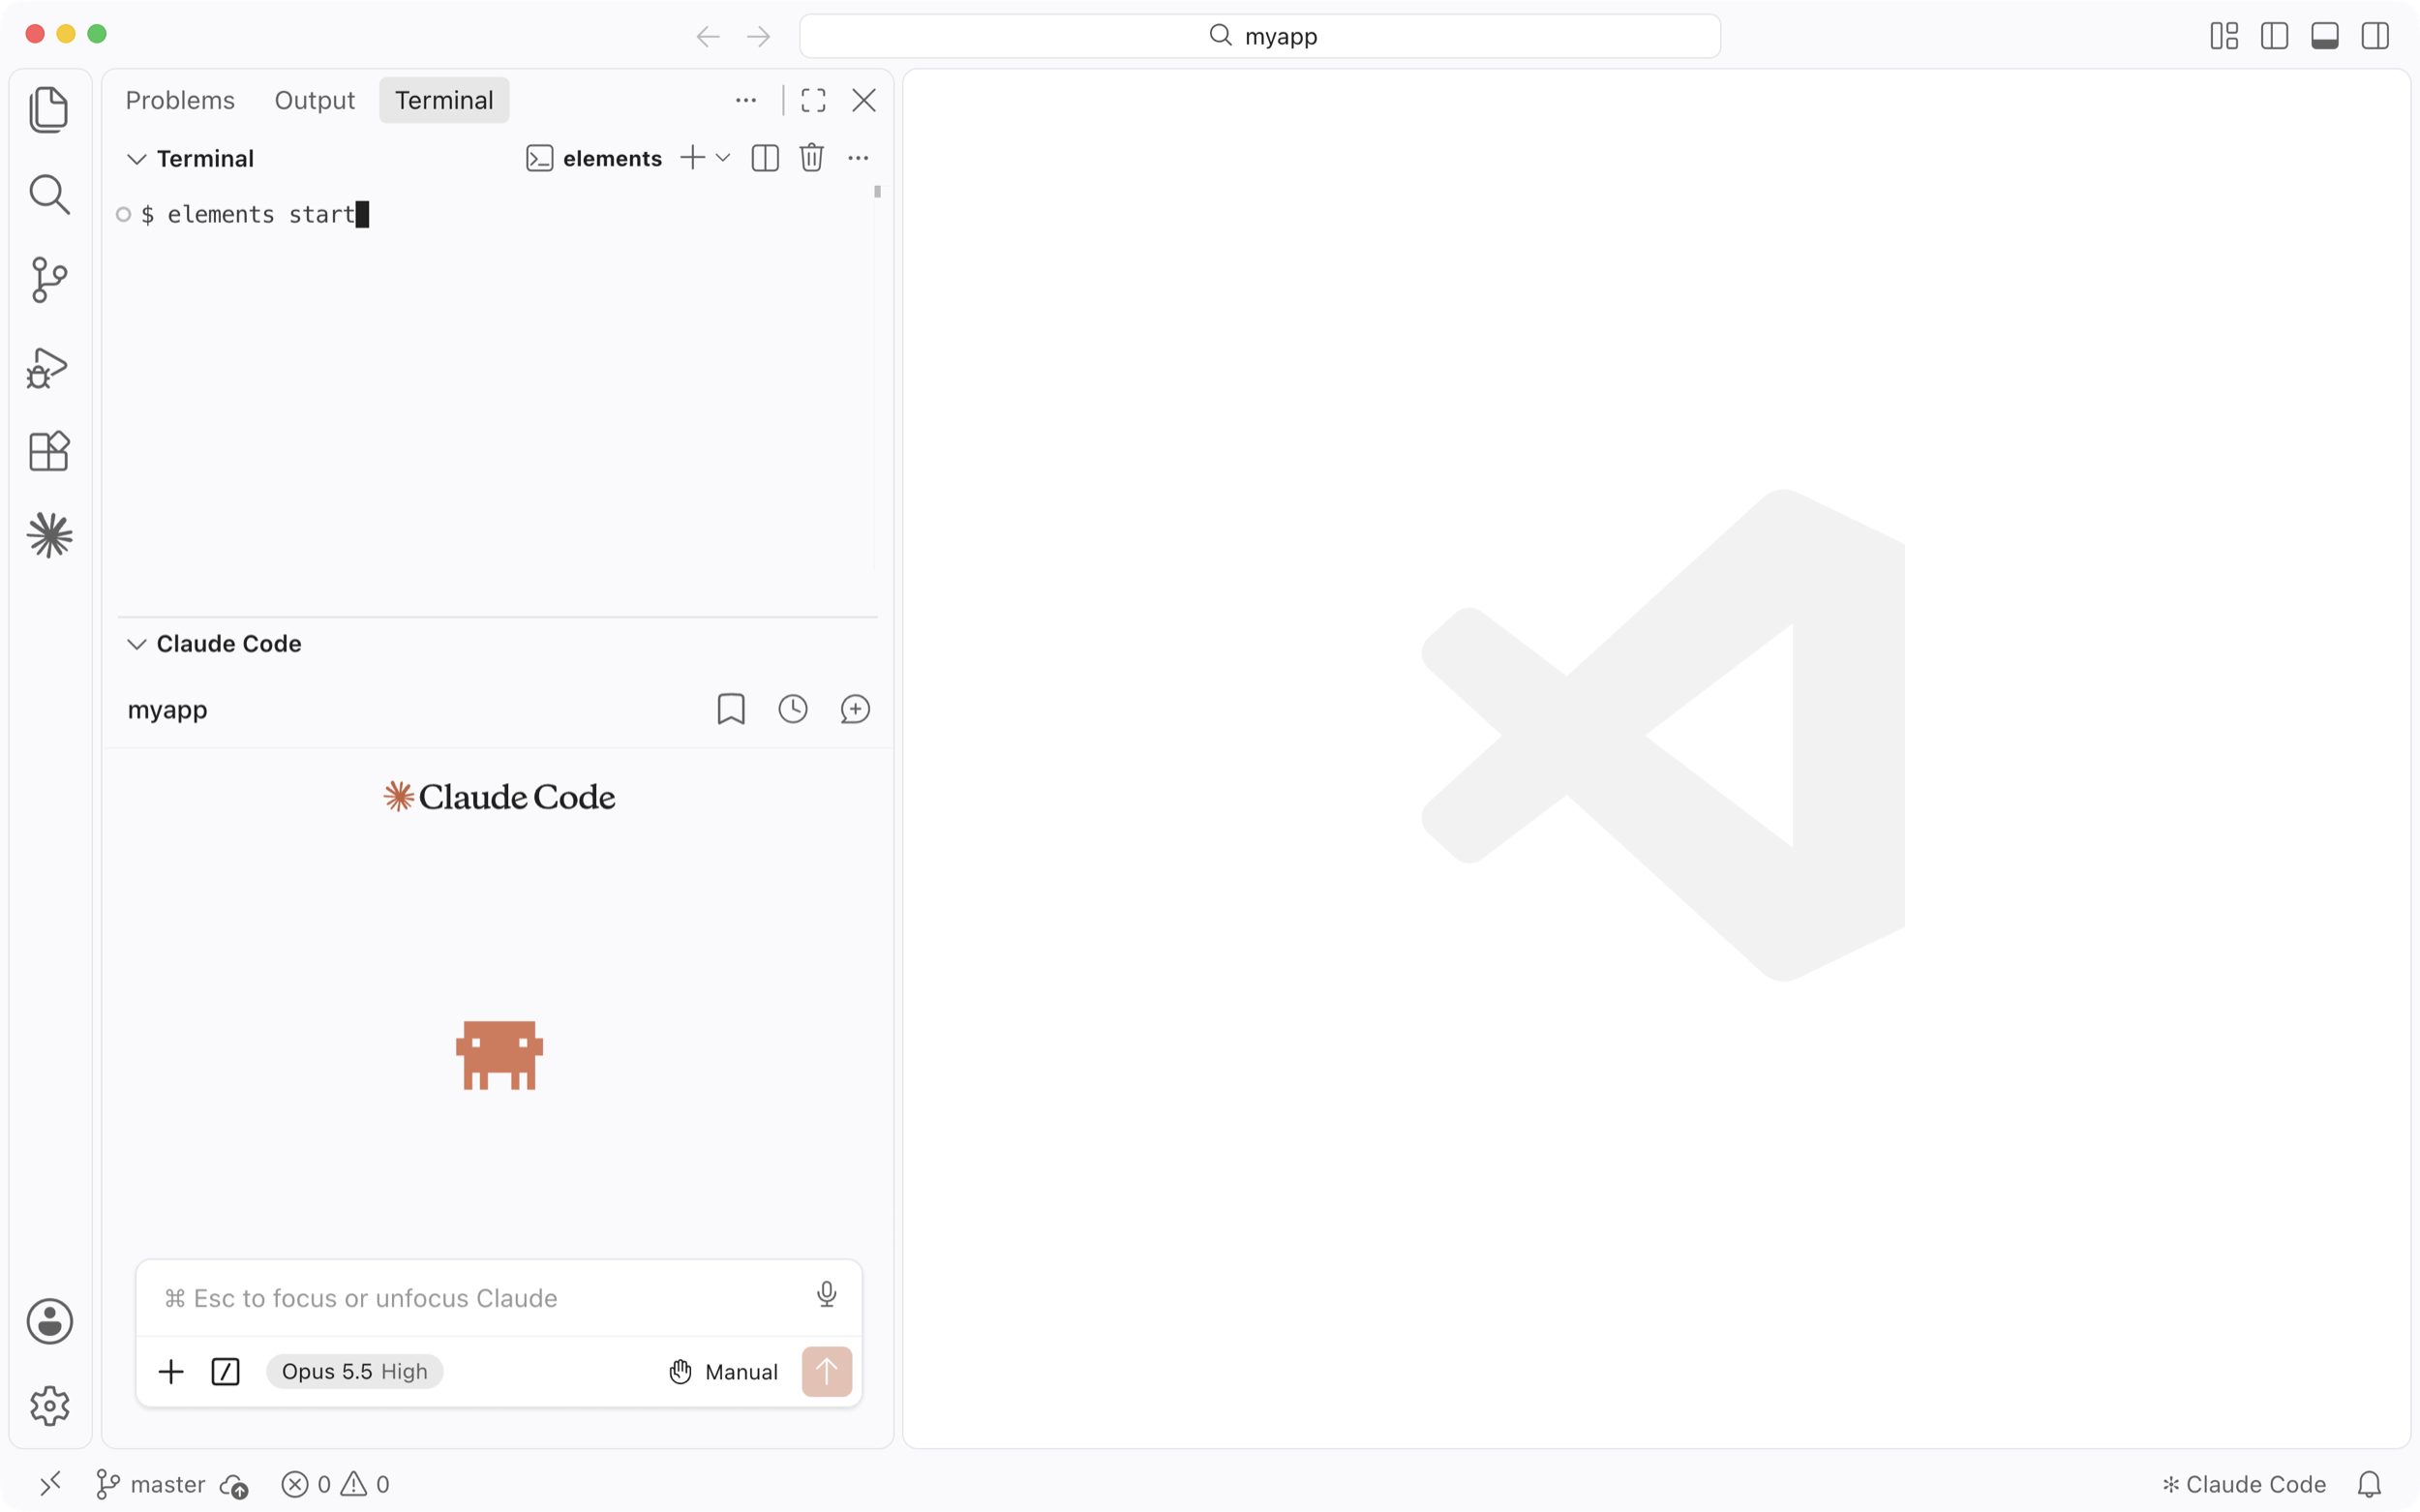
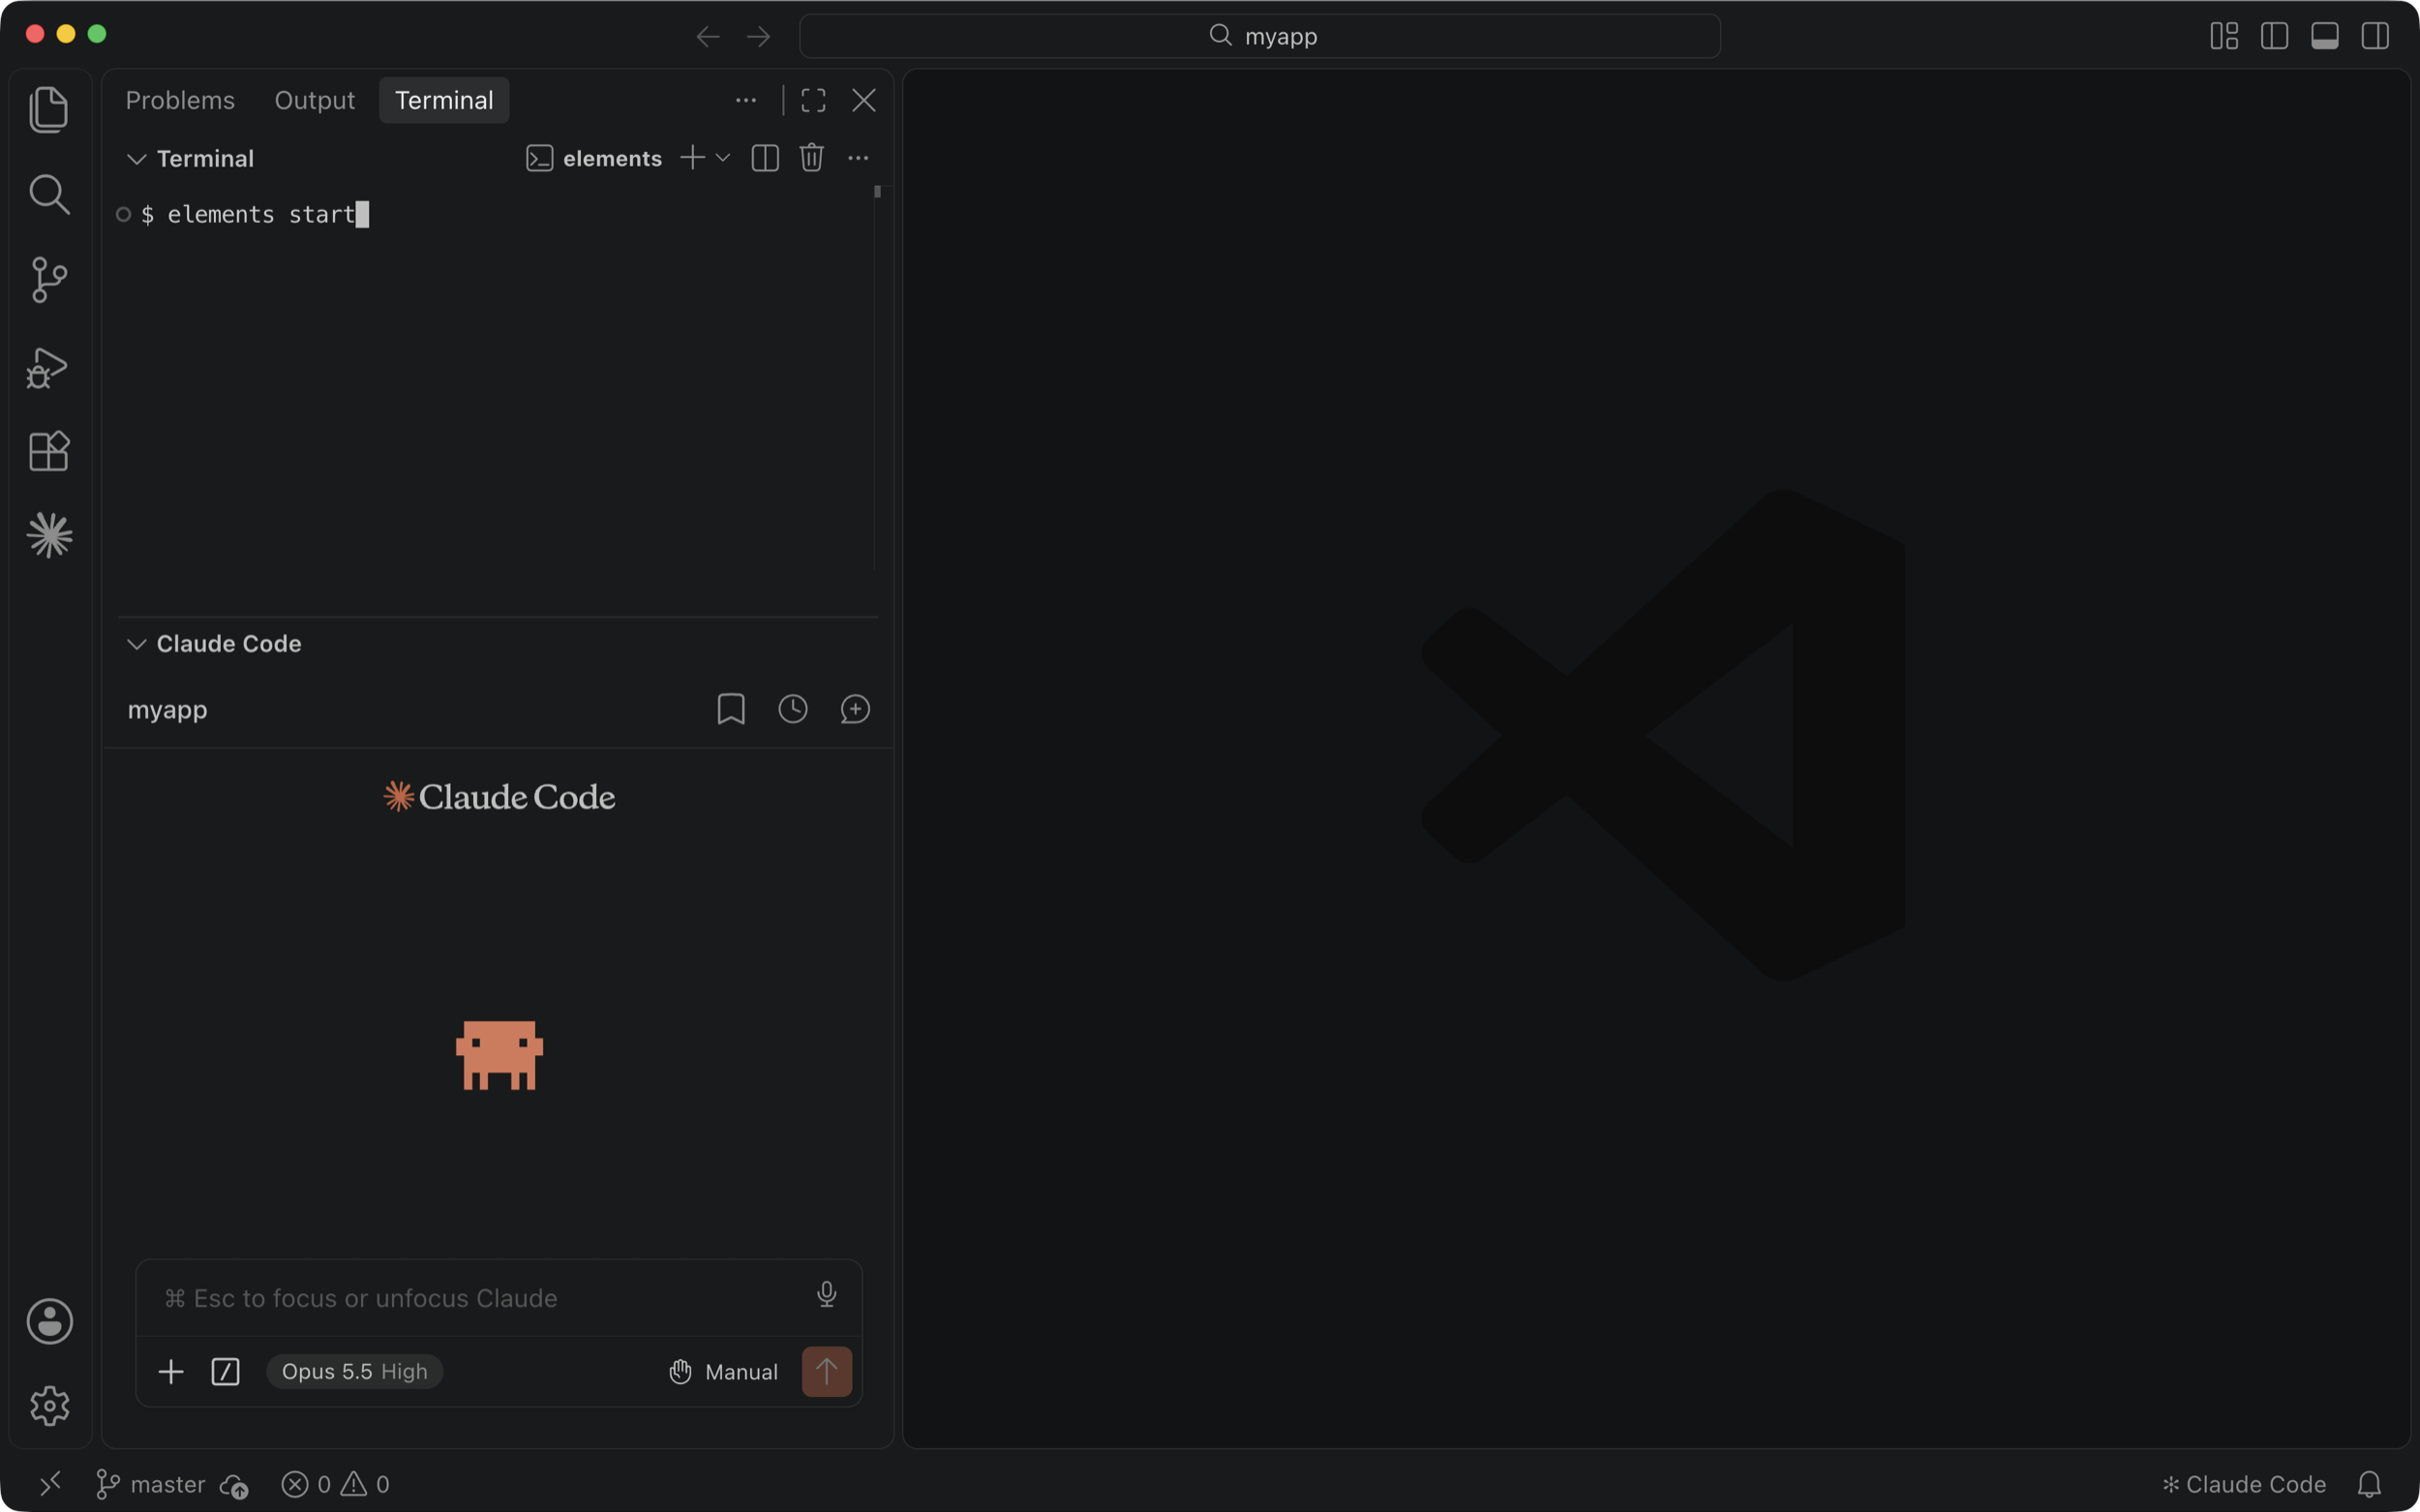
Your app opens in VS Code's browser, next to the terminal and Claude Code.
New to Elements? Read the getting started guide.