Sales forecasts with live pipeline charts, built by Claude Code on Elements
Reps update deals and submit weekly calls. Managers track commit, best case and weighted pipeline against quota in live charts.
How it's built
Commitvane needed rep and manager accounts, a dashboard that moves as reps edit deals and submit calls, charts drawn from live numbers, and a weekly snapshot job. Each of those is a part of Elements, so the agent spent its 17 minutes on the forecast math itself.
- A live manager dashboard. Deal edits and weekly calls notify a channel, and the manager's dashboard re-reads its numbers, so tiles, the call-versus-deals table and charts update within a second of a rep's change.
- Charts that redraw. Each chart mounts when its canvas appears on the page and redraws when the numbers change. The charting package came in with
elements install. - Edits as function calls. Reps update deals and submit weekly calls, and managers set quotas and stage probabilities, through
@rpcfunctions called straight from the page. Marking a deal closed moves it to closed won in the same update. - A weekly snapshot job. A one-line cron schedule runs a job every Monday at 7am that records each rep's numbers for the week, so the week-over-week chart has history.
- Forecast math in SQL. One query sums closed, commit, best case and pipeline per rep and weights each deal by its stage probability. Reps and managers each sign in to their own pages.
- Data from SQL files. Migrations define the schema and seed two managers, eight reps with quotas, sixty deals, and eight weeks of snapshots and calls. The project server applied each one as soon as it was saved.
Why Elements
Elements is the integrated stack for web apps: a build server and tooling, an app framework, a Postgres database and deployment, engineered as one system. Your editor, tools and one or many agents all connect to the same always-on build server, which runs type checking, program analysis, migrations and tests as the agent builds. Built-in guardrails keep the app structured correctly and secure as it grows from prototype to production.
Run it yourself
Install Elements
Copy the install command.
curl -fsSL https://elements.dev/install | shOpen a terminal in VS Code: choose Terminal › New Terminal from the menu bar at the top of your screen.
Copy and paste the command into the terminal and press Enter.
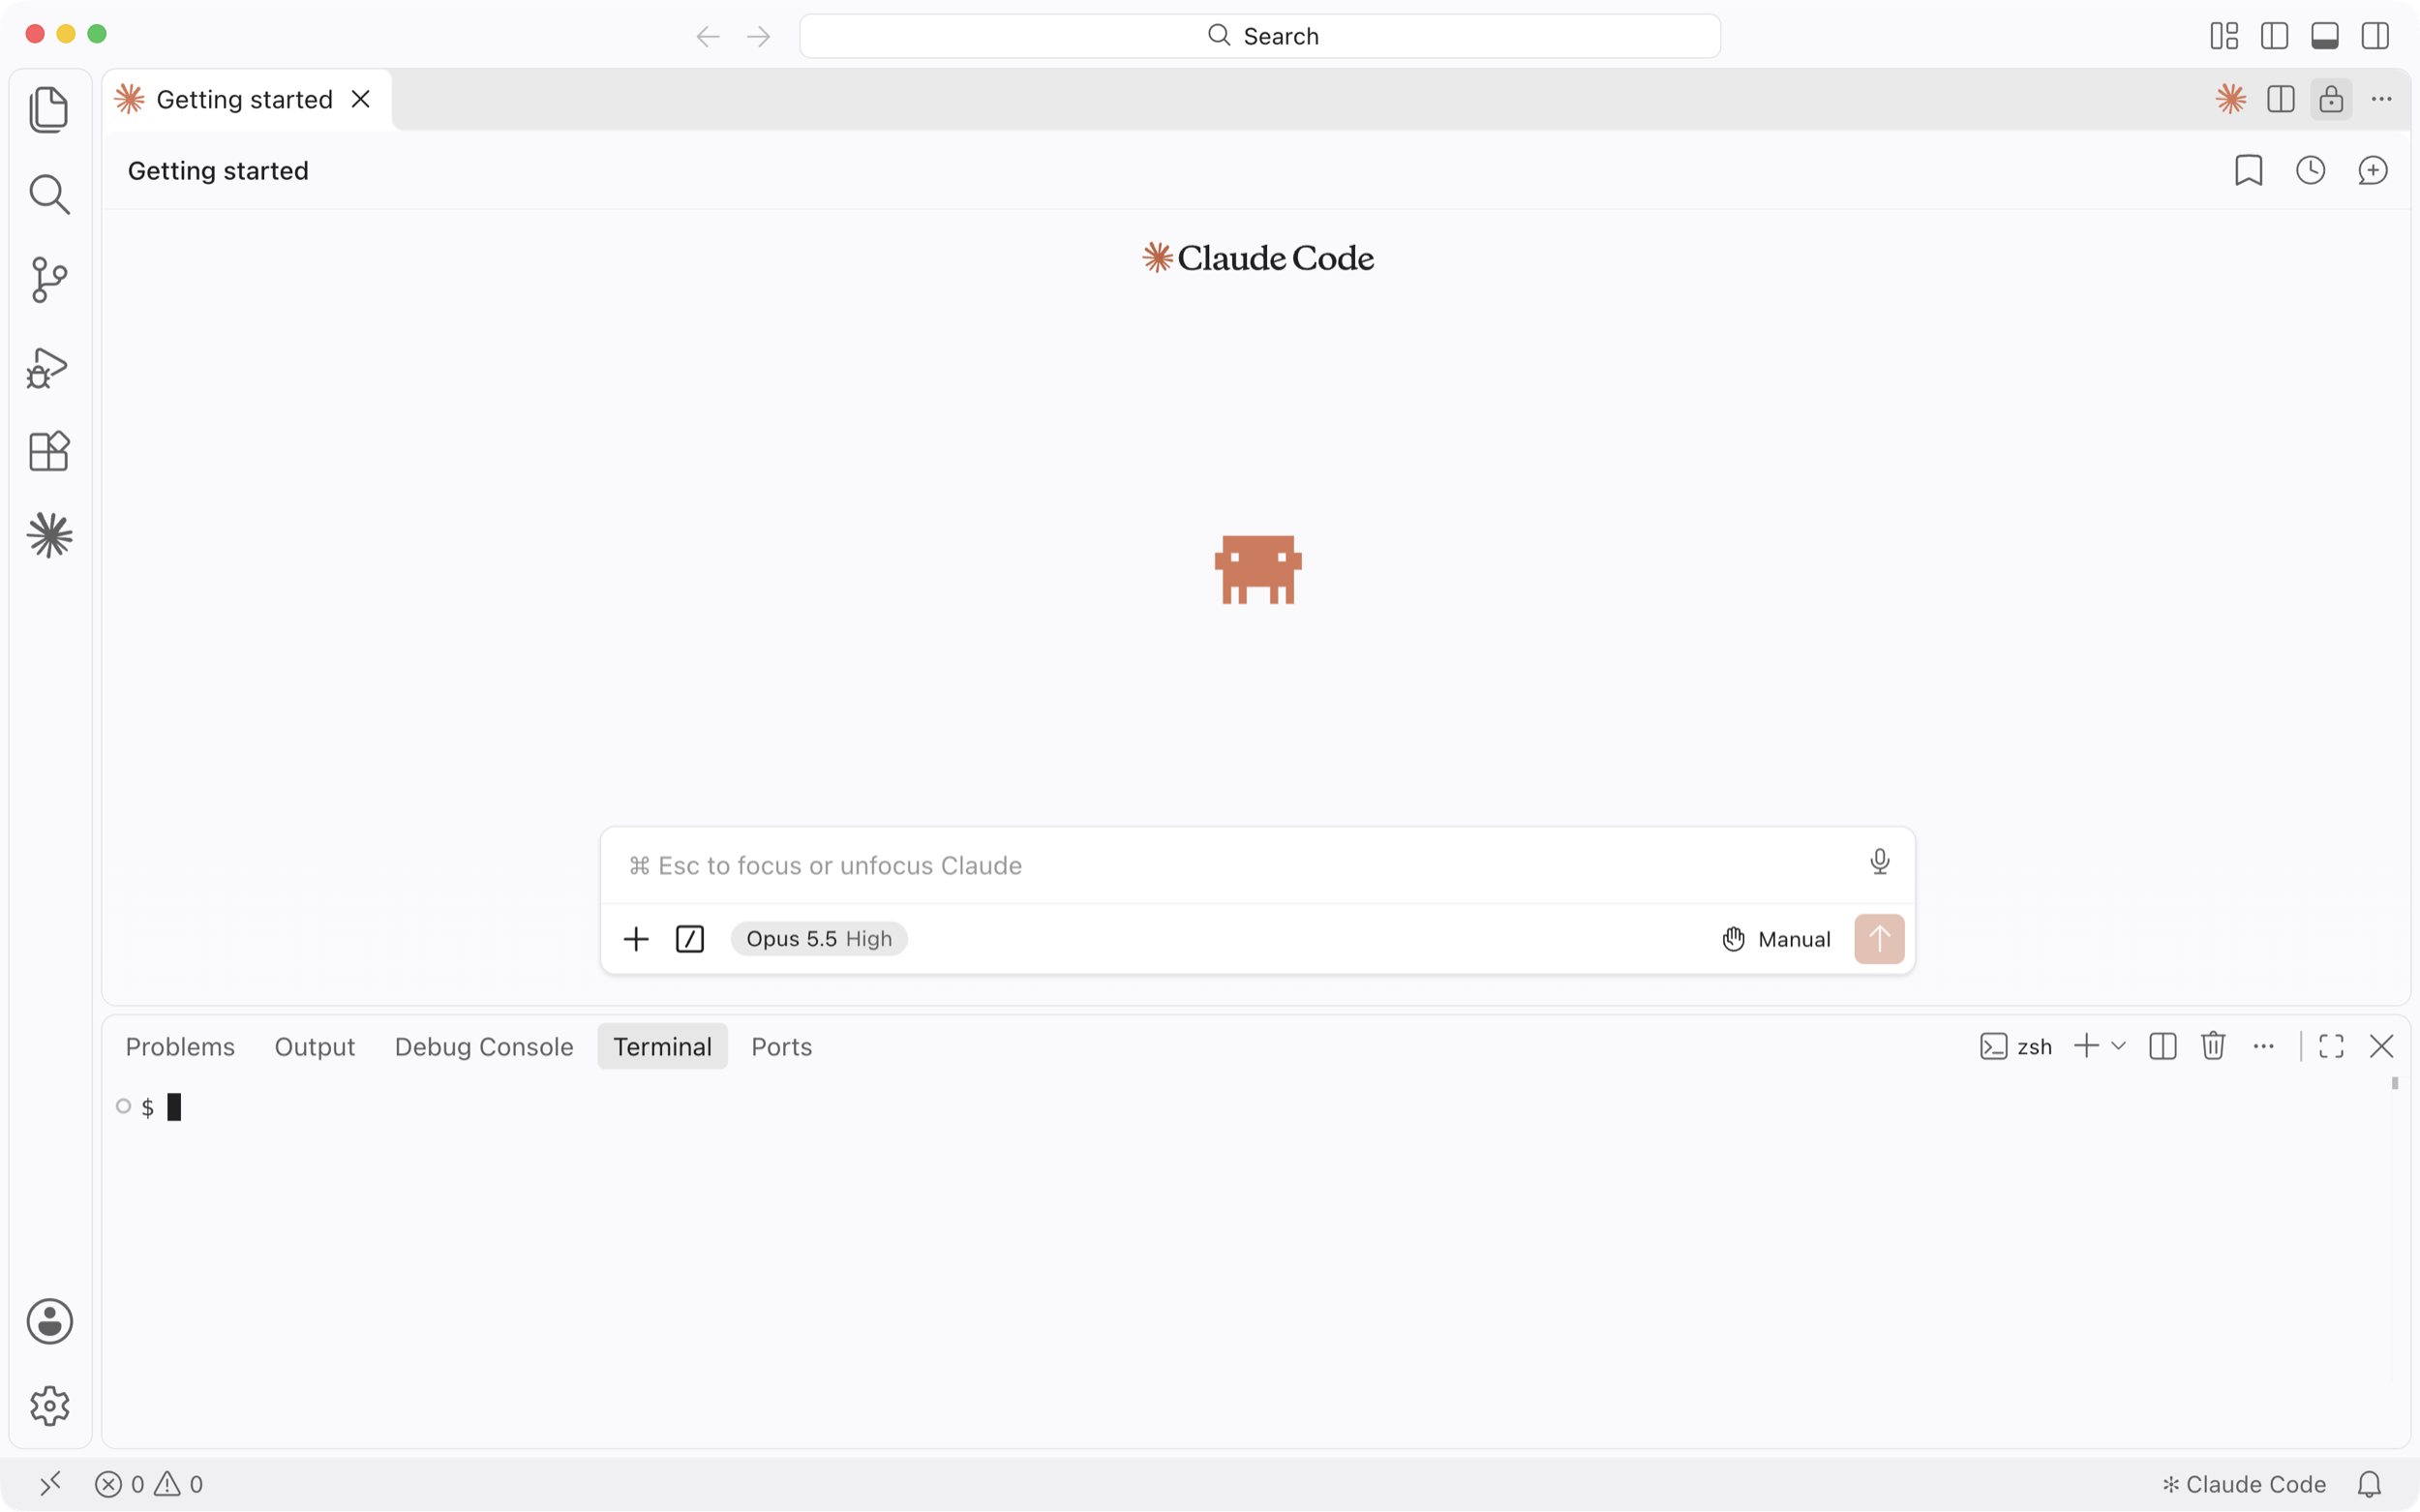
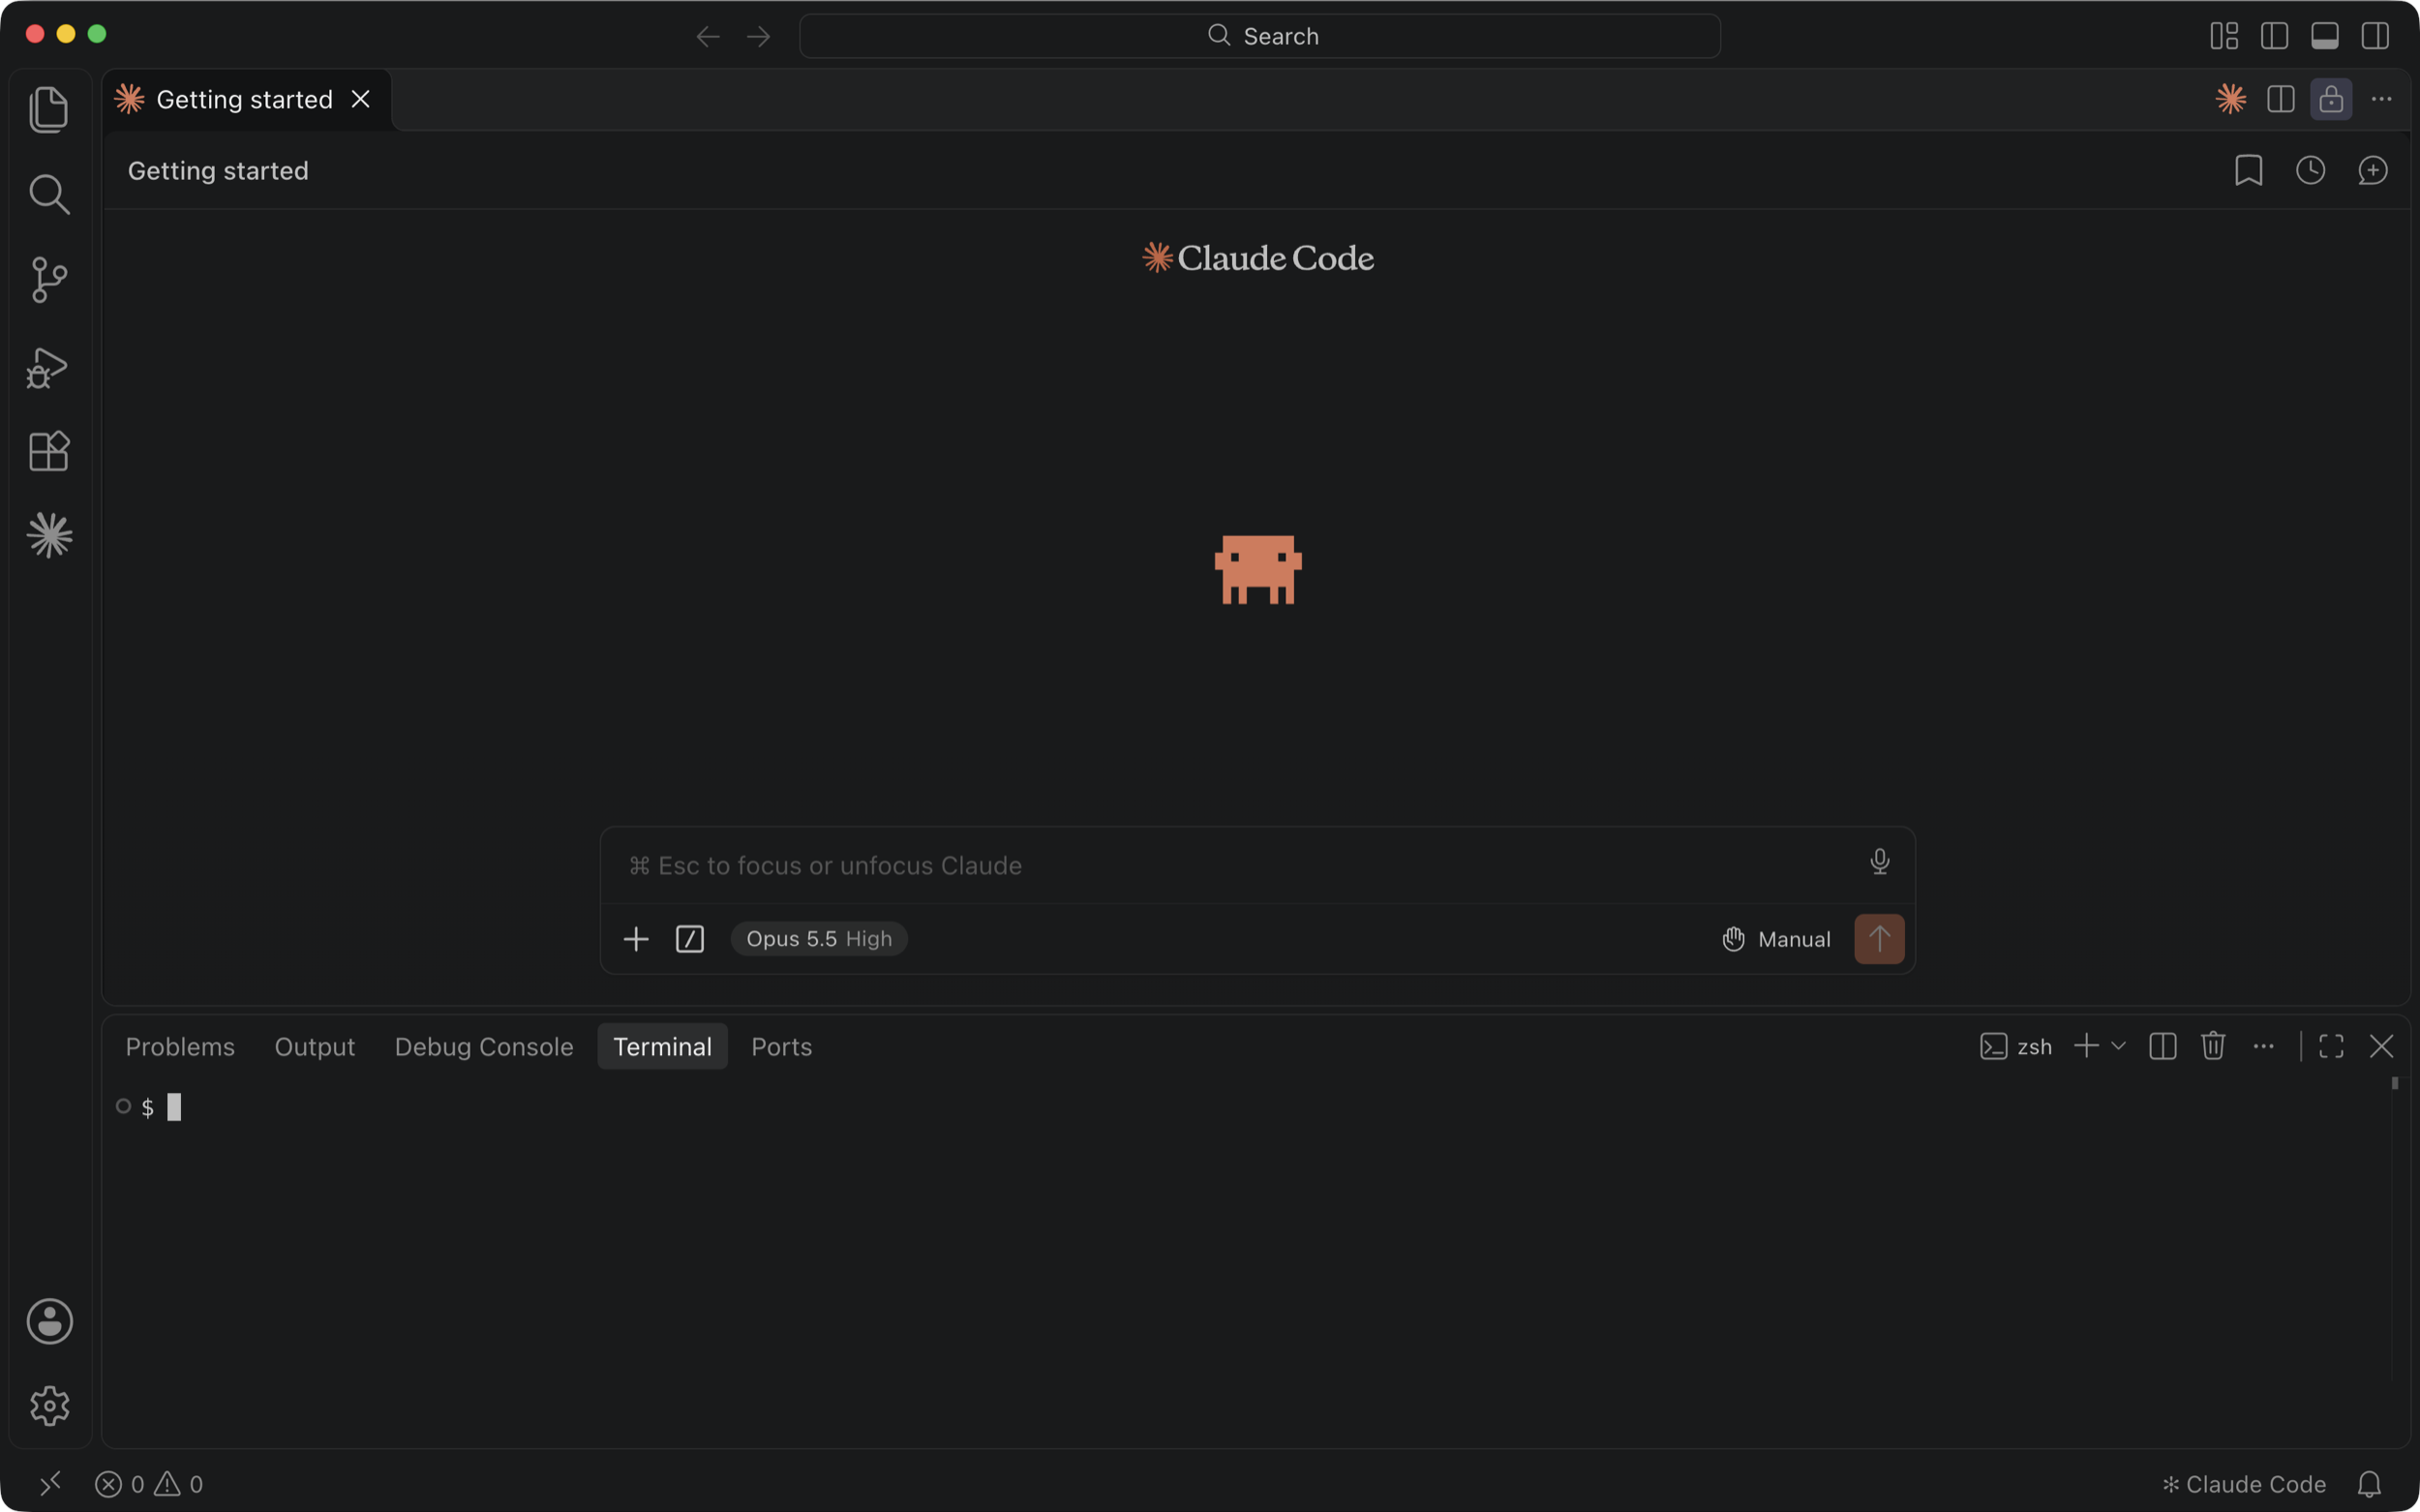 curl -fsSL https://elements.dev/install | sh
Create your copy of this app
When the install finishes, press Shift + Command + P to open the command palette.
Type new app, select Elements: New App in the list and press Enter.
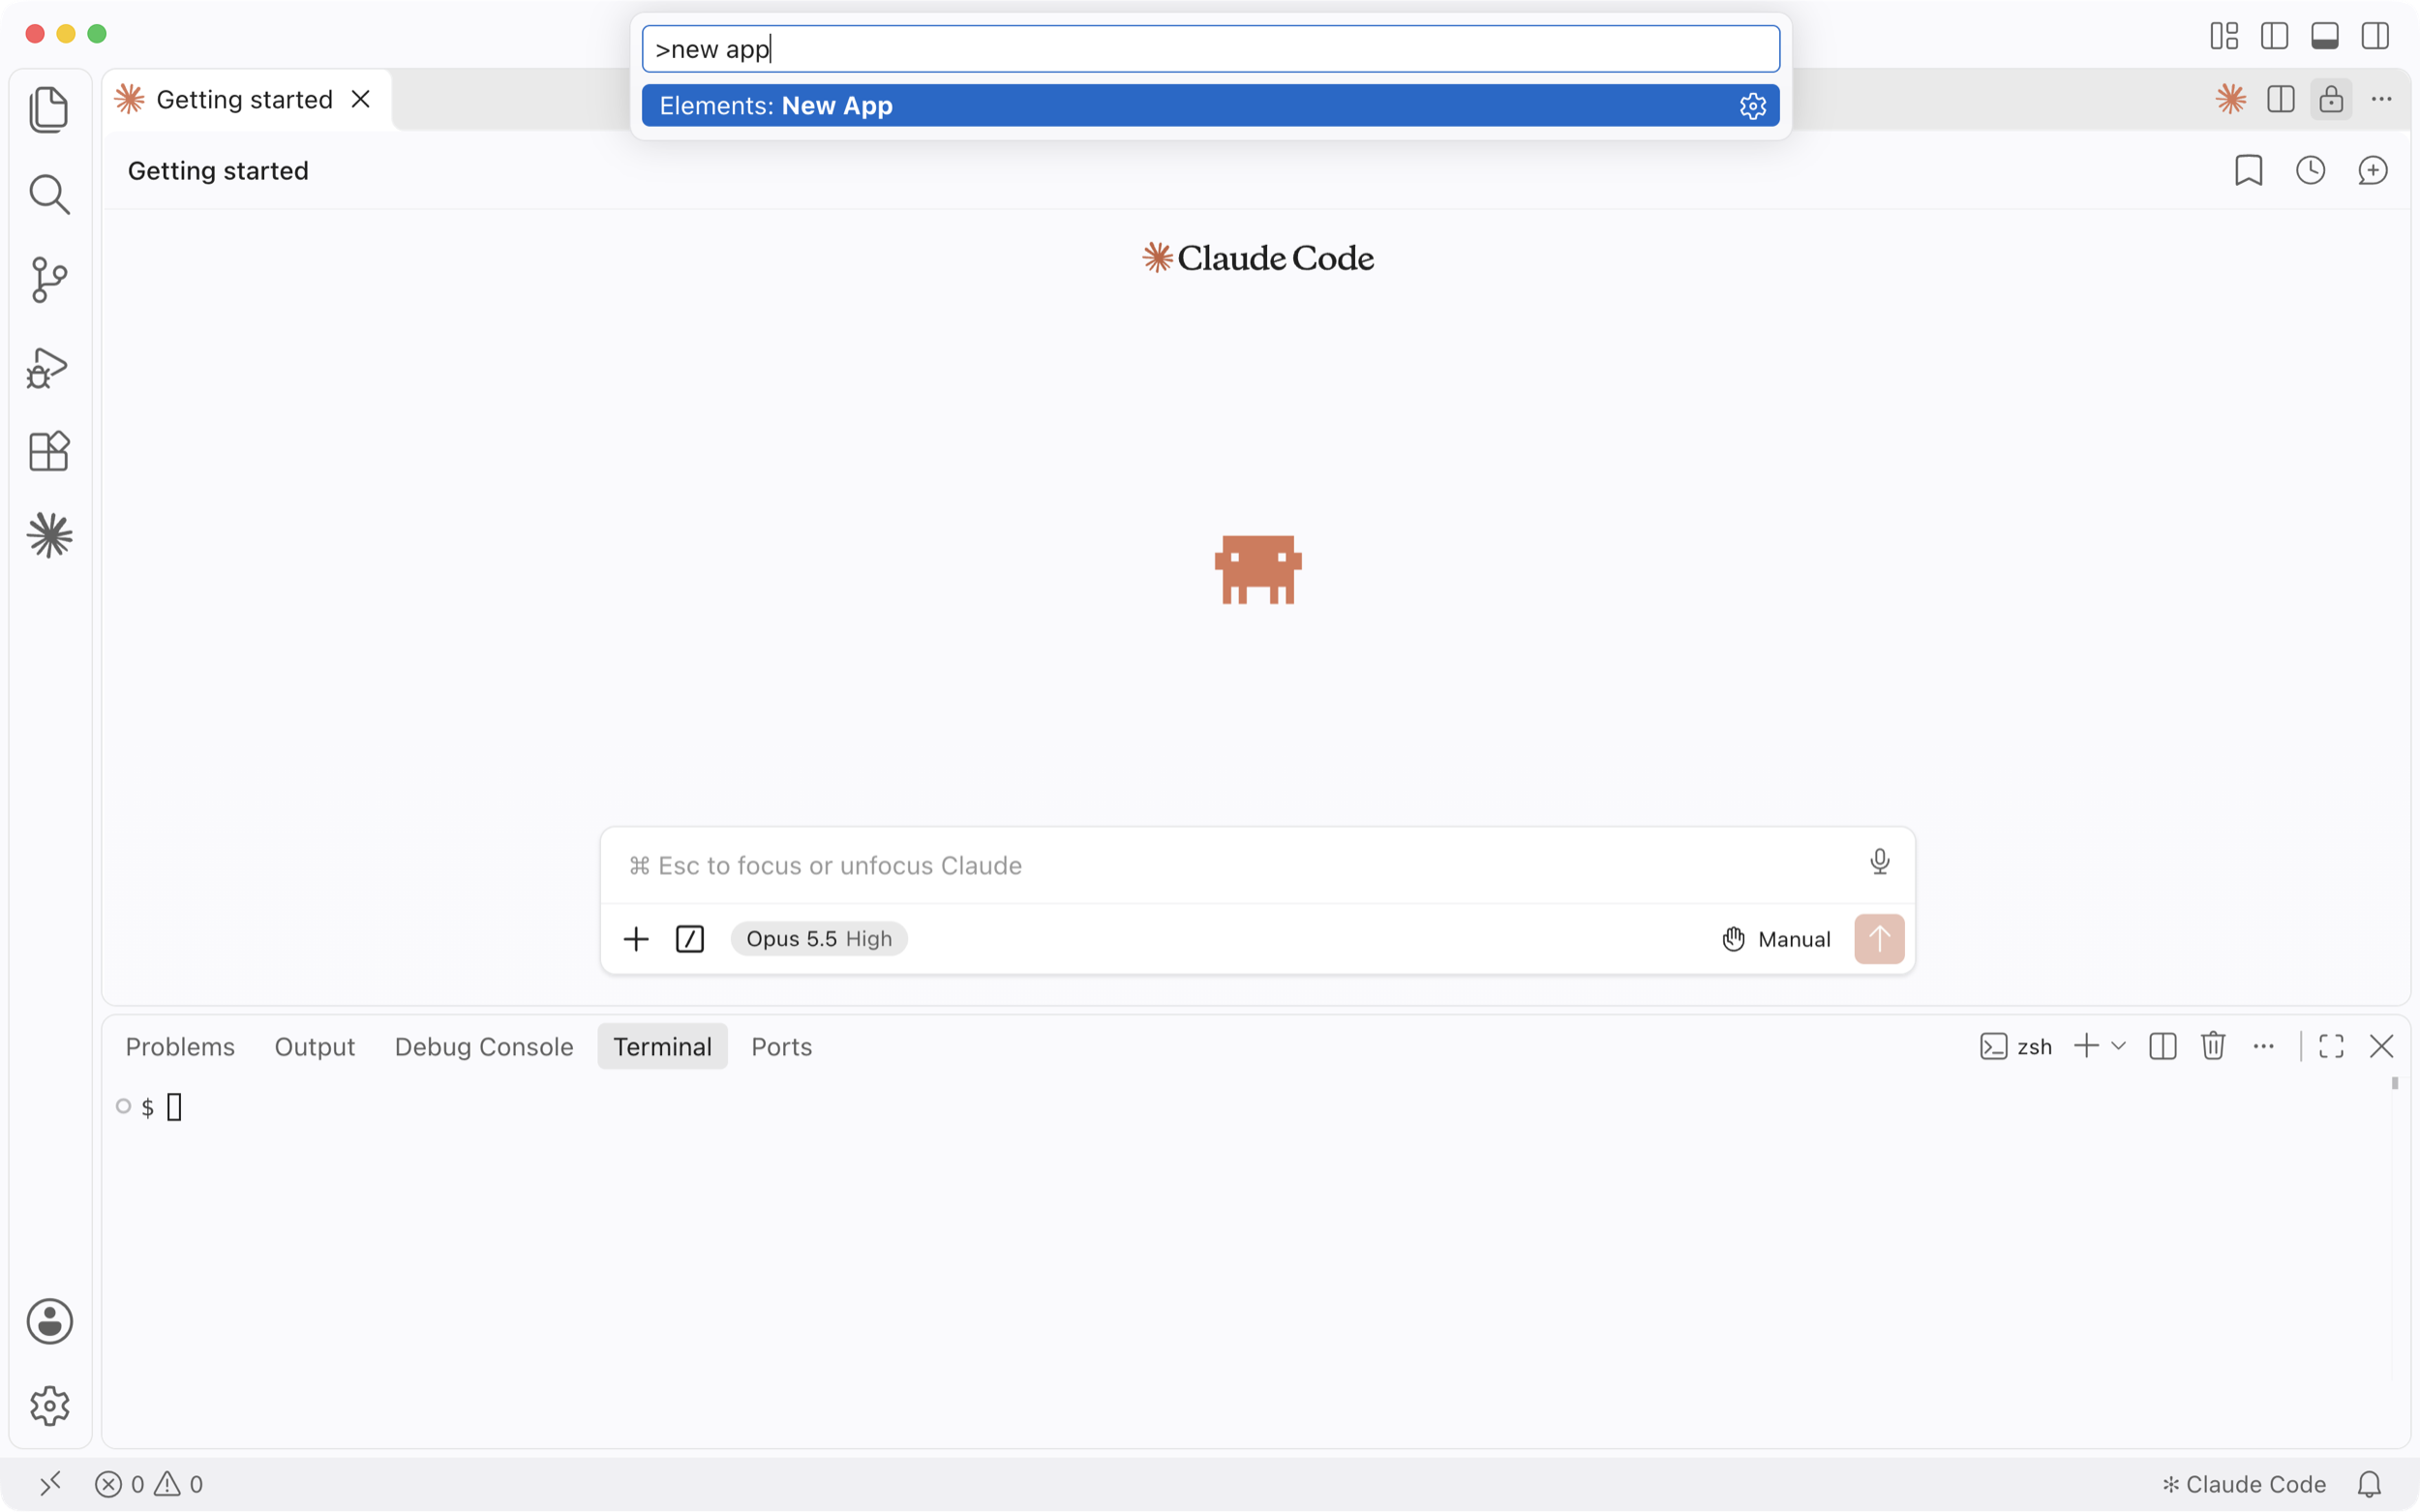
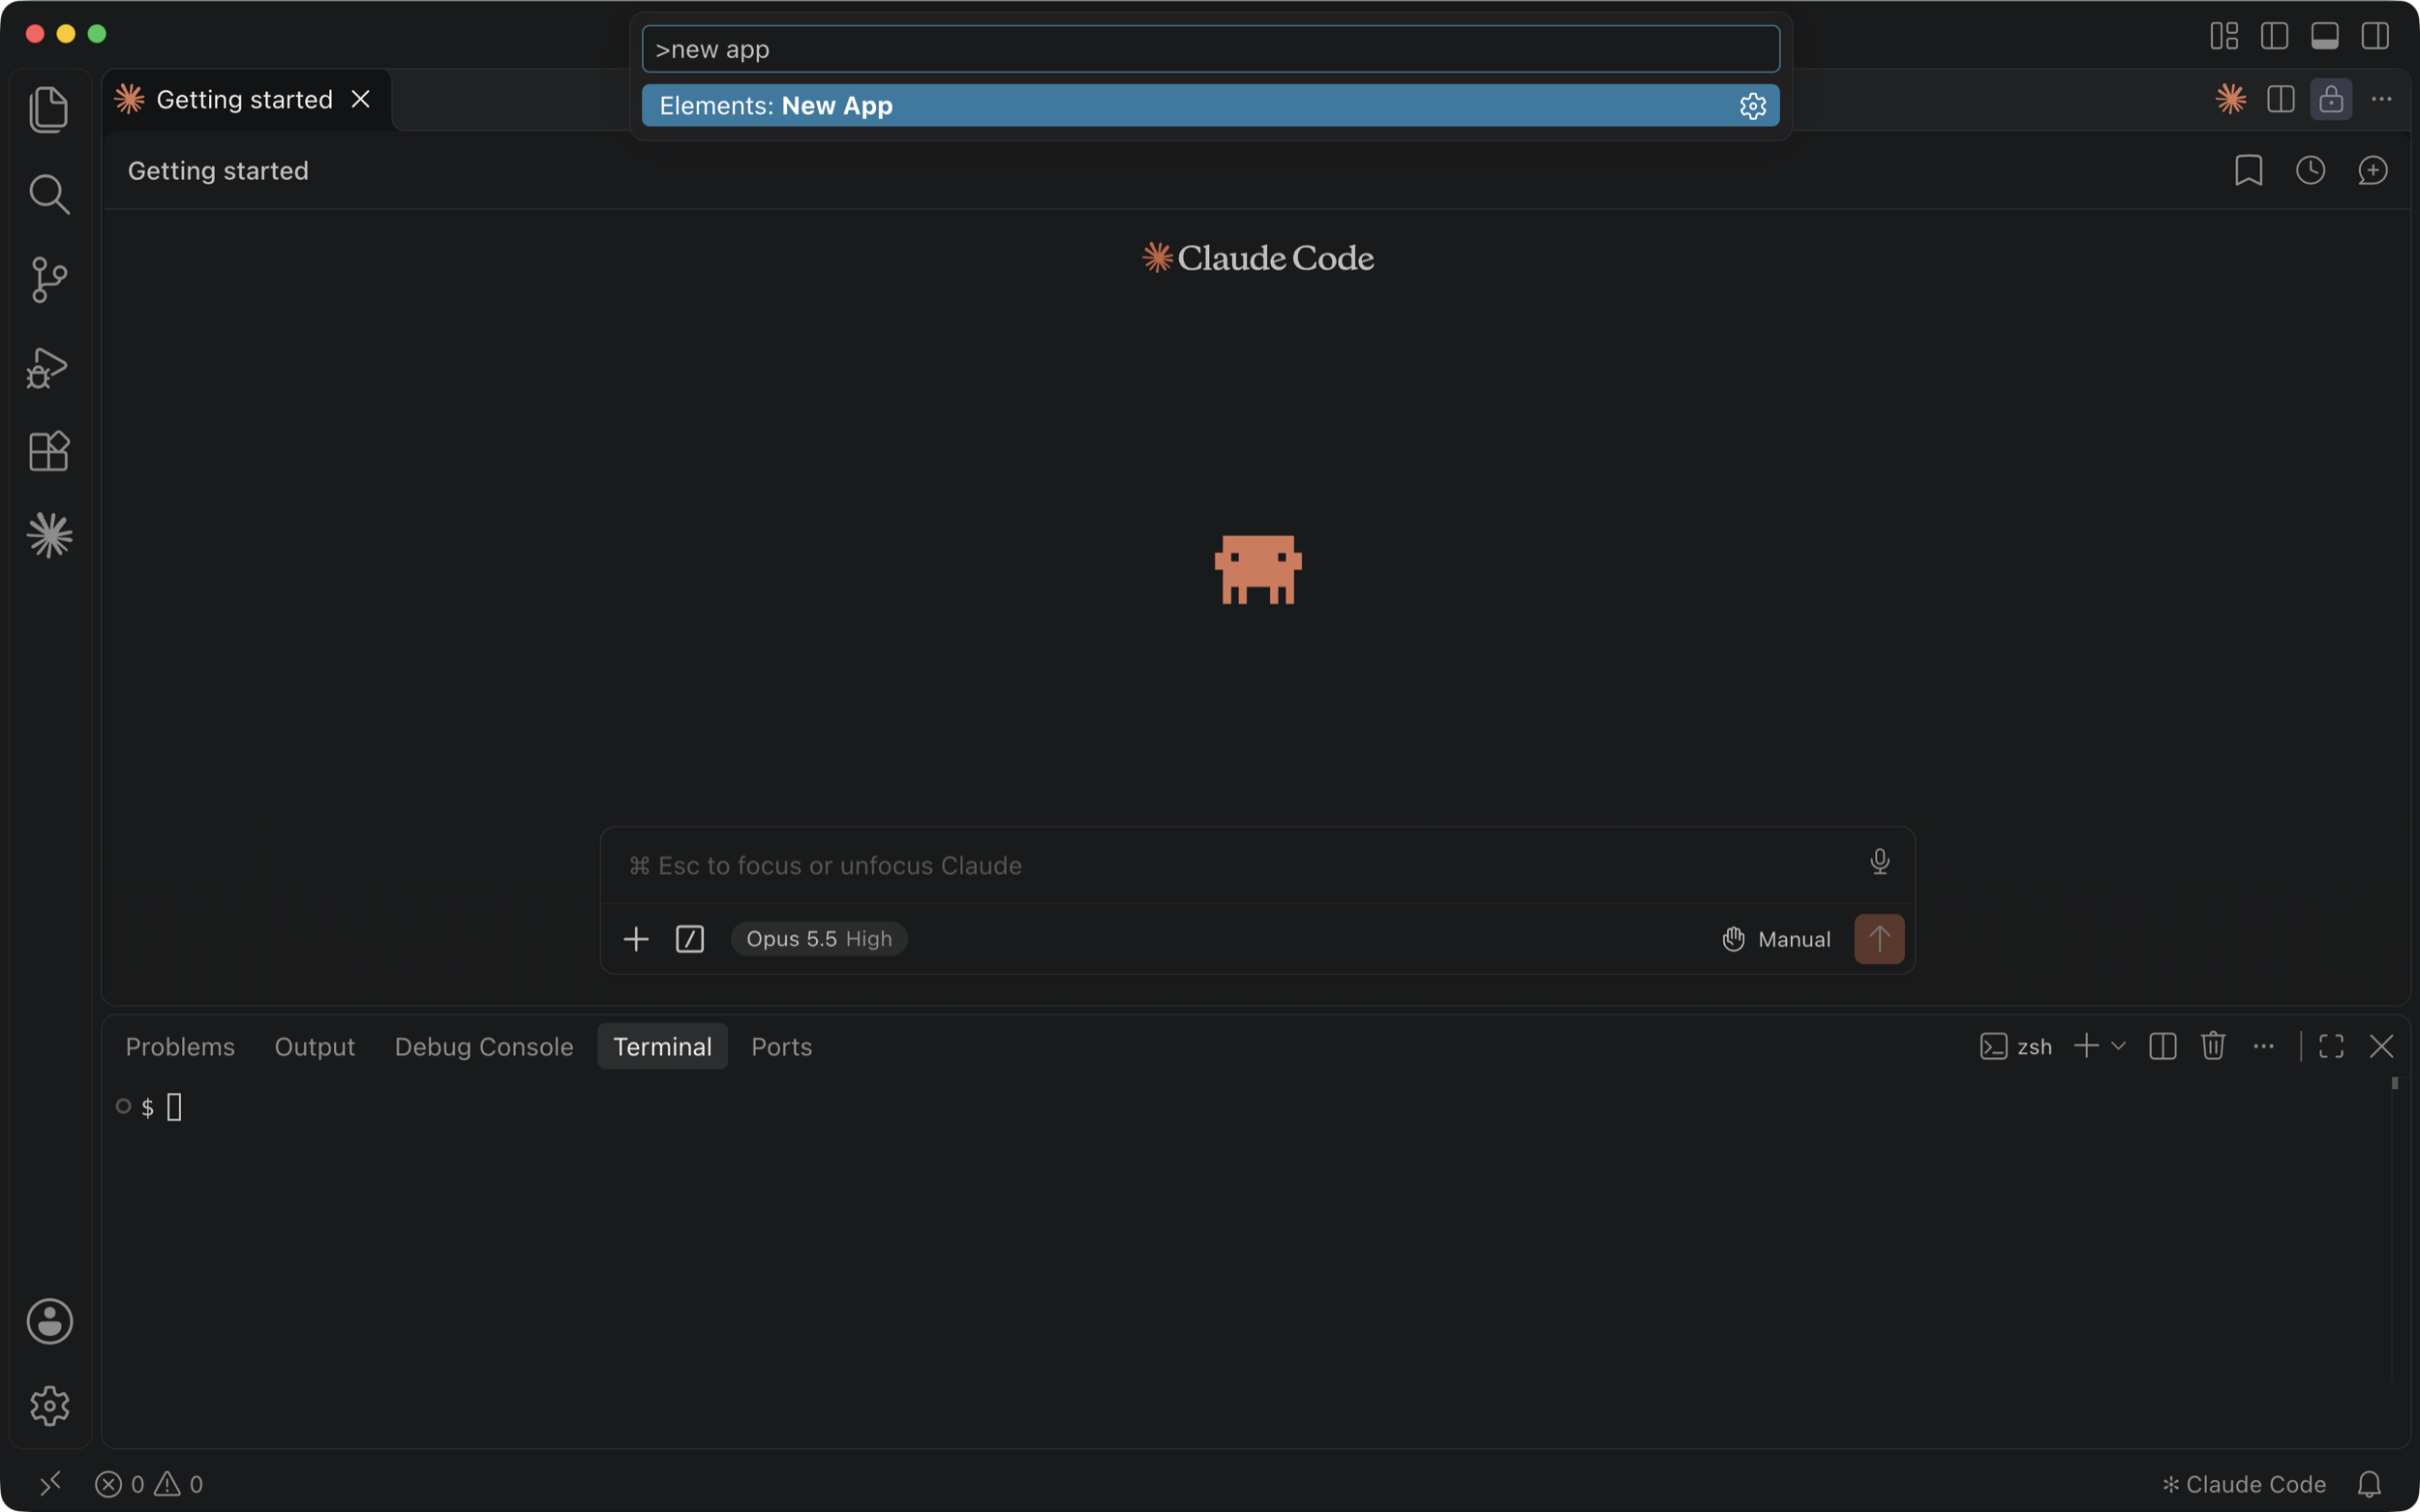
Copy the text.
commitvane -scaffold=elementscode/demo-commitvane
Paste the text into the Elements: New App name box and press Enter.
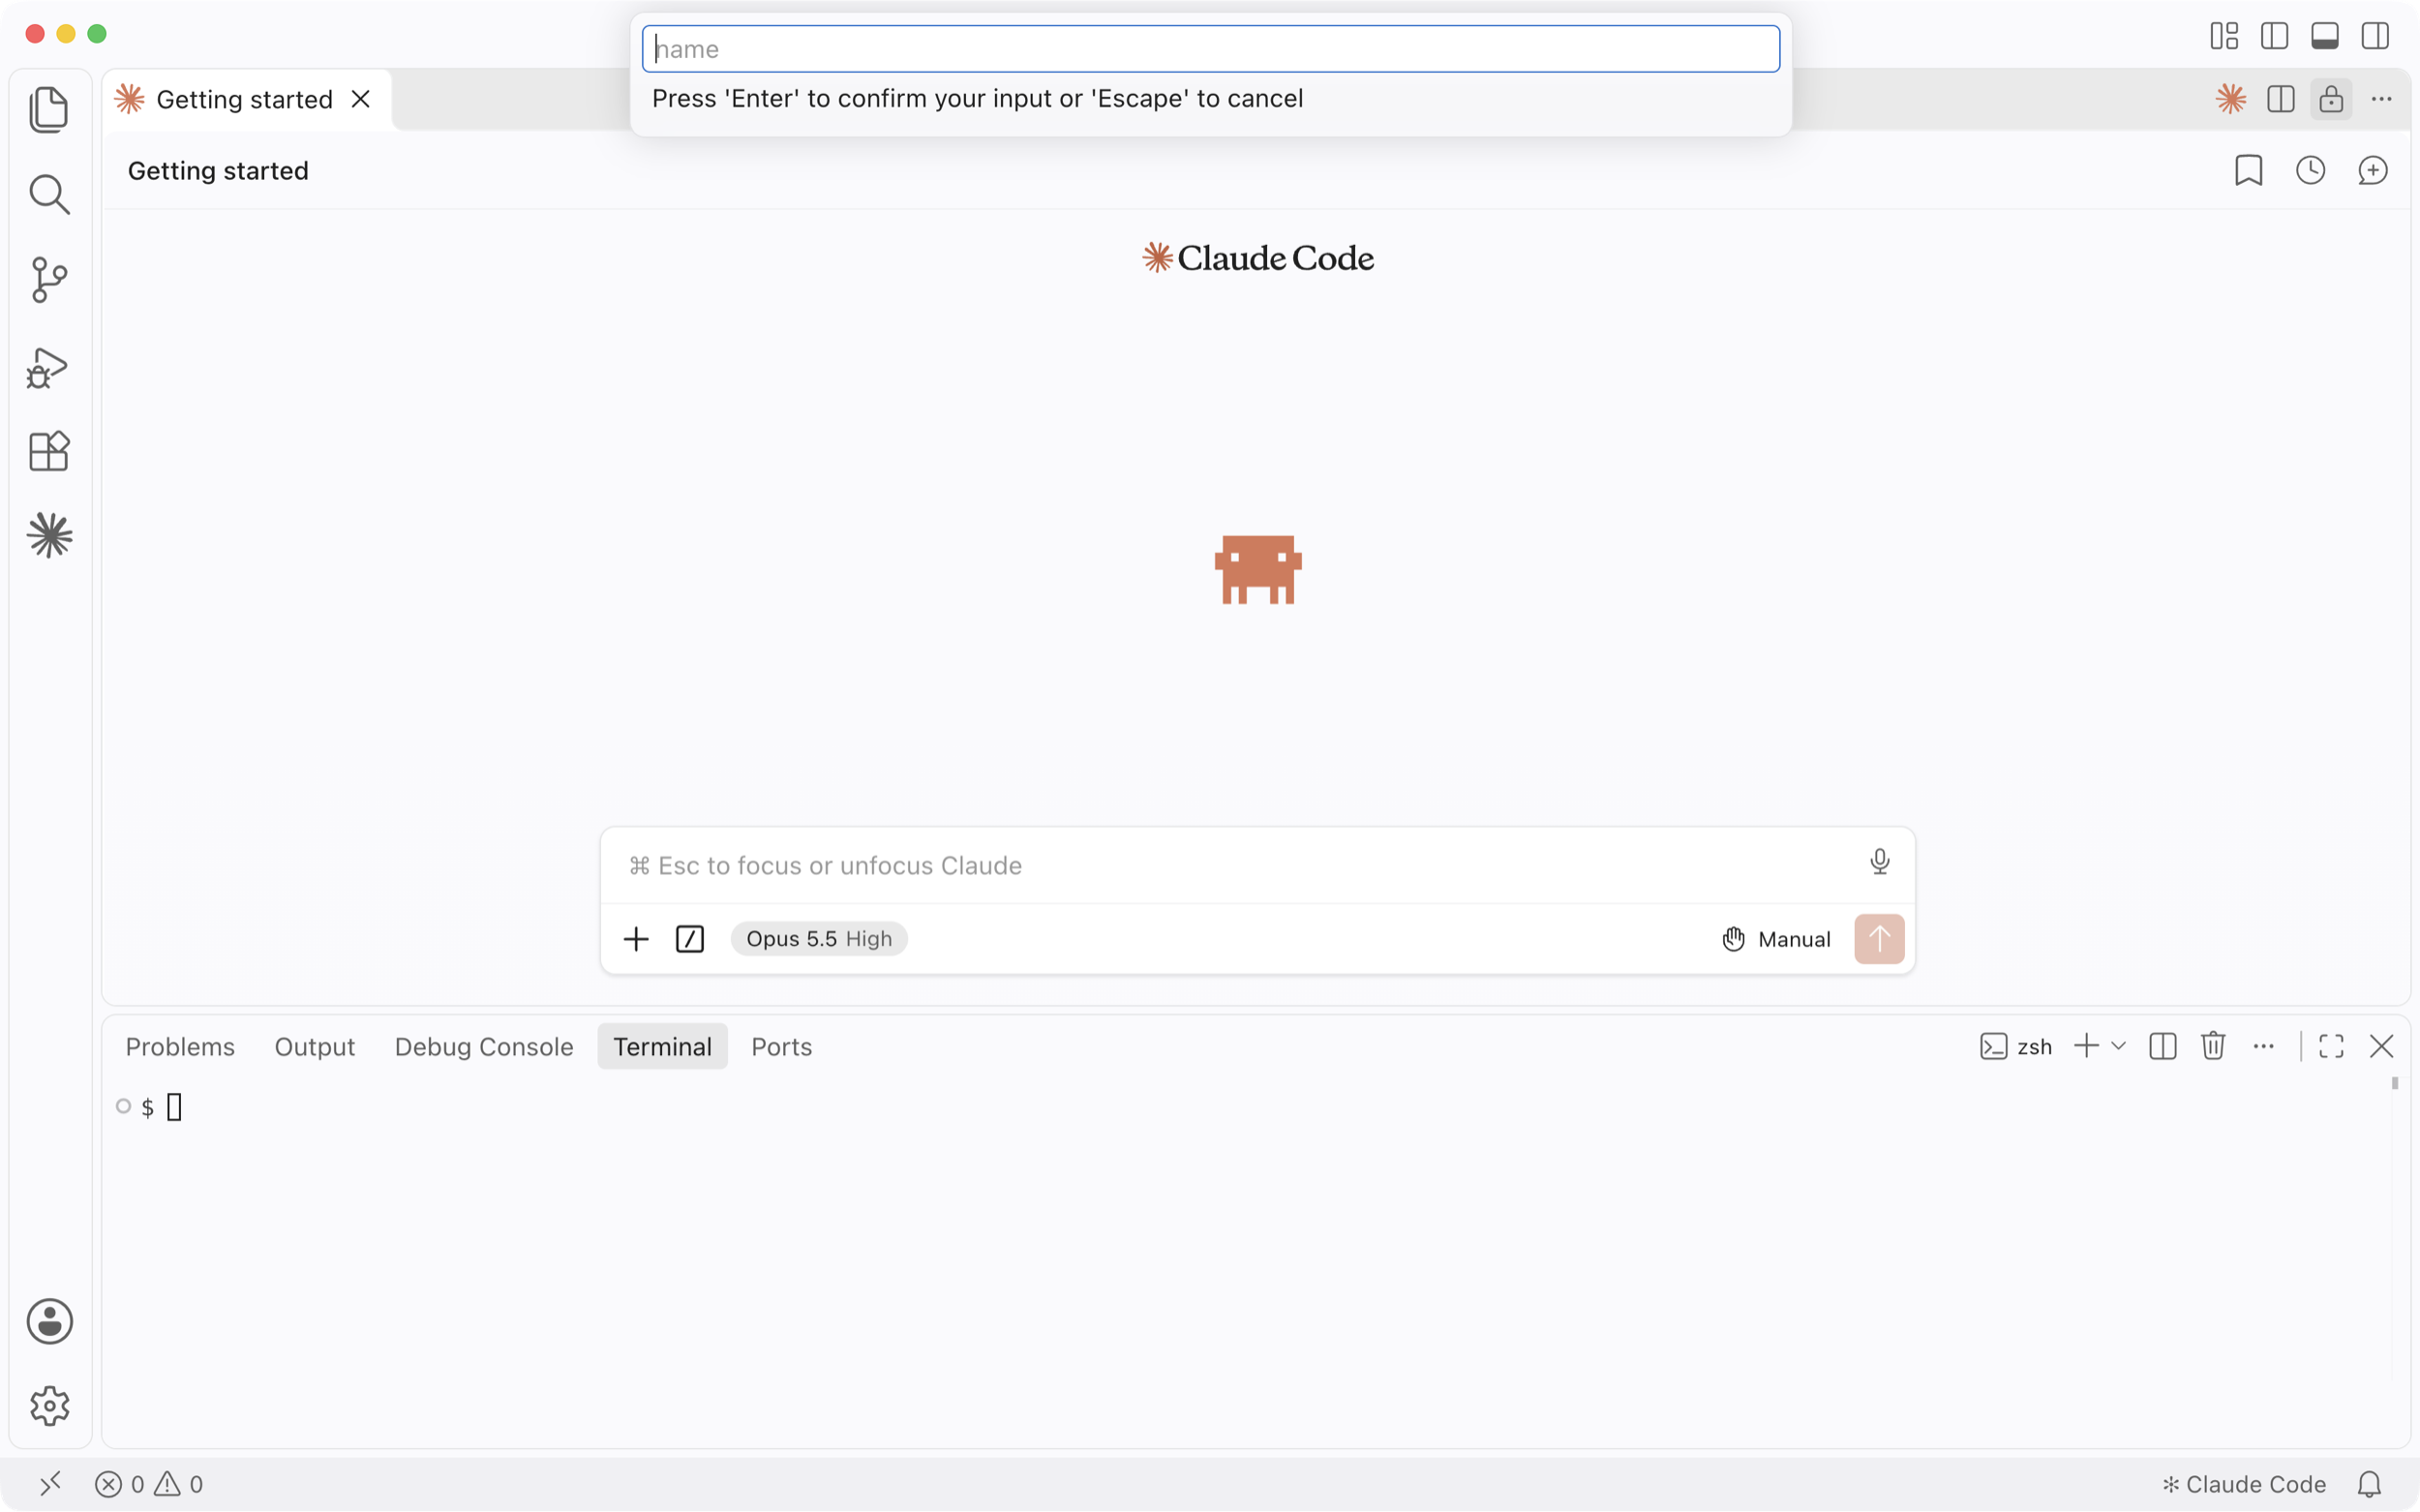
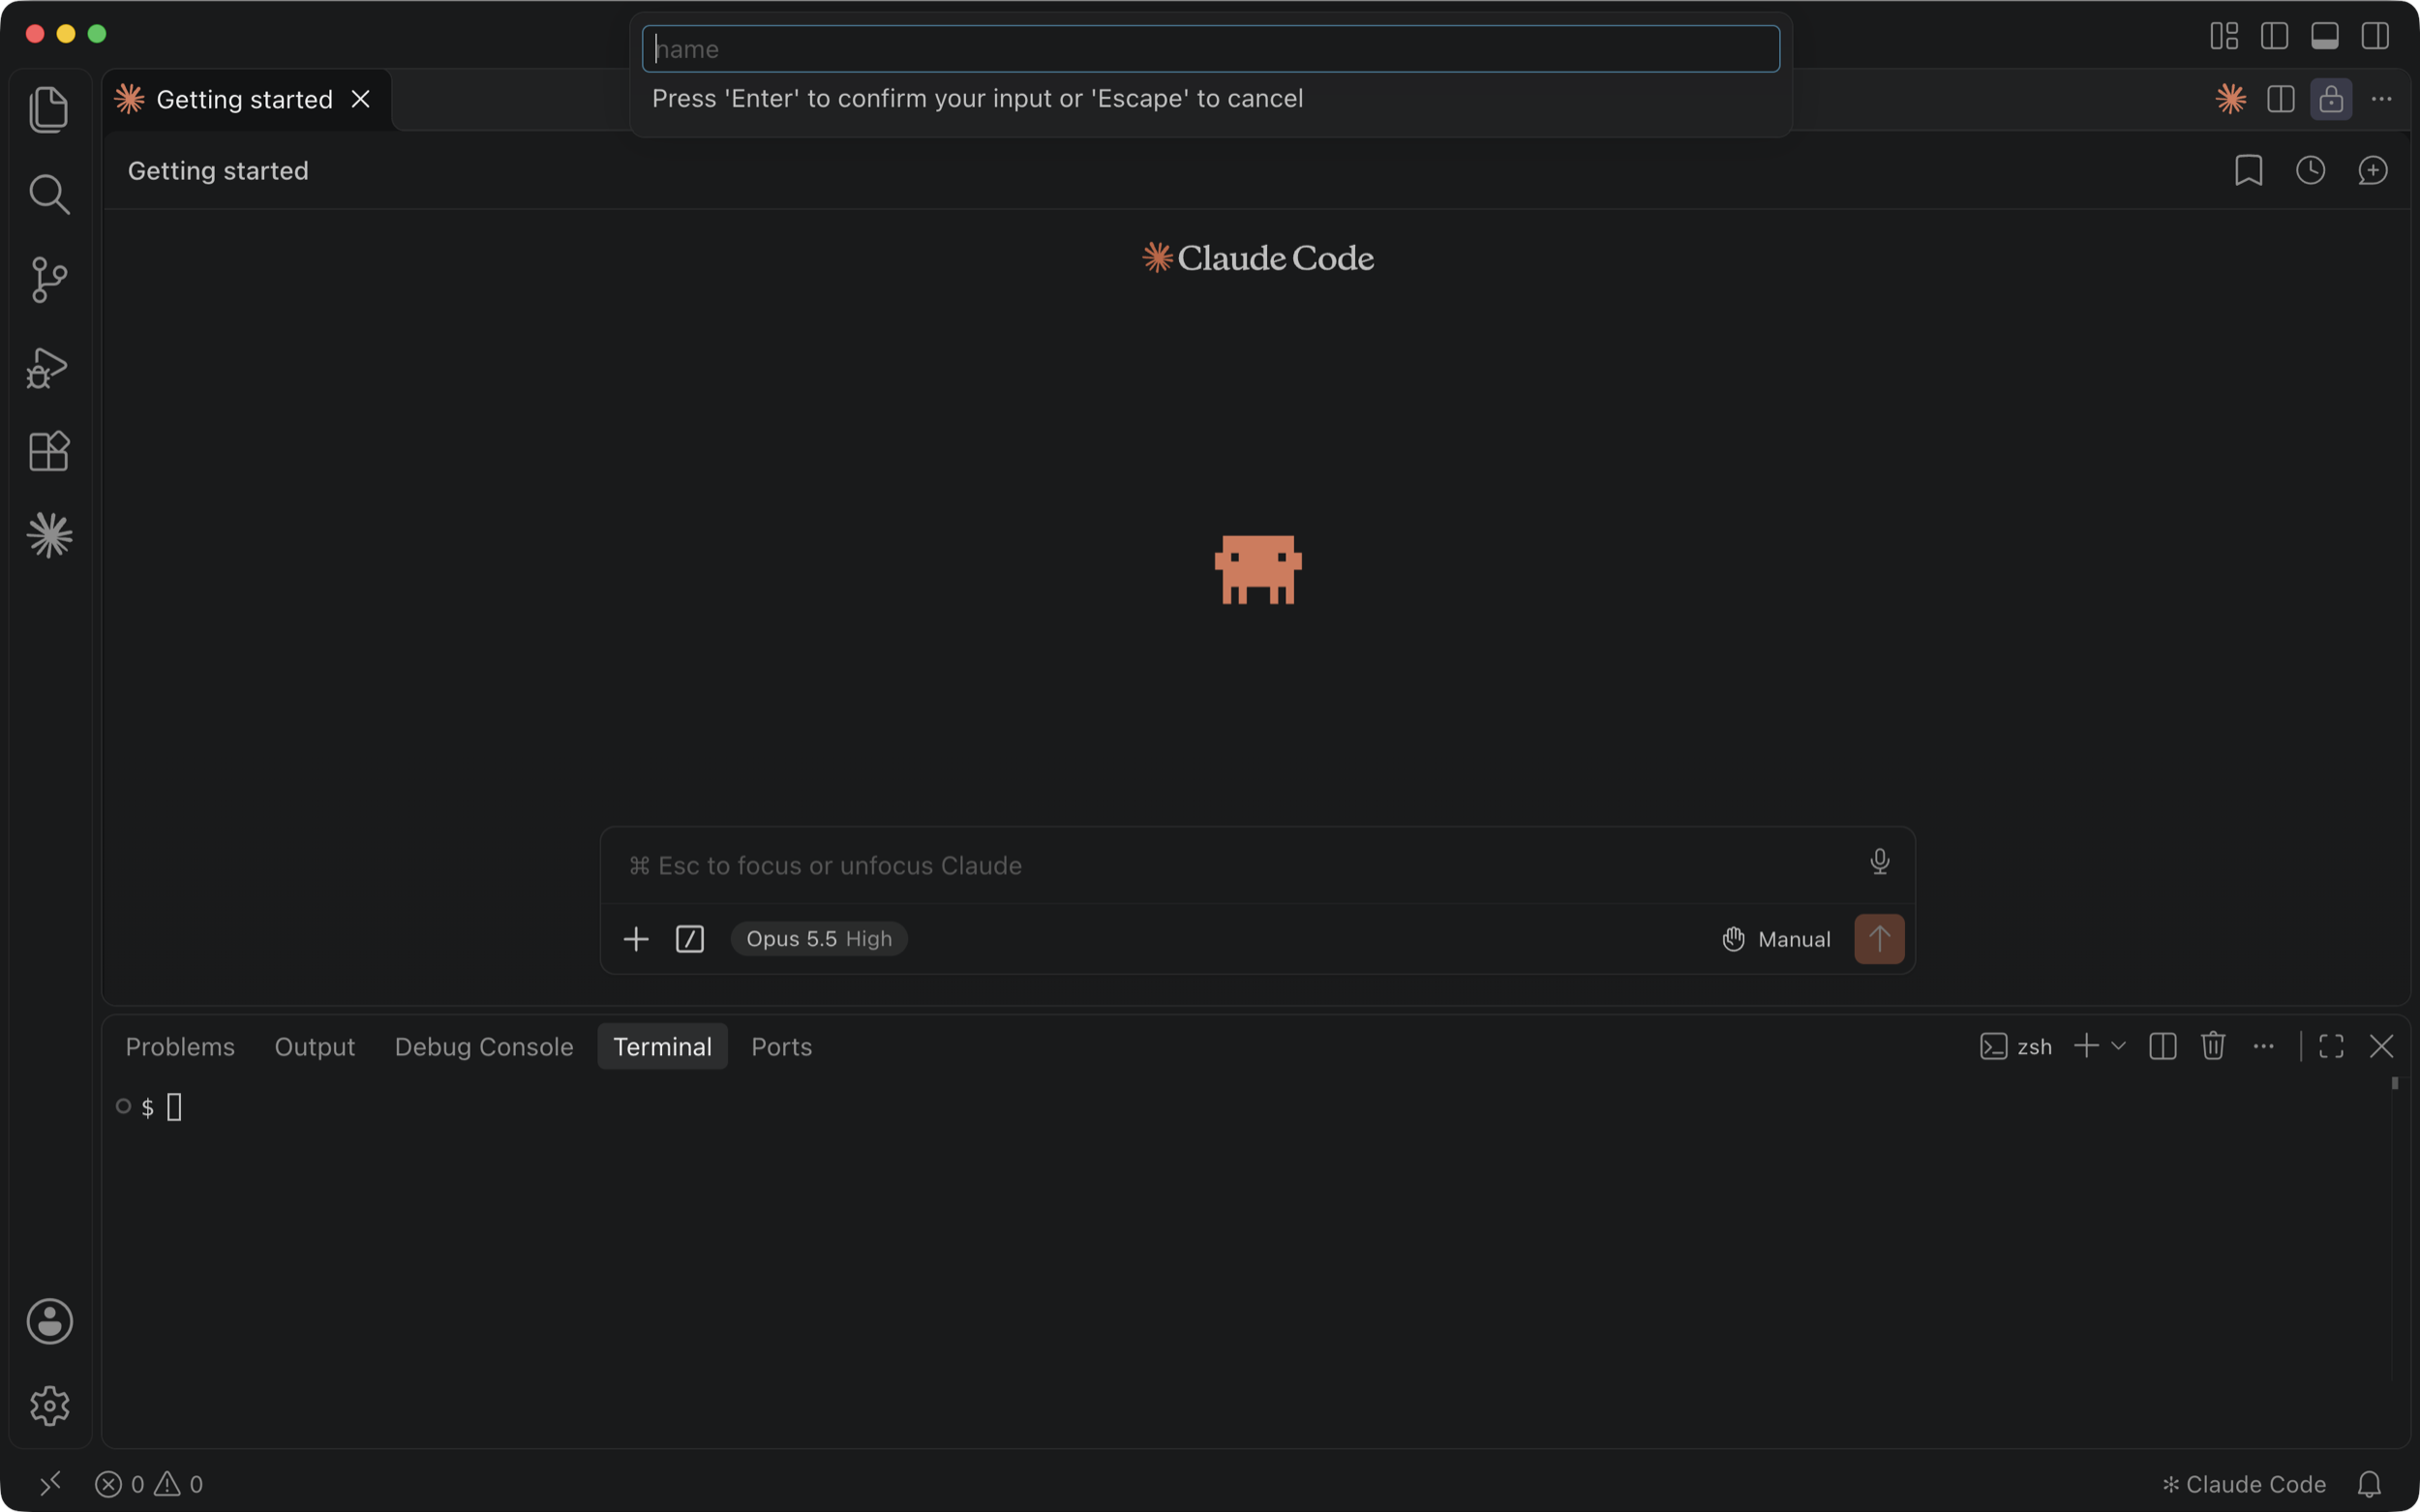 commitvane -scaffold=elementscode/demo-commitvane
Your copy of this app opens in VS Code with a terminal and Claude Code on the left.
Start your app
Copy the command.
elements startPaste the command into the terminal and press Enter.
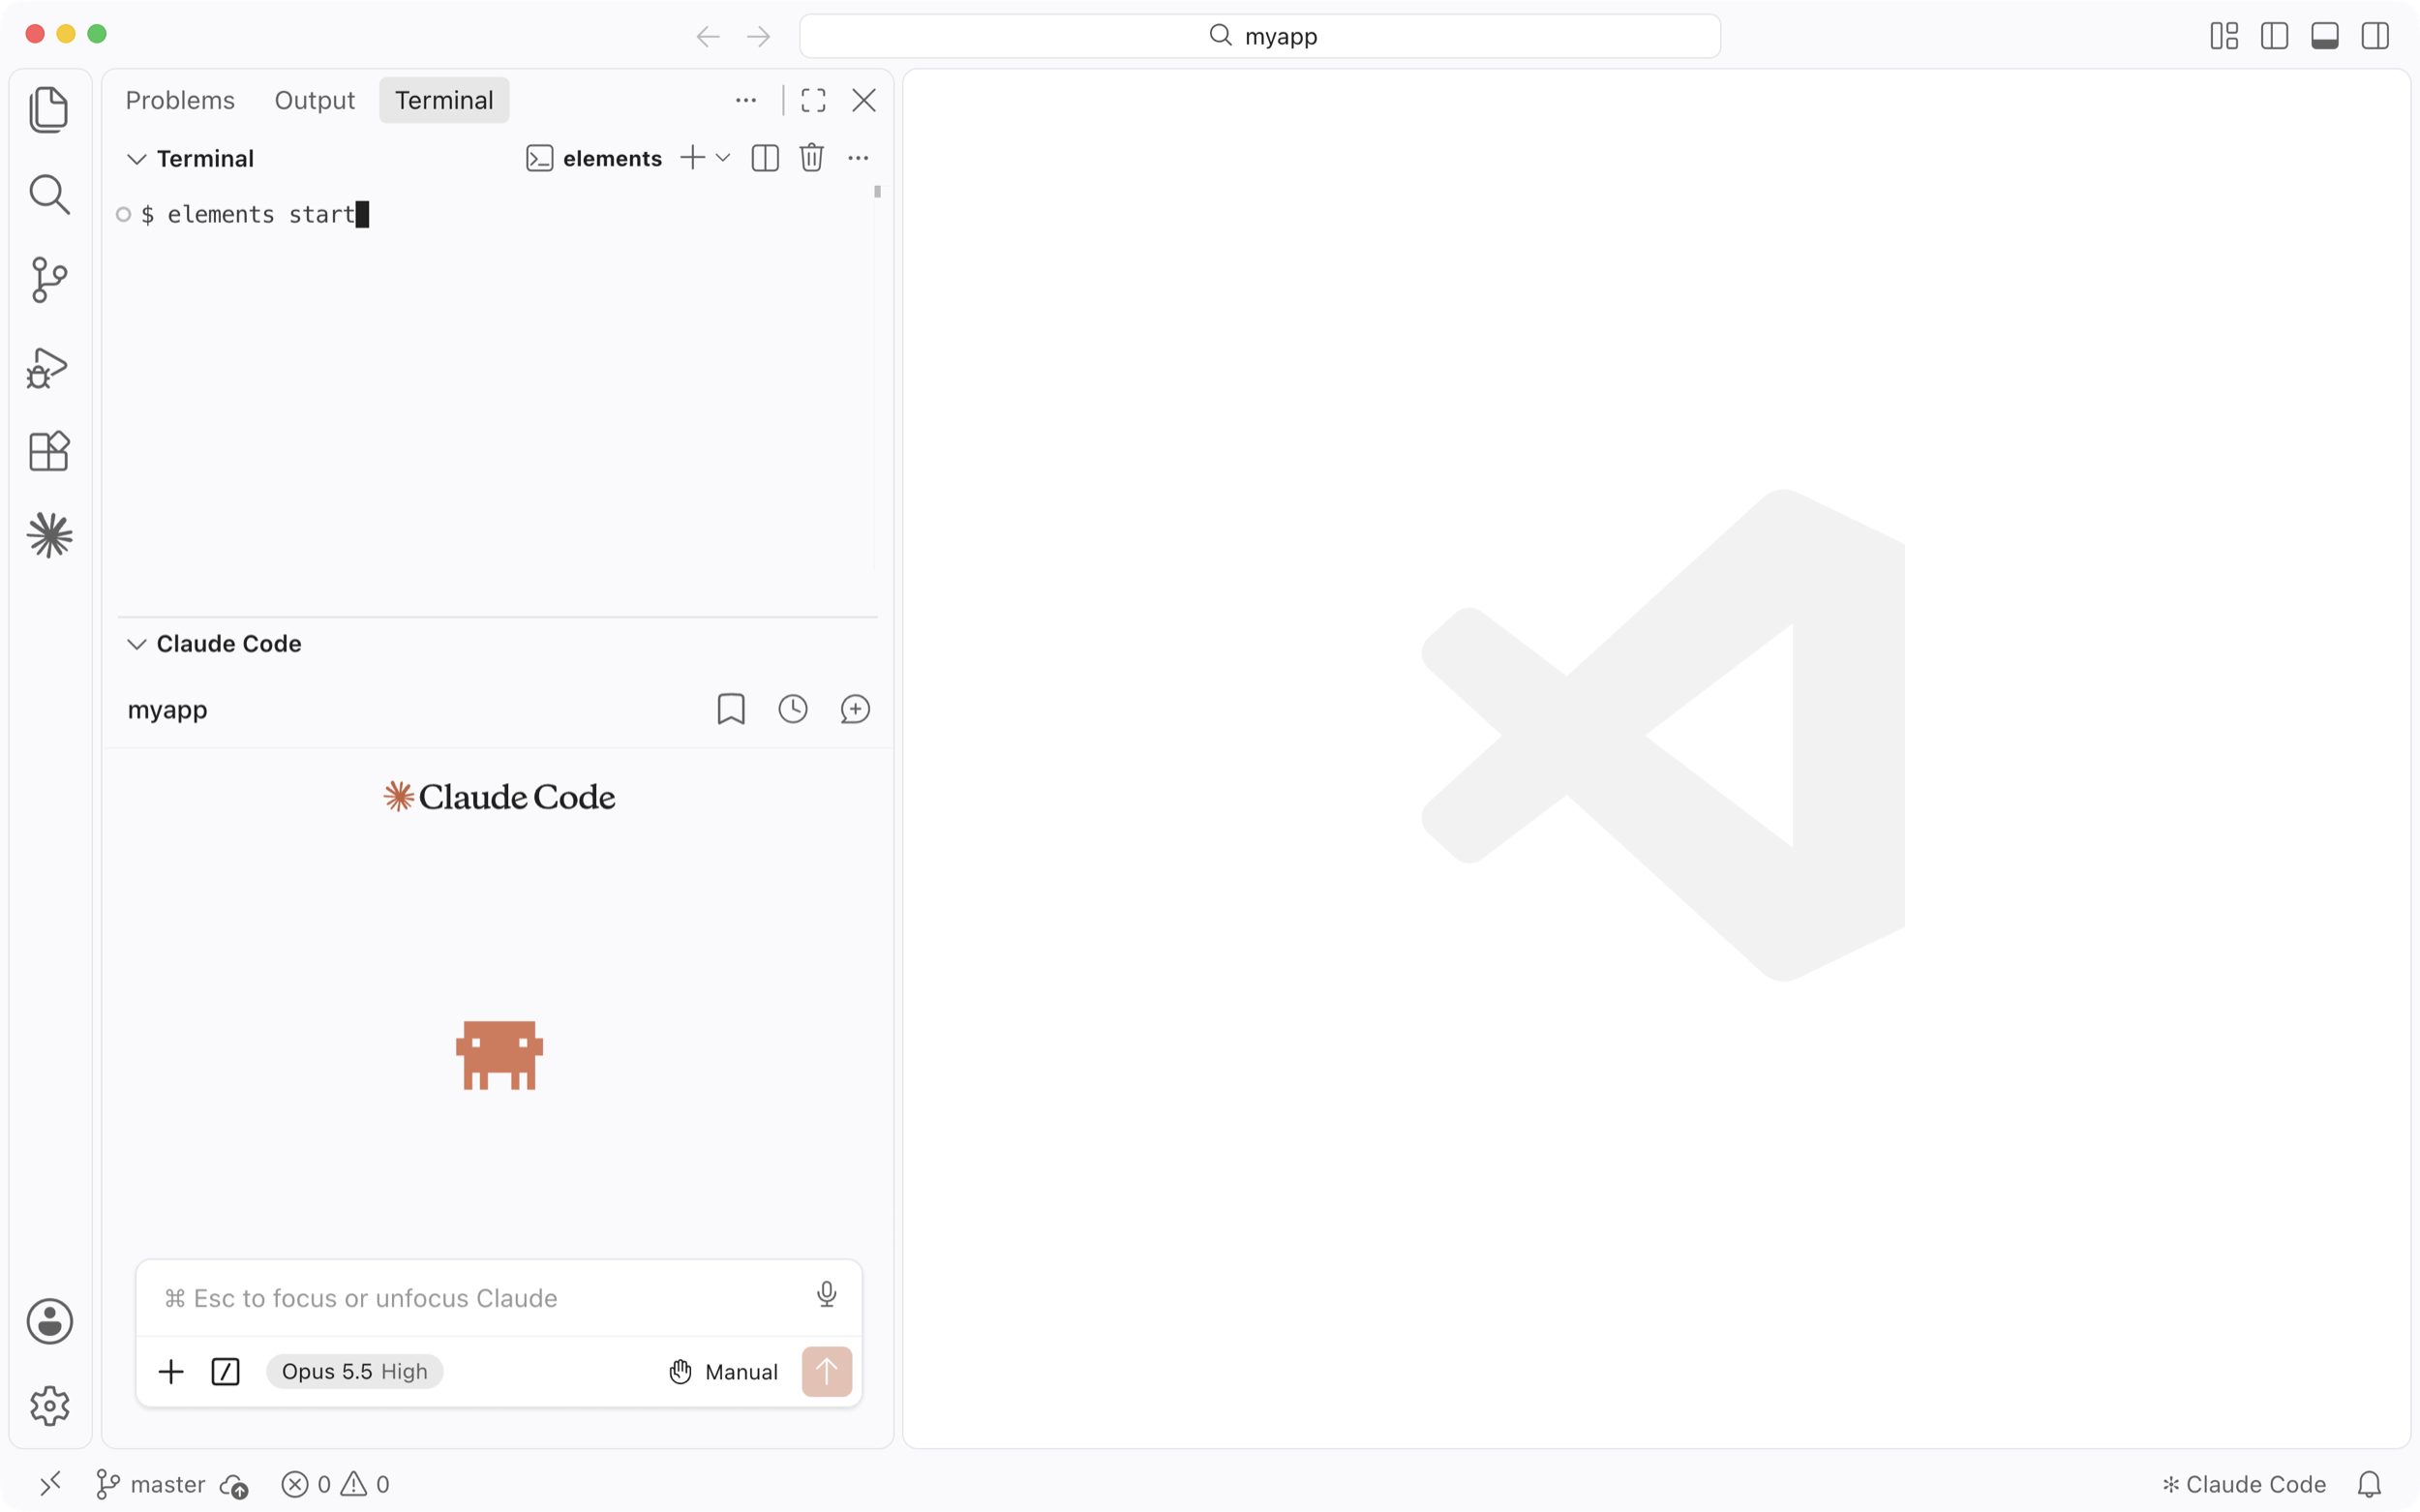
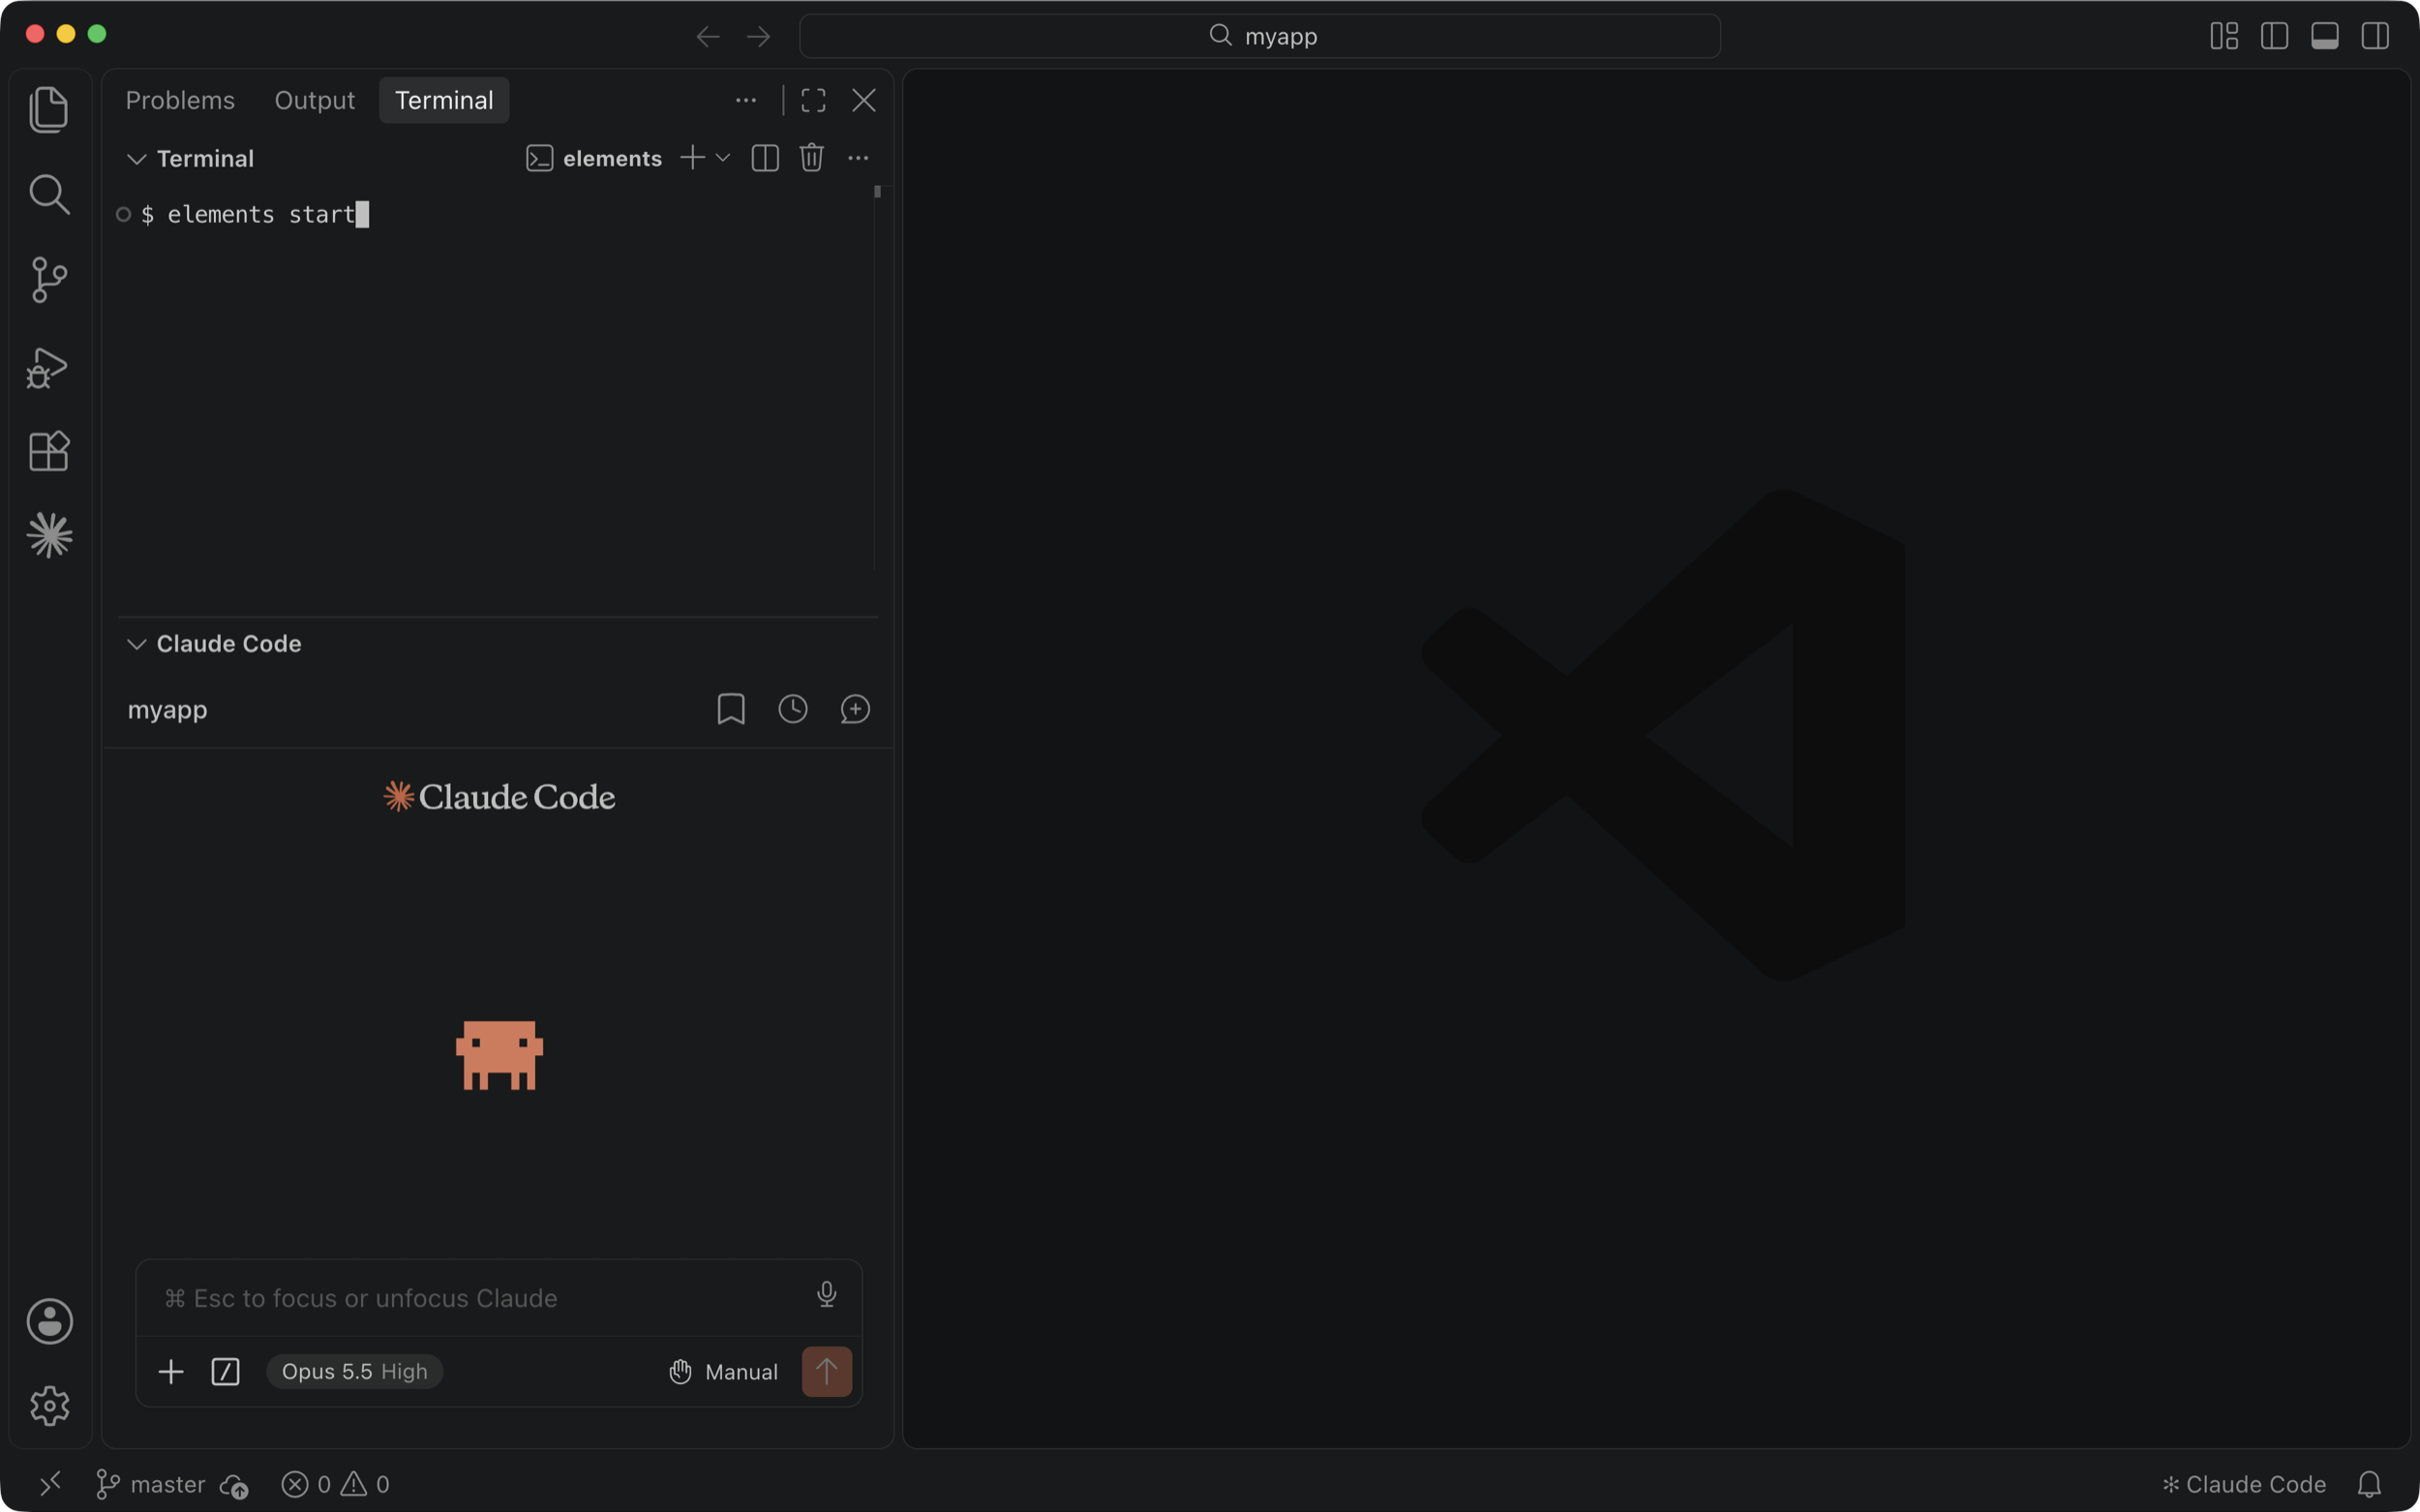
Your app opens in VS Code's browser, next to the terminal and Claude Code.
New to Elements? Read the getting started guide.