Expense reports with receipt photos, built by Claude Code on Elements
Expenses with receipt photos, reports that approvers approve or send back with a comment, monthly totals, and email, all live.
How it's built
Slipjar needed expenses with receipt photos, reports that move from draft to approved or sent back, emails at each step, monthly totals and pages that stay current for both employees and approvers. Each of those is a part of Elements, so the agent spent its 22 minutes on the workflow itself.
- Reports that update in place. A channel carries each report's new summary whenever it changes. An employee's list, the approver's queue, the report page and the monthly totals all listen, so a decision shows up on every open screen as it happens.
- Receipt photos from the form. An employee adds an expense with its receipt photo straight from a form, and the image is stored with the expense in one transaction and shown only to its owner and approvers.
- An approval workflow. A draft is submitted, then approved or sent back with a comment. Exactly one approver decides, and each report goes to an approver other than its owner.
- Background work. Jobs email the approvers when a report is submitted and the employee when it is decided.
- Server calls as function calls. Adding expenses, building reports, submitting, deciding and the monthly totals call server functions straight from the page with
@rpc. Totals count approved spending by category, with submitted amounts shown as pending. - Data and roles from SQL. Migrations define the workflow and seed two approvers, five employees and reports in every status, with receipts. Sessions and roles keep the queue with the approvers.
Why Elements
Elements is the integrated stack for web apps: a build server and tooling, an app framework, a Postgres database and deployment, engineered as one system. Your editor, tools and one or many agents all connect to the same always-on build server, which runs type checking, program analysis, migrations and tests as the agent builds. Built-in guardrails keep the app structured correctly and secure as it grows from prototype to production.
Run it yourself
Install Elements
Copy the install command.
curl -fsSL https://elements.dev/install | shOpen a terminal in VS Code: choose Terminal › New Terminal from the menu bar at the top of your screen.
Copy and paste the command into the terminal and press Enter.
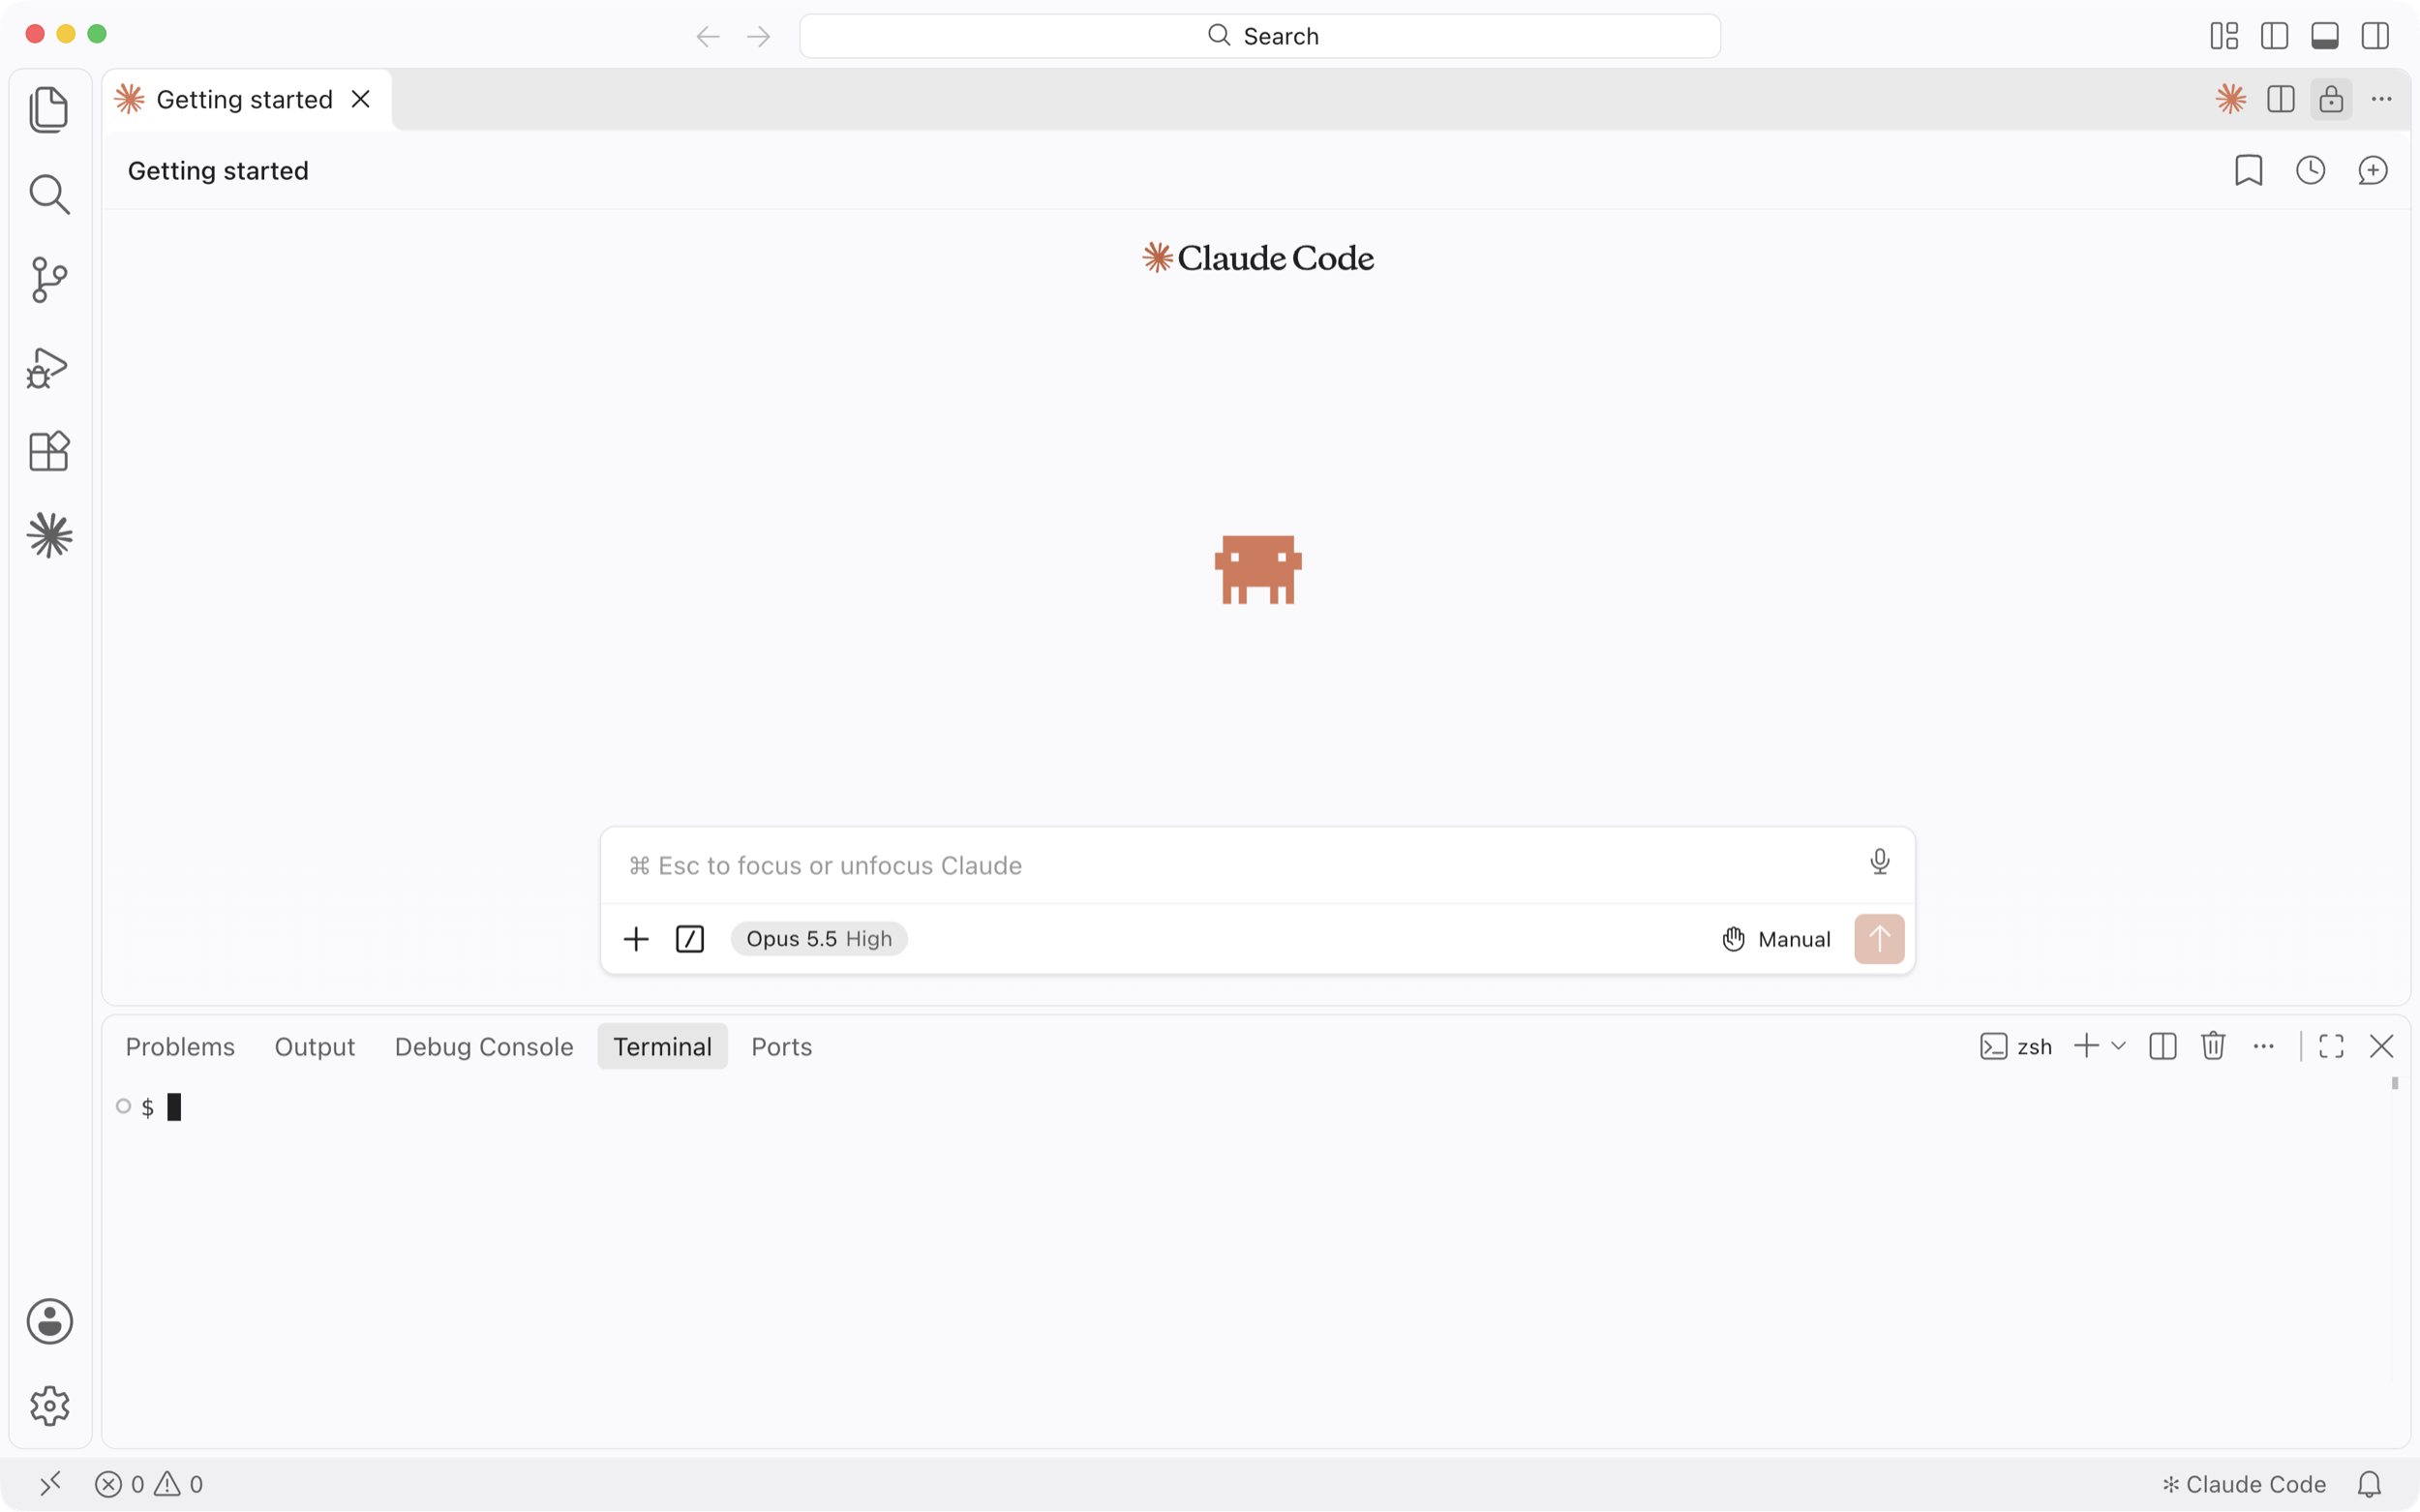
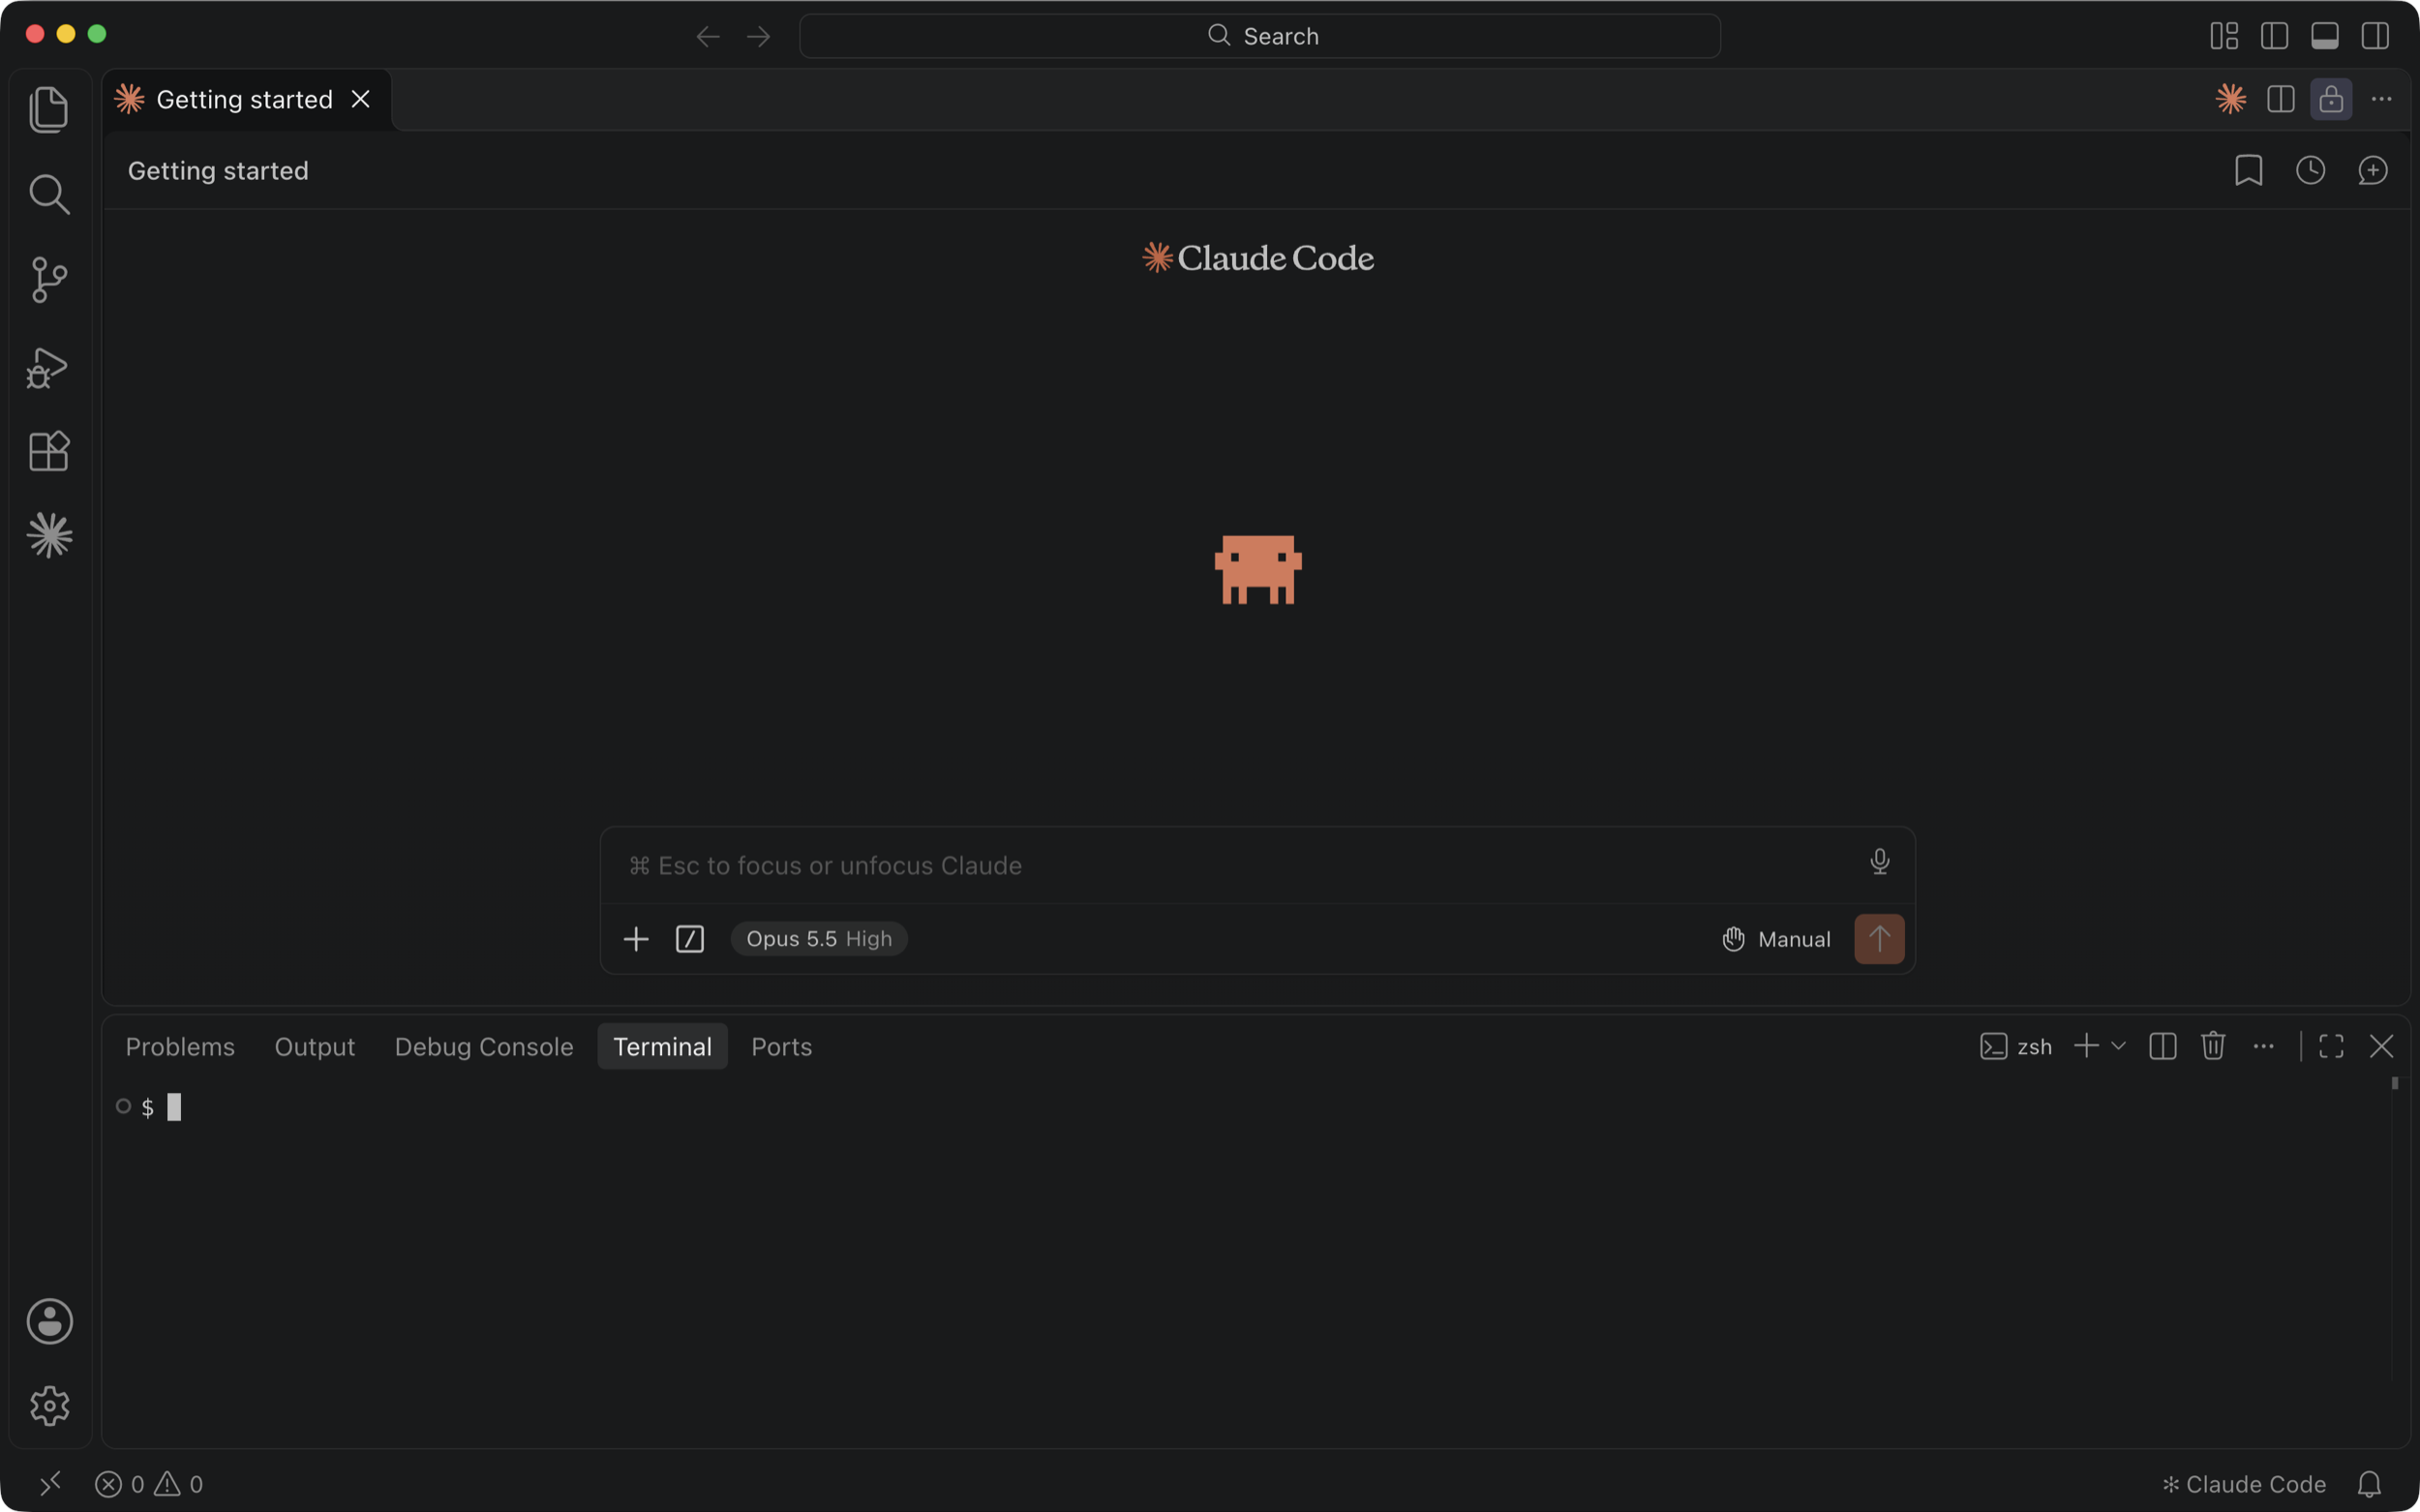 curl -fsSL https://elements.dev/install | sh
Create your copy of this app
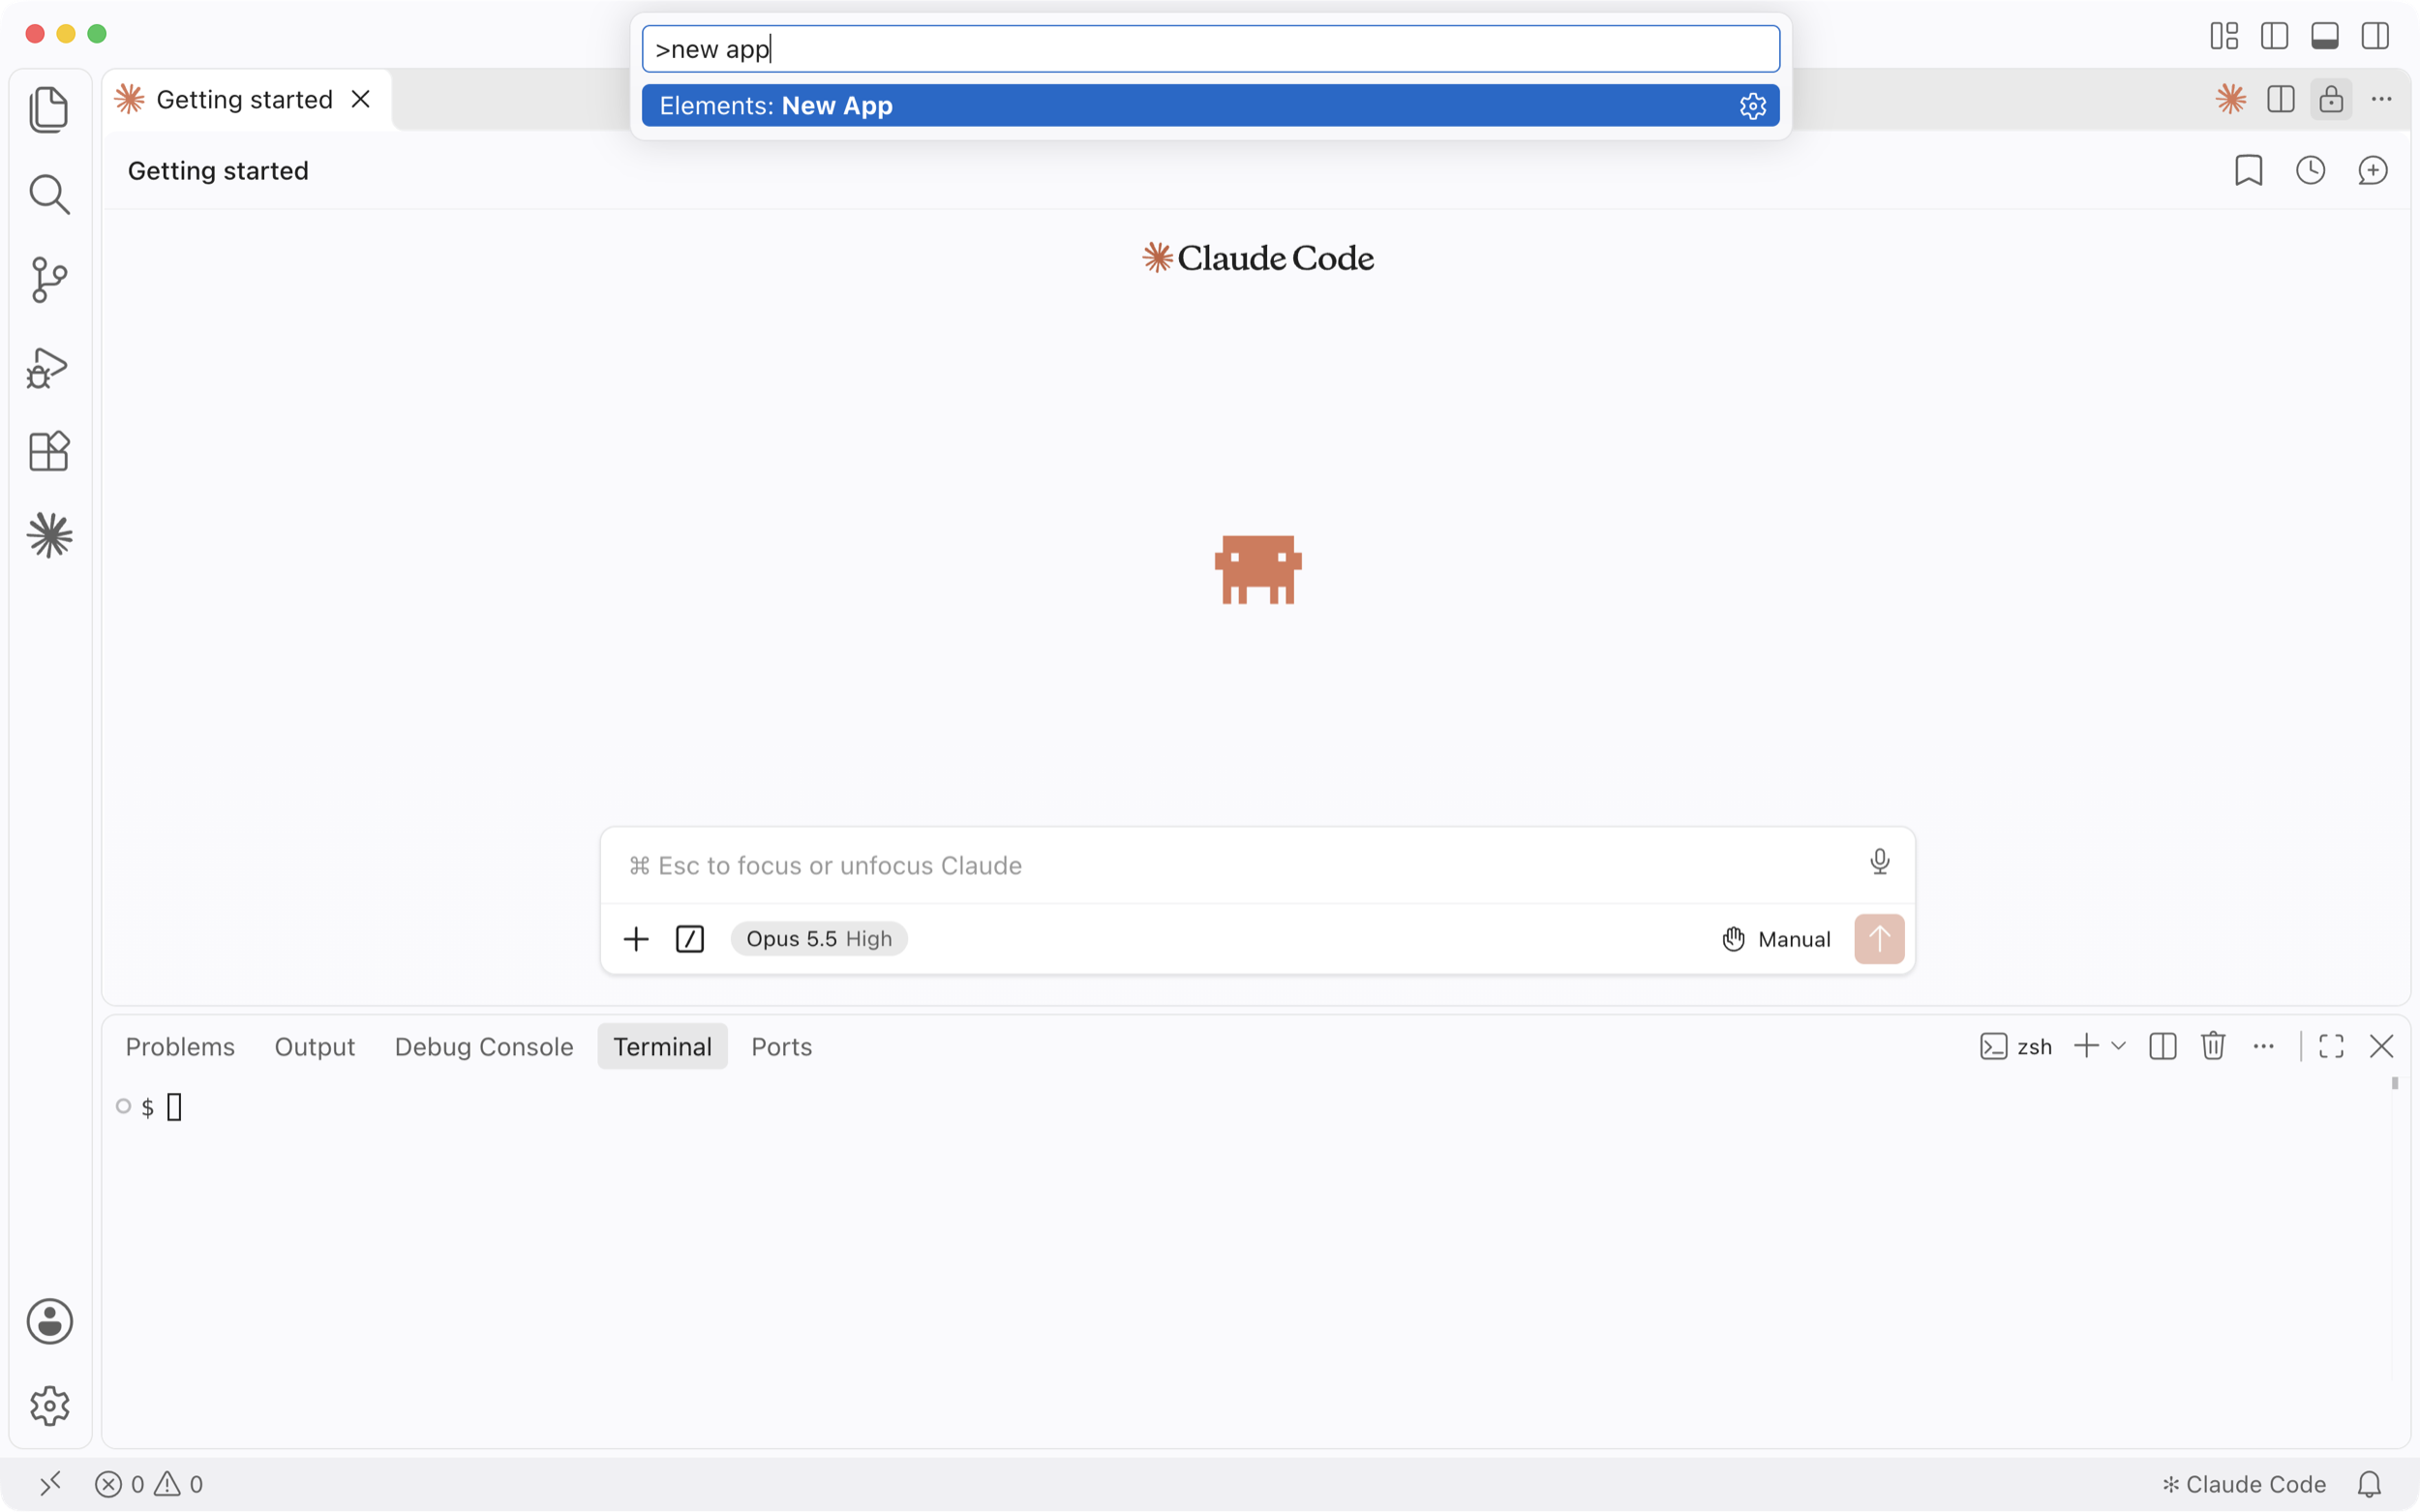
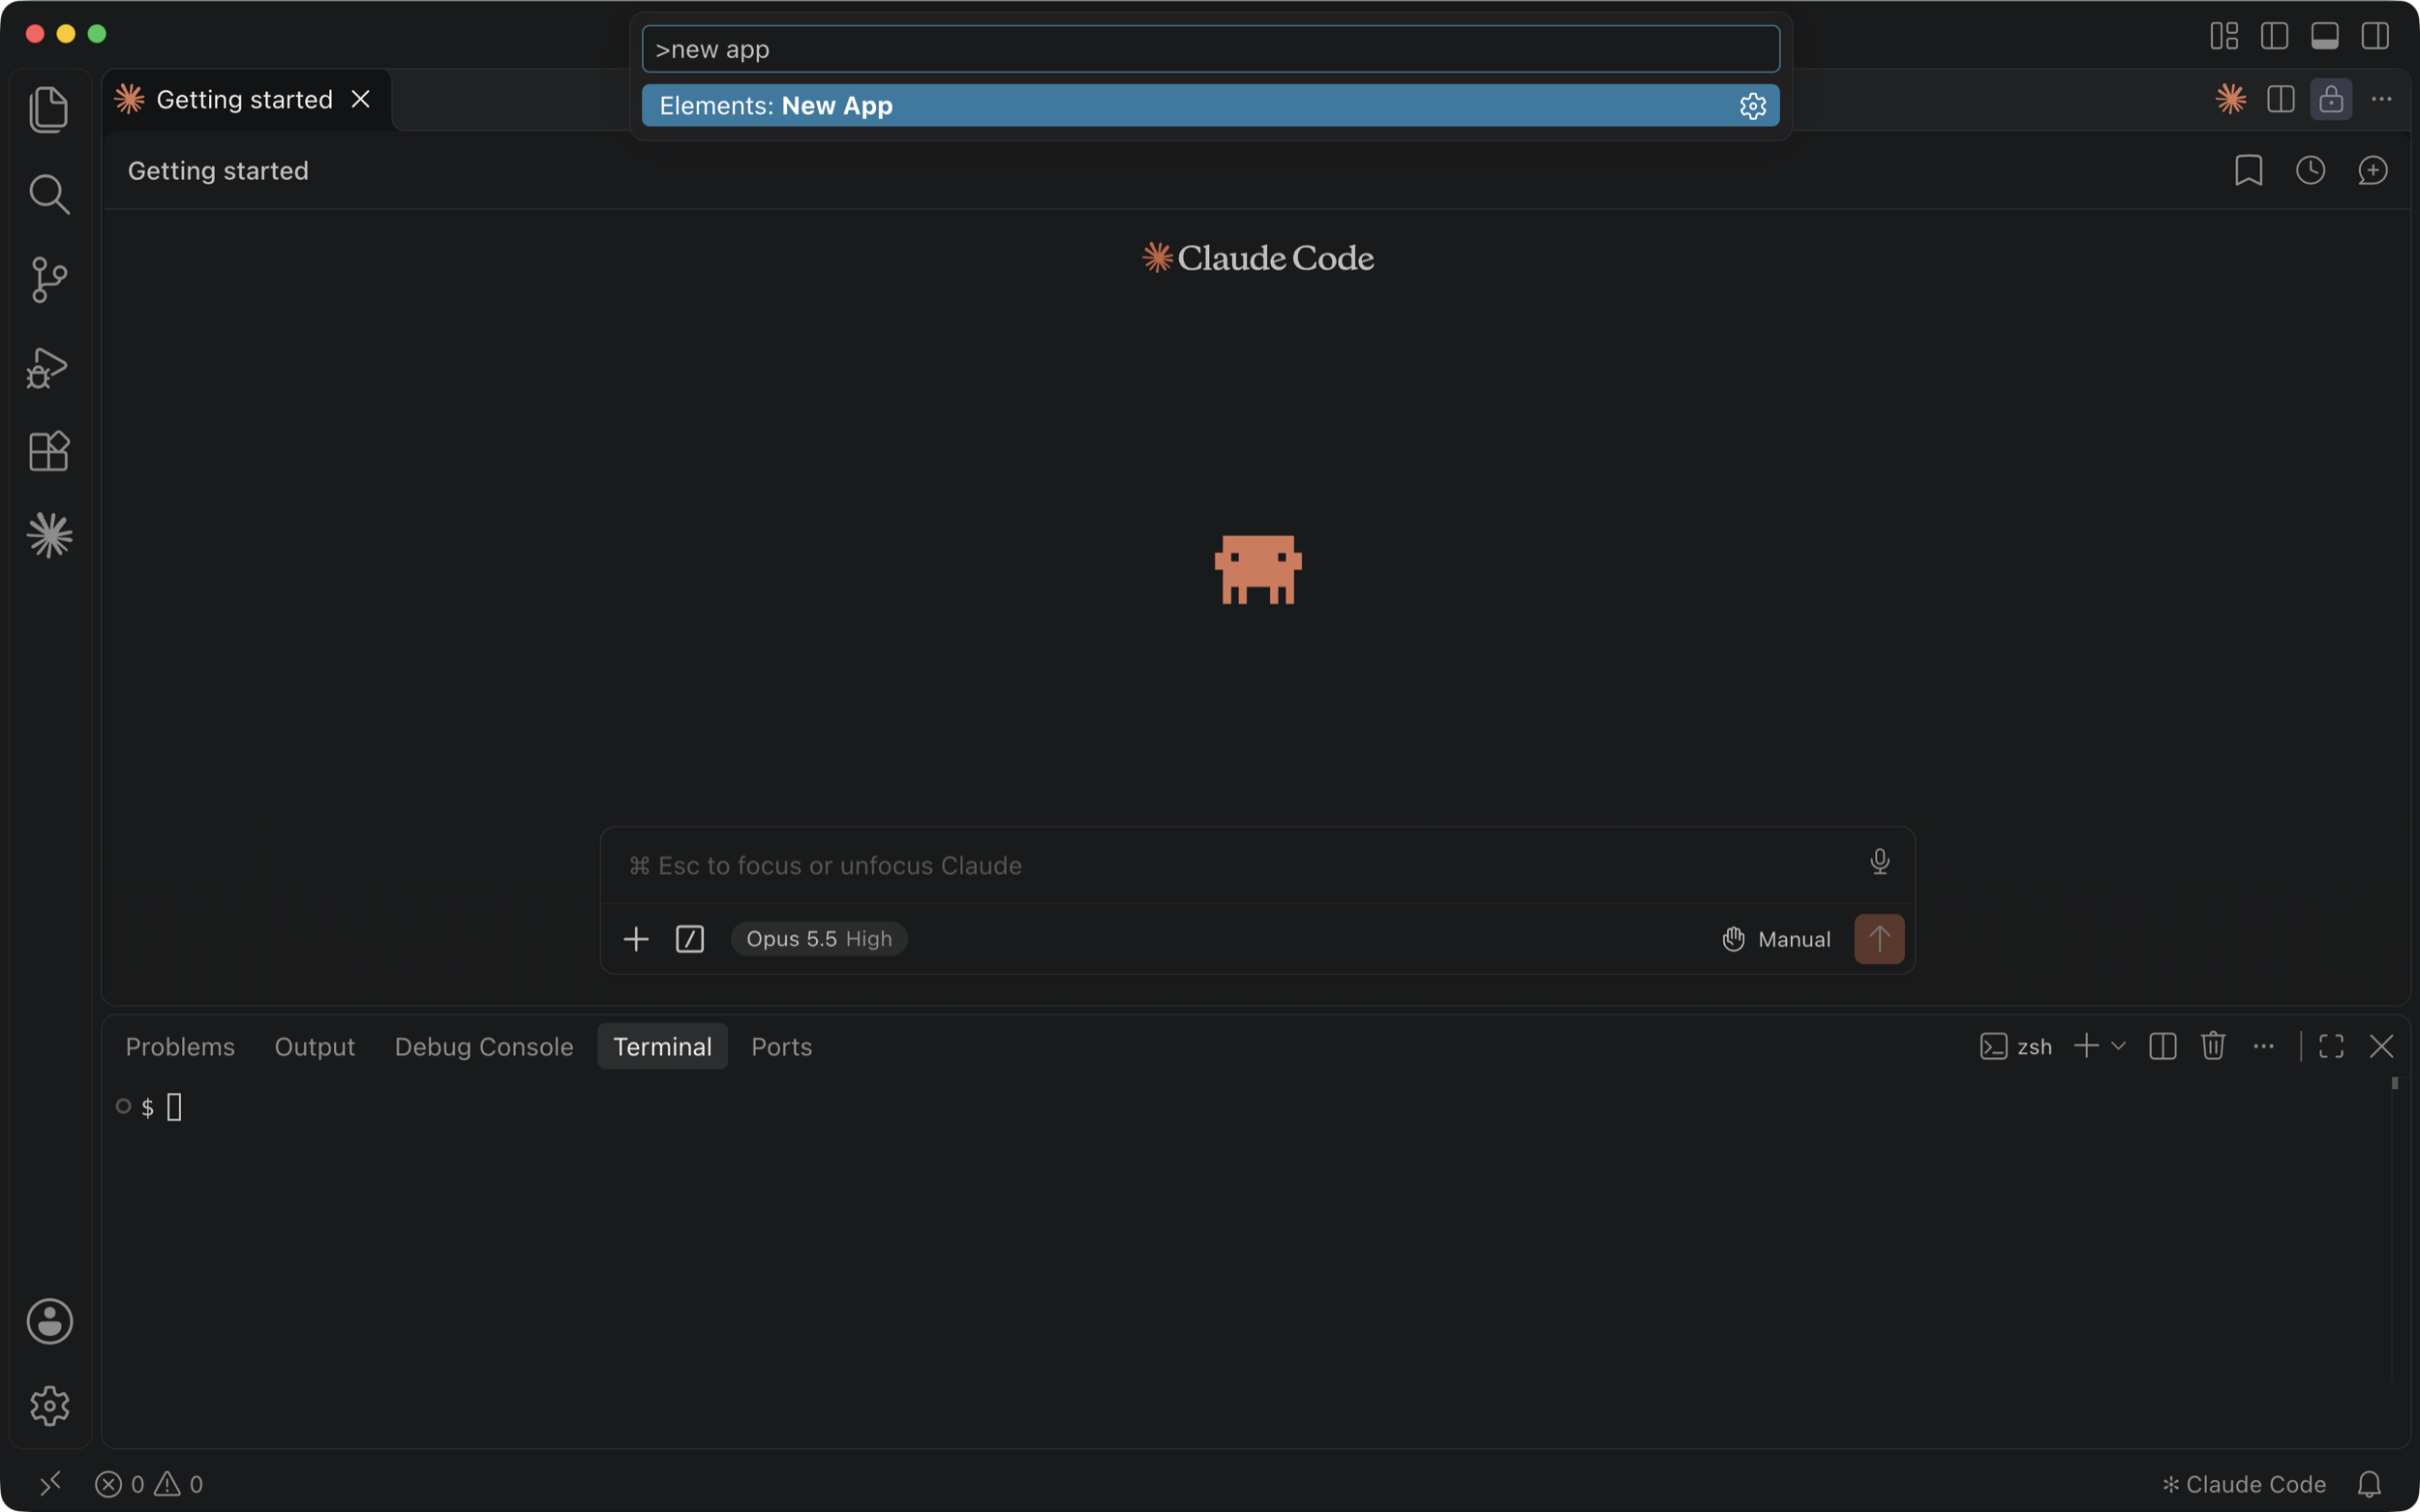
When the install finishes, press Shift + Command + P to open the command palette.
Type new app, select Elements: New App in the list and press Enter.
Copy the text.
slipjar -scaffold=elementscode/demo-slipjar
Paste the text into the Elements: New App name box and press Enter.
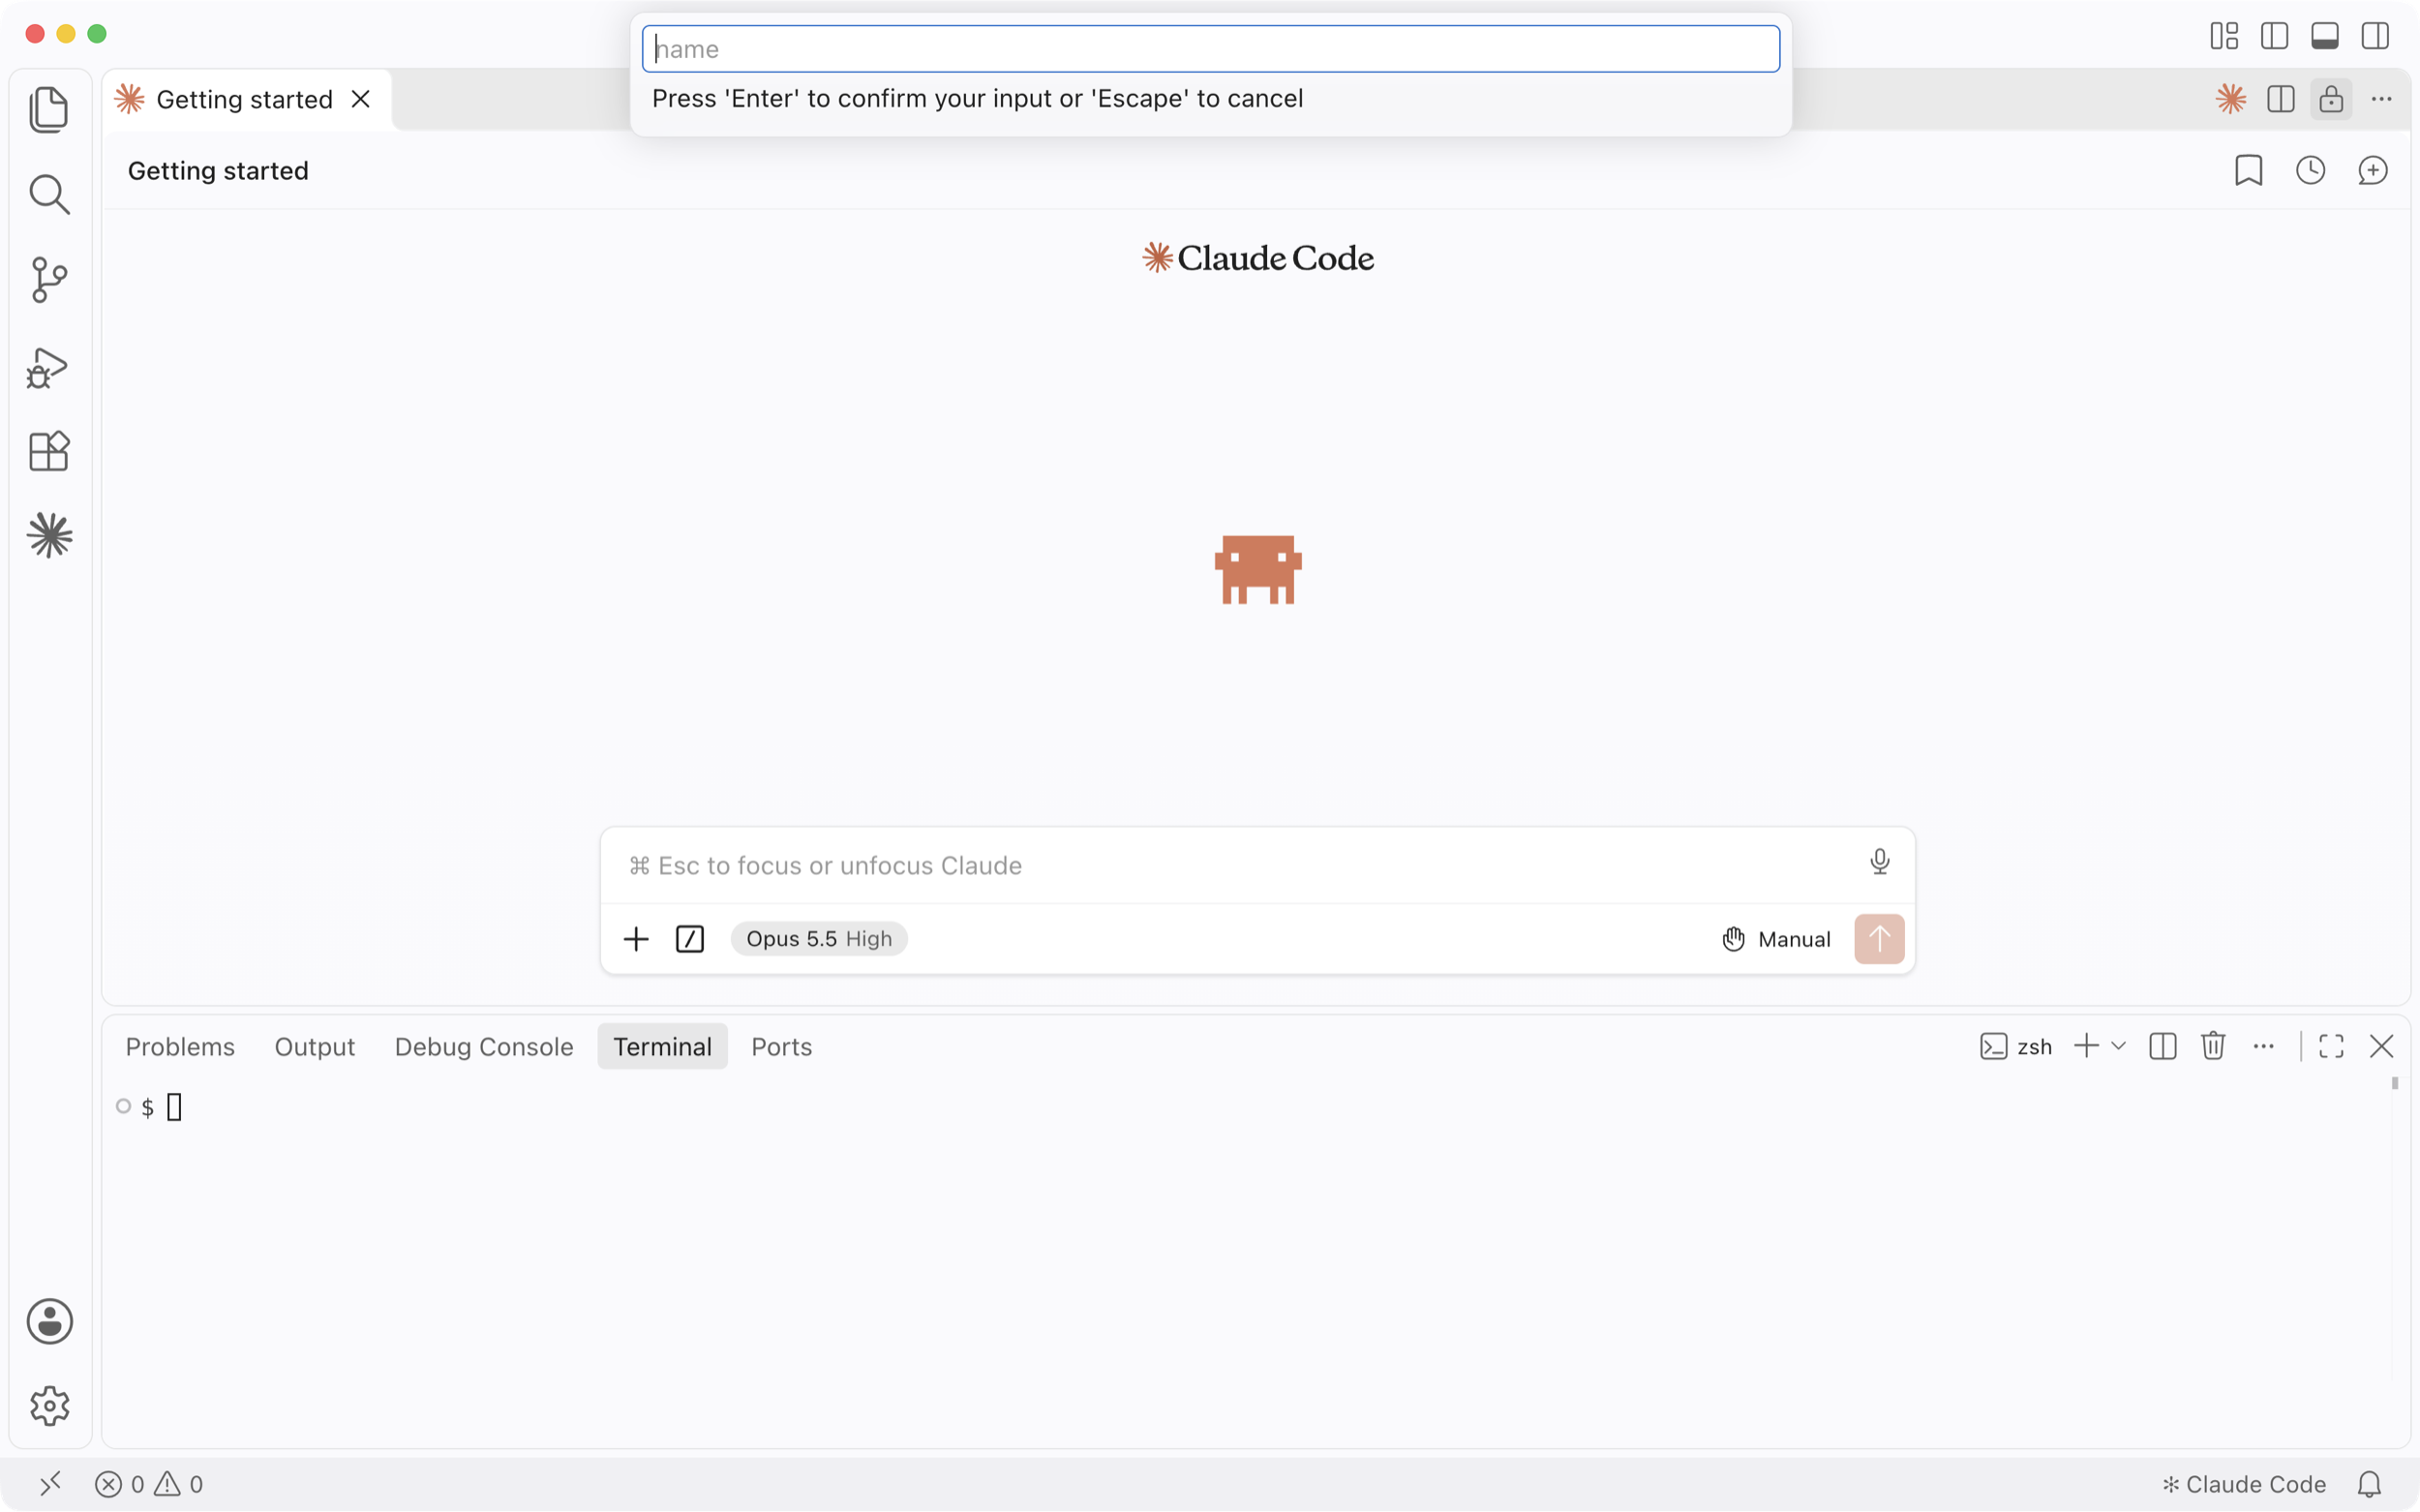
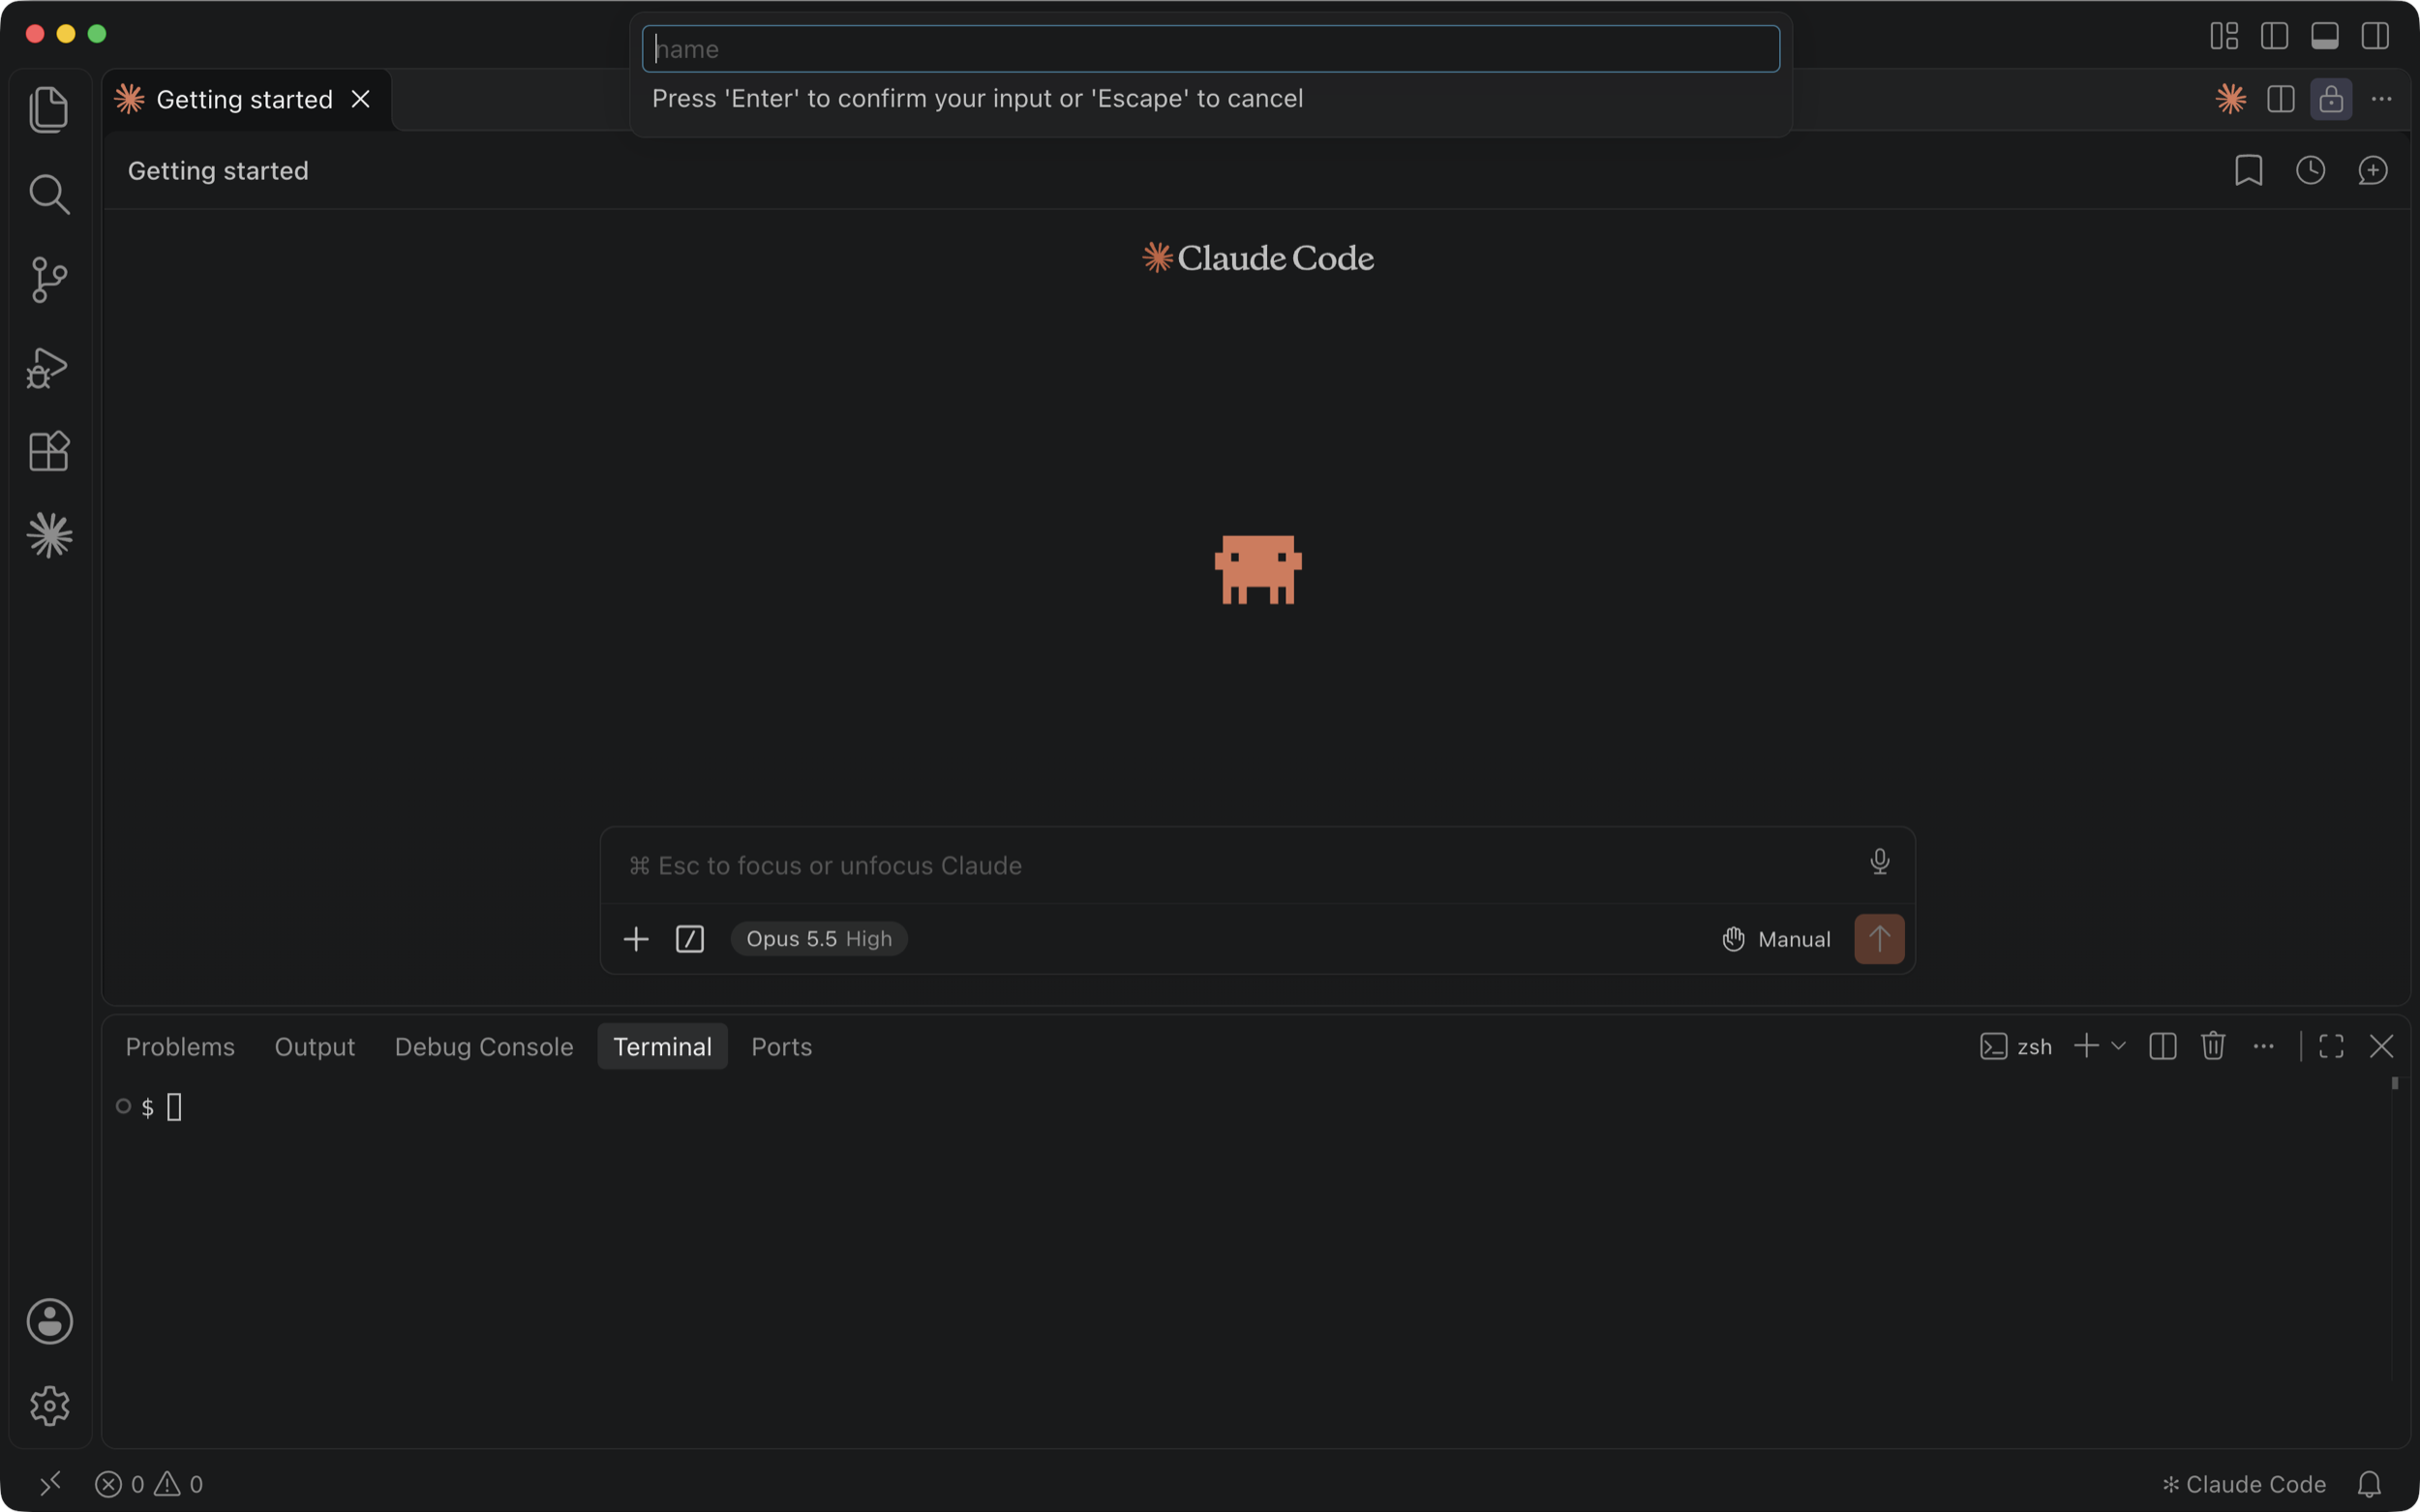 slipjar -scaffold=elementscode/demo-slipjar
Your copy of this app opens in VS Code with a terminal and Claude Code on the left.
Start your app
Copy the command.
elements startPaste the command into the terminal and press Enter.
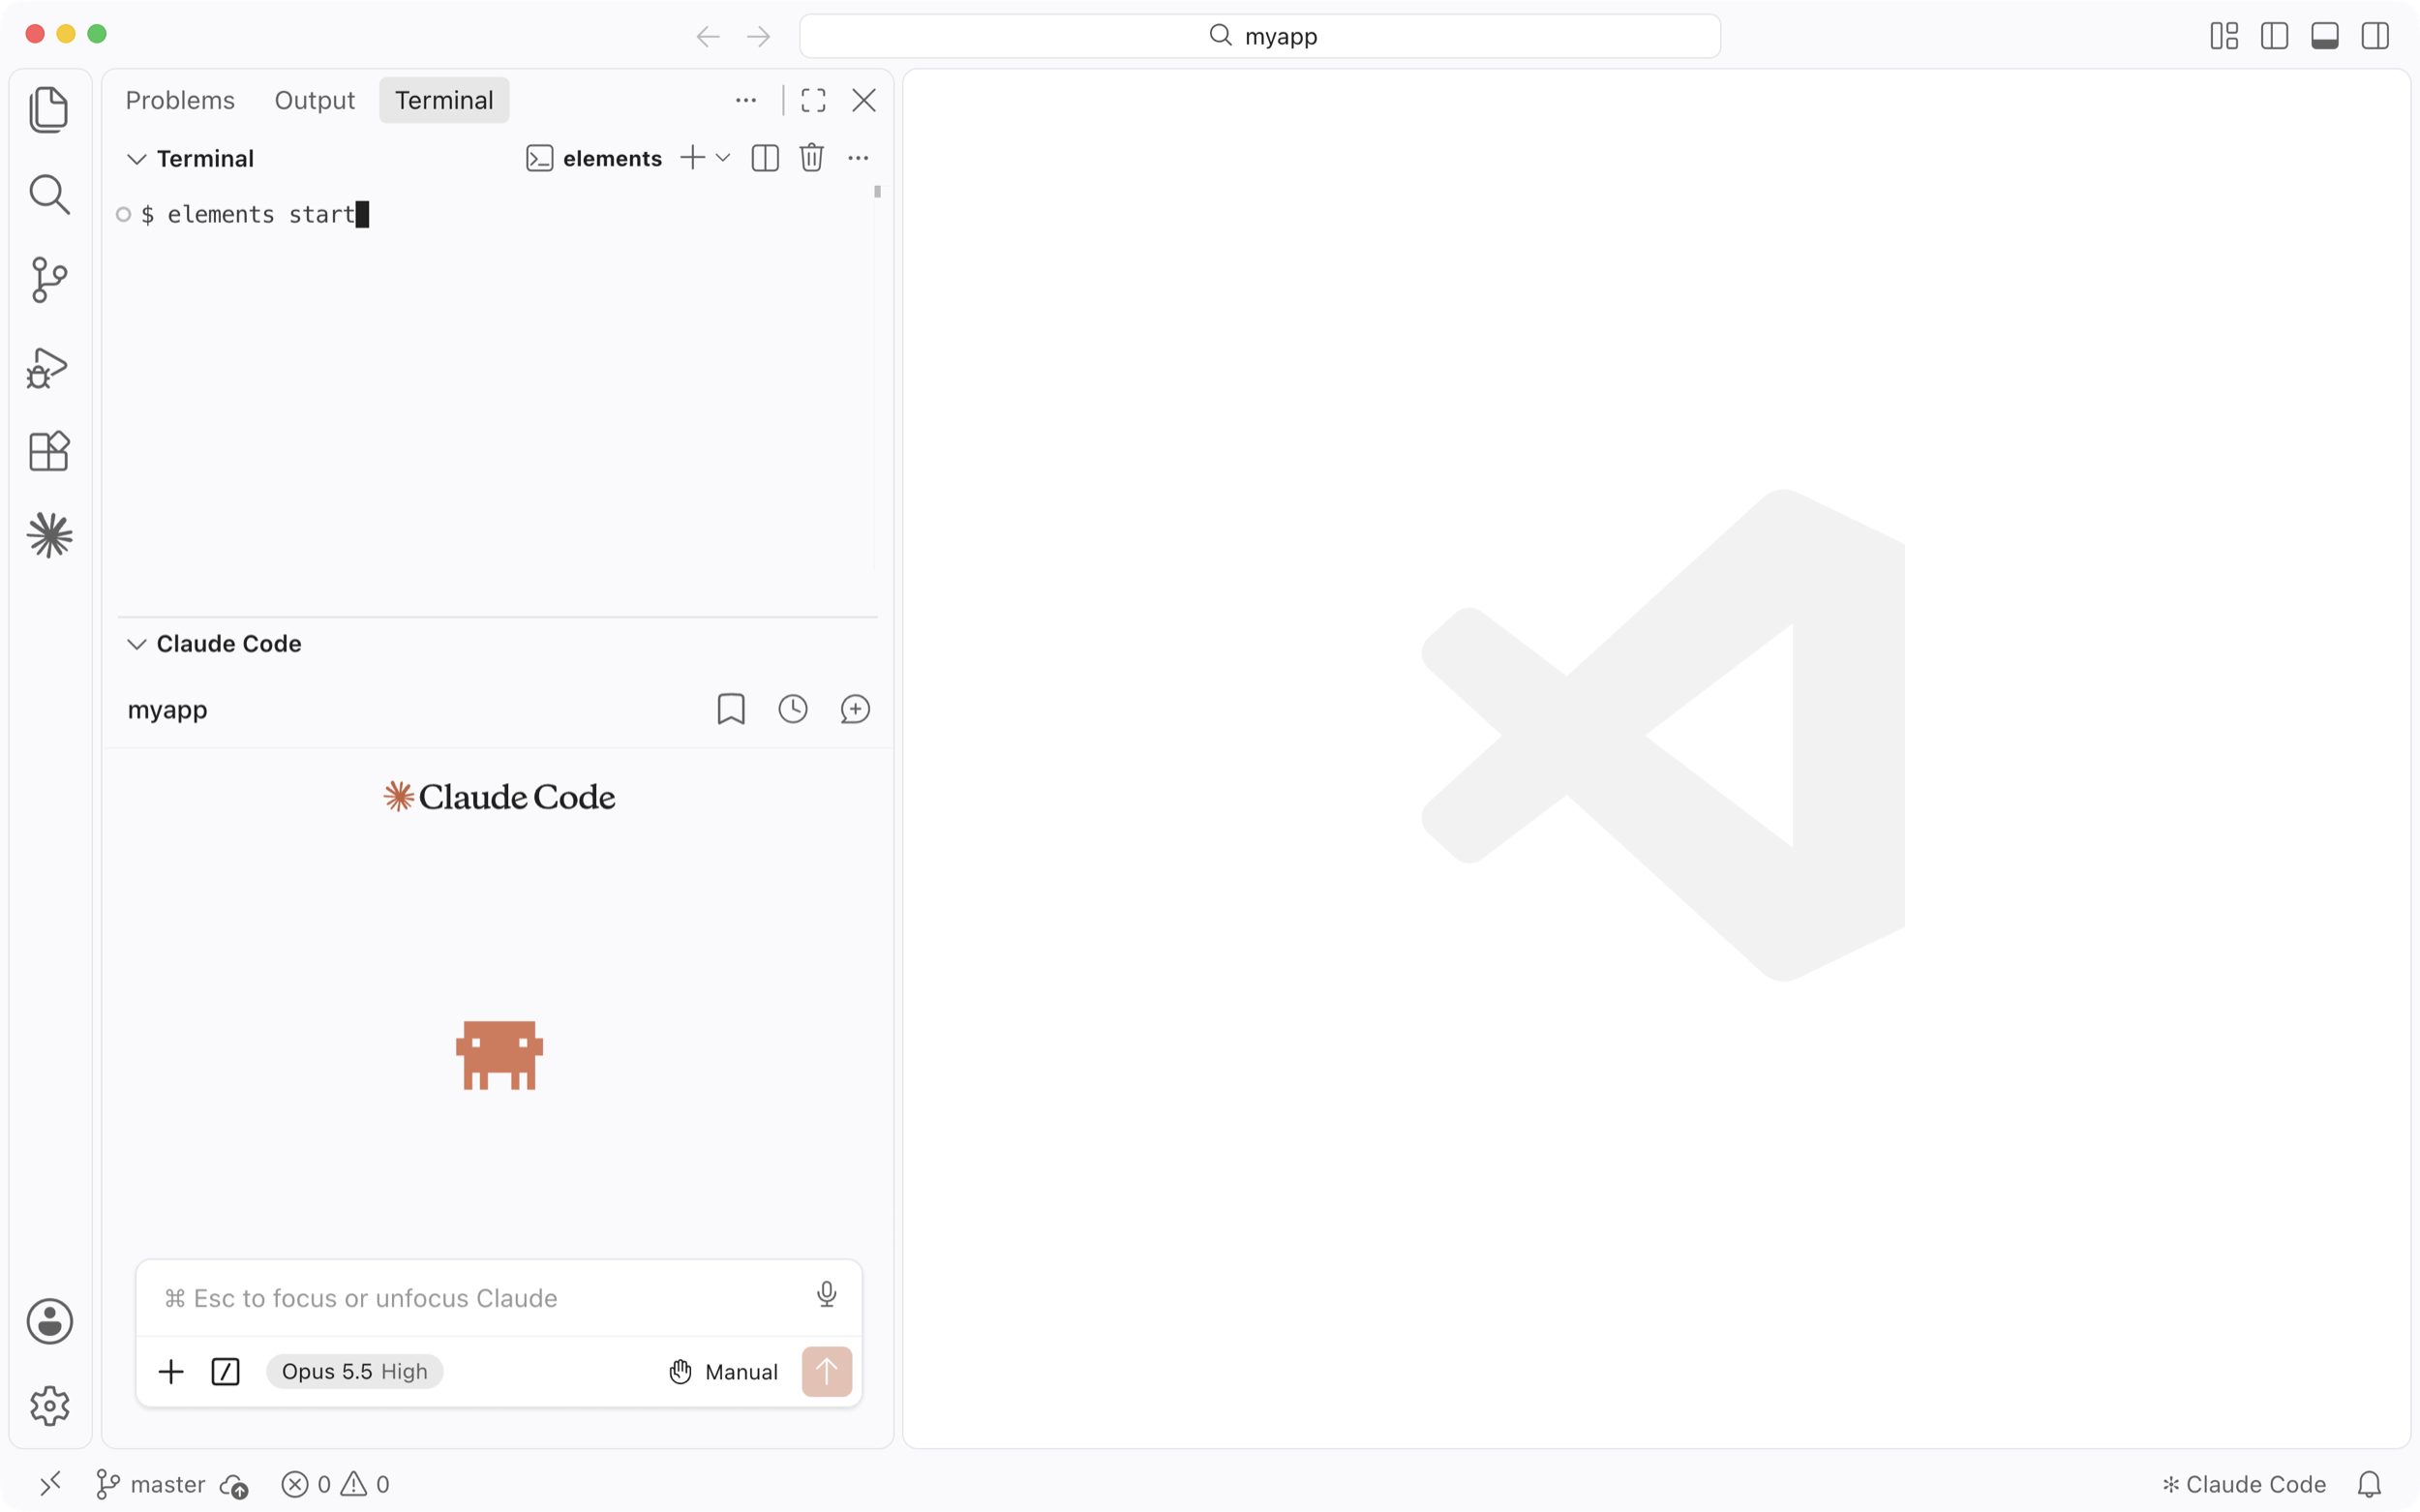
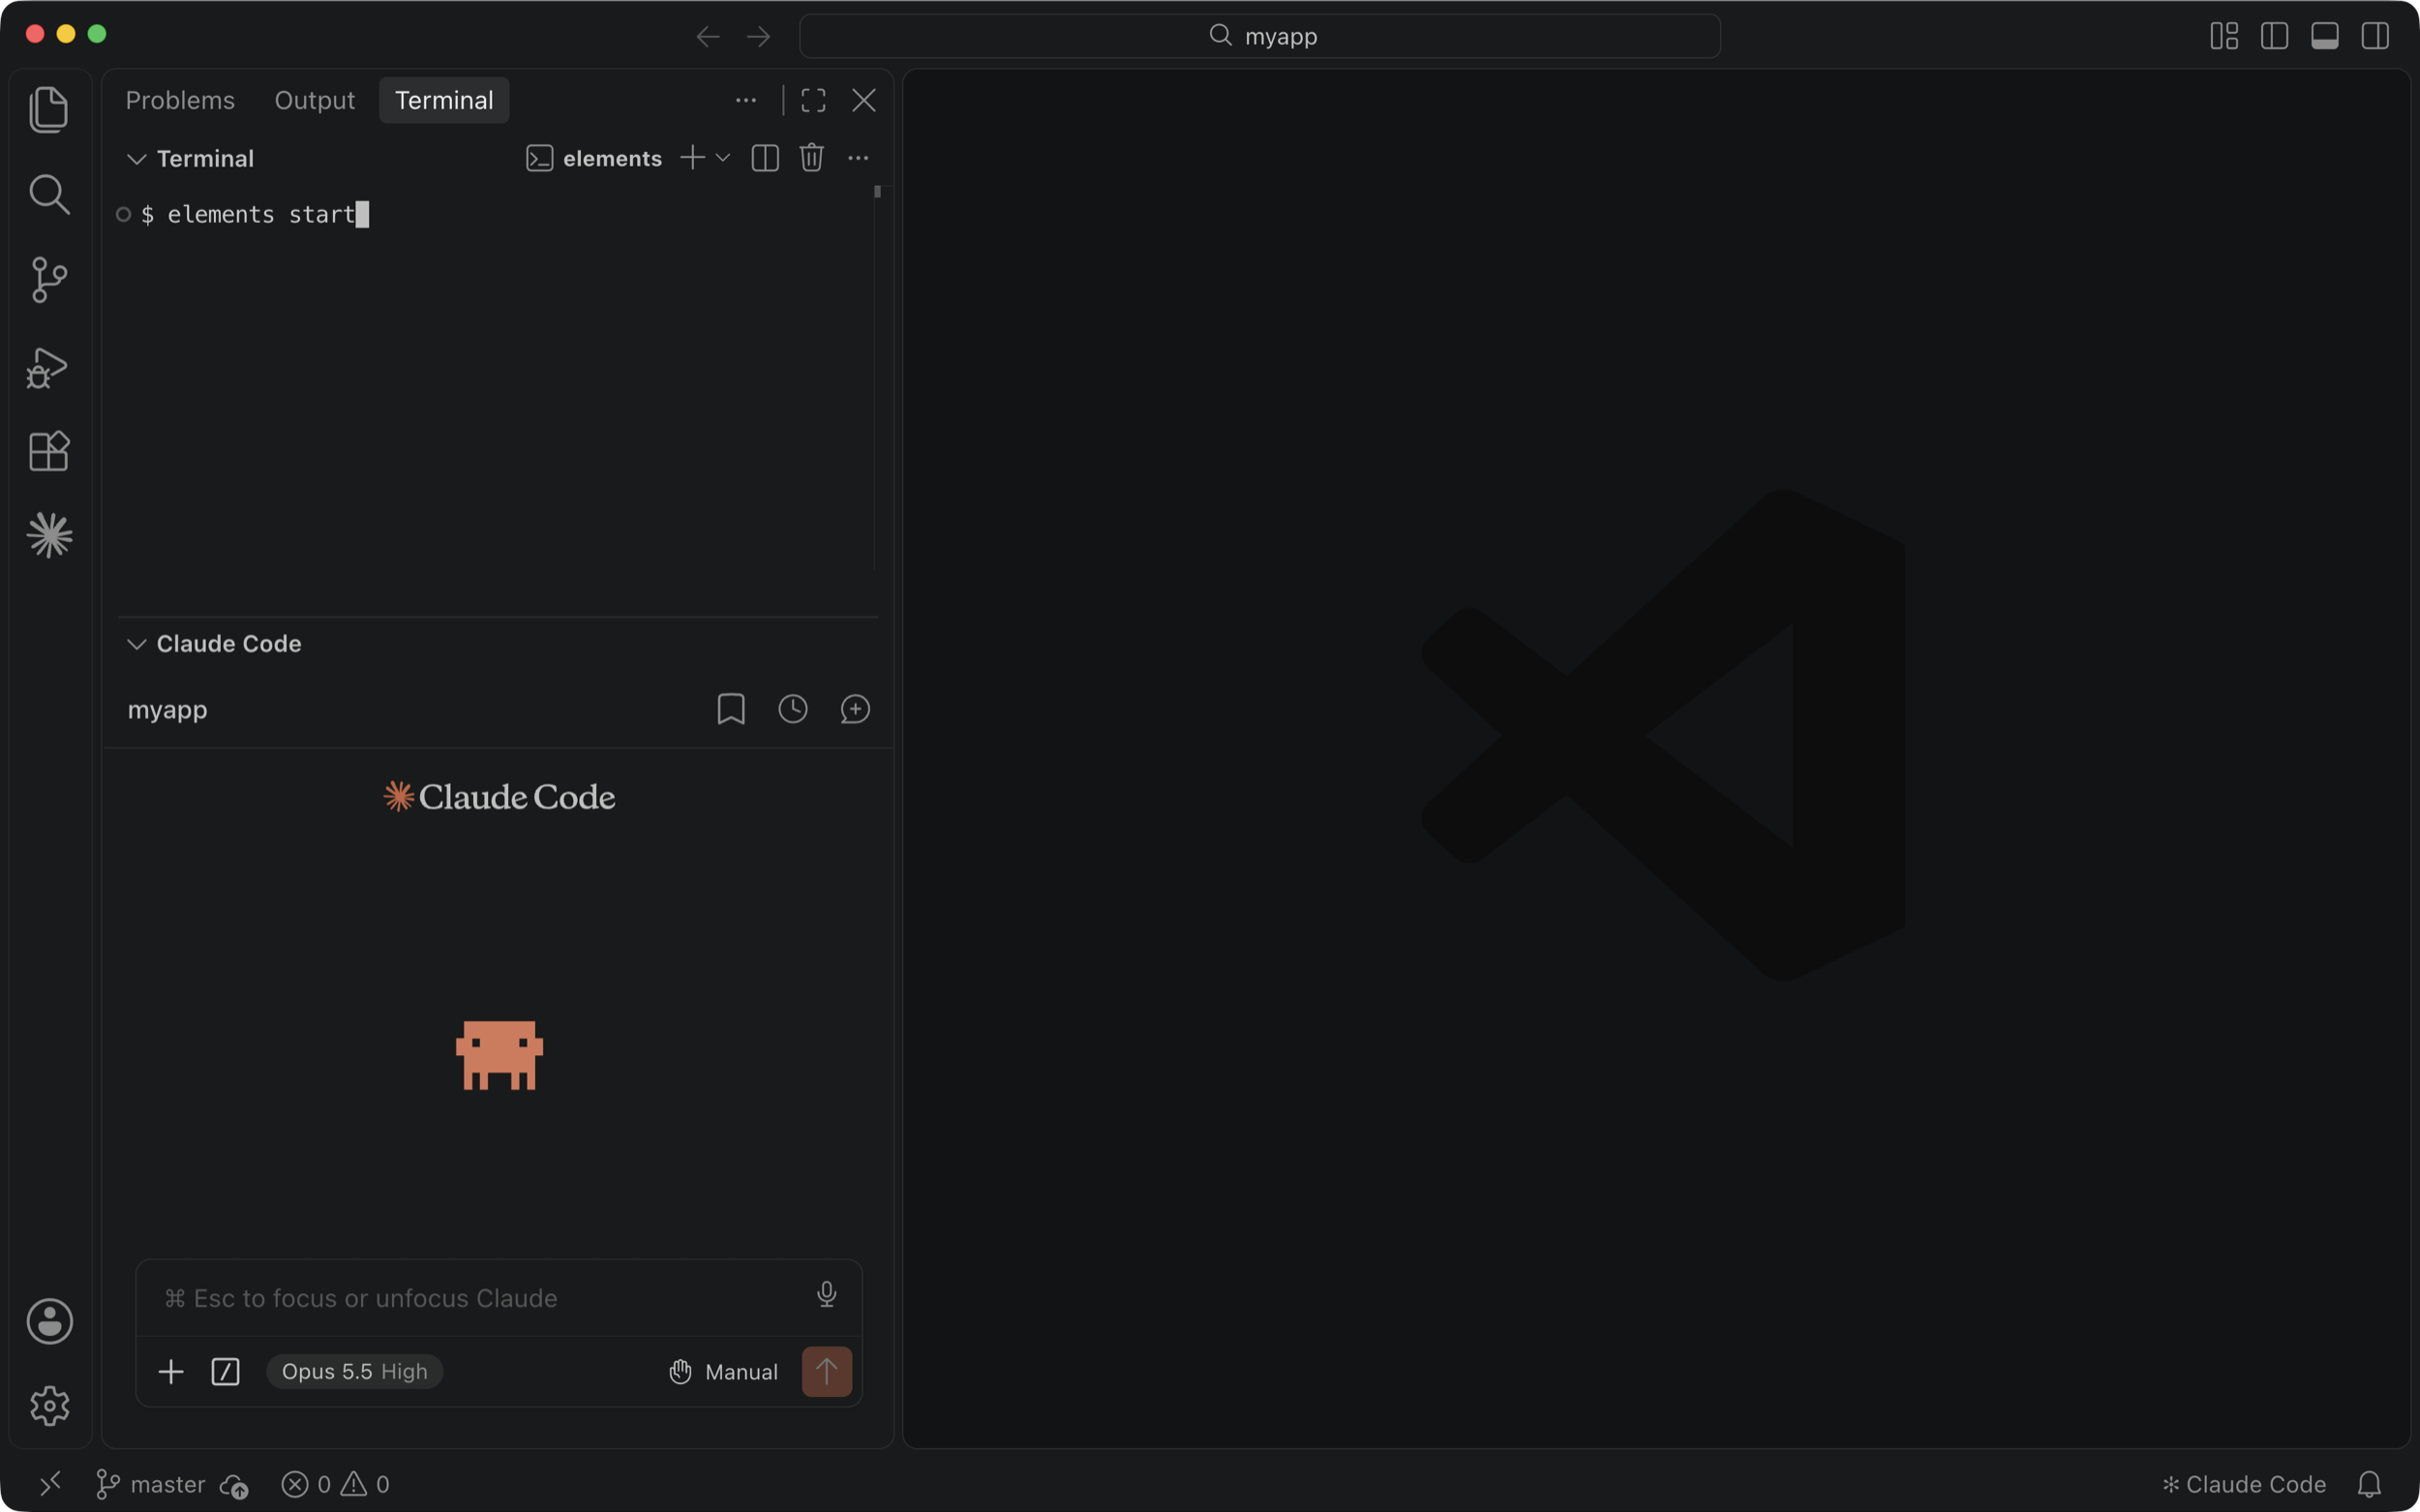
Your app opens in VS Code's browser, next to the terminal and Claude Code.
New to Elements? Read the getting started guide.